Before the finish finish, the walls need to be aligned almost to the ideal state, then neither on the wallpaper, nor under the layer of paint, there will be no shortcomings. The easiest and most affordable way of equalizing surfaces is their putty, besides, such work can always be performed independently. In this article we will reveal the features of alignment of walls with putty.
Content
Why should the walls
To equalize surfaces in front of the finish finish, it makes sense for several reasons:
- The walls of the walls are the easiest way to bring them into the proper form, without resorting to a complex and expensive recycling procedure.
- In the process of operation, the surface can be equal and removed repeatedly, while it will not lose their qualitative characteristics.
- The consumption of putty is usually small, and it costs relatively inexpensive.
- With a putty, you can handle complex curvilinear elements in the interior. It is extremely difficult to stack them on their own, to invite the masters - expensive, but the putty will handle such a task perfectly.
Which tool is used in work
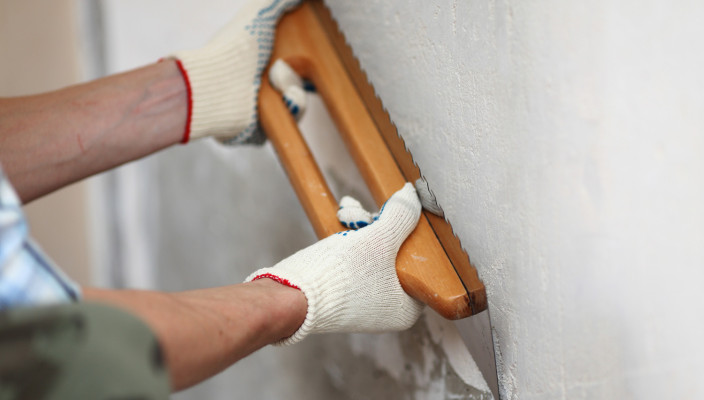
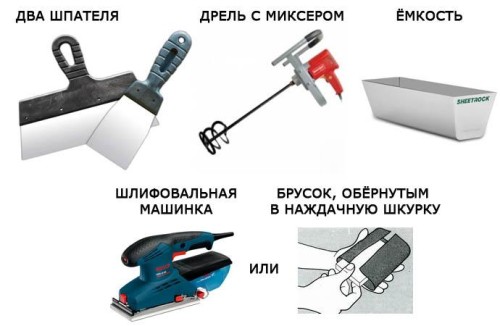
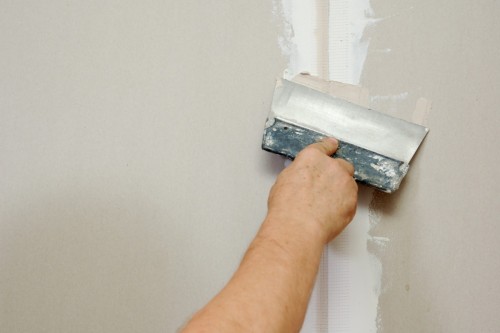
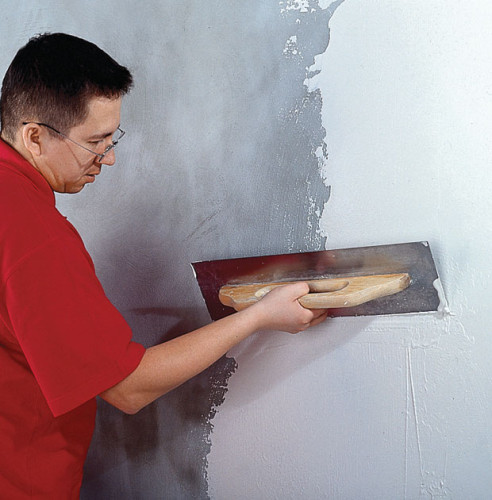
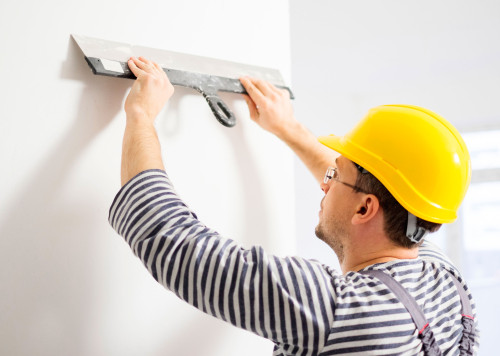
Putty the surface of the walls is not carried out without the appropriate tool. By type, such devices resemble those that are used in plastered walls, but their operational properties are different. For example, spatulas for shp clashing should be thinner, because during the work they will have to be a little bit bend while pressing on the handle. Due to such a spatula, the solution is applied with a uniform and quite thin layer.
The second feature of the tool is perfectly even and smooth blade, which is worth checking on the stage of buying a device. It is also desirable that the edges of the spatula have been rounded. If you buy an inexpensive tool and see that it has roughness, try fixing them yourself using fine-grained sandpaper, folded house.
After processing the walls of the putty and drying, the surface is watched and grinding, using a special bar with an abrasive grid fixed on it. It is not worth aligning the wall with sandpaper, especially if we are talking about gypsum putty.
It will also need a bucket to operate the walls. The entire tool that you will be used in the process of the shtlock, keep dry and clean, and directly before use, wipe the rag. After the process is completed, all the devices necessarily wash and wipe.
Types of putty for walls
For the processing of walls, several types of compositions are used. We will deal with them more.
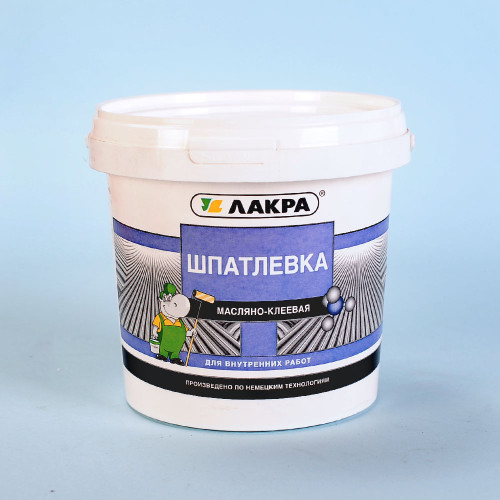
Oil-glue solutions
Oil-adhesive putty, the basis of which the olif is becoming considered the cheapest option. To date, they are extremely rarely used, and all because of the content of the Olifa. It is not harmful to health, but it has an impregnated concrete and subsequently come on the walls through the finish finish. The only surface on which the spots will not be seen is a wall painted with oil paint.
The benefits of such compositions include their ability to waterproofing walls, so such a putty is well suited for raw rooms: basements, cellars, bathrooms, Chulanov, Sarayev, etc. It can be used in the kitchen, if the wall is subsequently facing tiles, lining or something like that.
The oil-adhesive solution is perfect for wooden surfaces, as it protects them from mold and rotting.
Gypsum-cement spacure
Cement putty containing plaster contains a little more expensive than the analogues described above, while they are considered universal. As a rule, such materials are sold in the form of dry matter, from which a solution is prepared, adding water in the required quantity.
Gypsum-cement putty are environmentally friendly and enough easy to work, but do not tolerate too high humidity. There are several of their subspecies. Those that are intended for residential rooms are marked with LR and KR letters. There are also putty, which are used in conditions of high humidity, they are denoted by the VH index.
Water-dispersive formulations
Another type of putty for alignment of the walls is water-dispersion. They also belong to gypsum-cement, but are produced on the basis of a water-polymer emulsion. For sale such solutions in the finished form and are more expensive than simple gypsum-cement, but it is not necessary to breed them on their own. It is impossible to leave a bucket with a putty open for a long time, otherwise the solution will begin to be captured directly in the container.
The advantages of water-dispersion materials include what they have strictly mounted viscosity, good strength, create a very smooth surface. They are simple in work, on the cheese material from the tool, stripes and pits remains.
Acrylic spacure
The best today is qualitative acrylic compositions, which include the advantages of all the above analogues. A few minuses include their cost, as well as the fact that low-quality paint is poorly held on a practically perfectly smooth surface that they create.
Wall putty do it yourself
Preparation of the surface under the putty of the walls
The most important preparatory stage is the purification of the working foundation from all types of pollution. Neither fat, no dust nor the soot, nor old paint, no small particles on the surface should be. Processing the frozen surfaces are also extremely recommended.
After cleaning the wall, it is necessary to cover the primer, which will allow the solution better to conclude with the surface. Primary operations produce a special roller, and the composition is chosen depending on the type of putty.
Applying starting spacure
The first stage in the leveling of the walls of the wall is their starting putty. For this purpose, special starting formulations are used that have a rude grainy structure and allow you to quickly smooth the most noticeable recesses and protrusions. This solution is applied a sufficient thick layer, about 1.5 cm at a time. If you cover the wall of the starting putty several times, be sure to dry the previous layer before applying the following.
When applying starting putty, it is best to use a painting mesh that will allow most of the irregularities as quickly and efficiently. The starting layers are superimposed along the entire surface of the walls, without making skips. A painting mesh can be rude enough, which will allow you to get the highest quality result.
Sometimes lighthouses are used to align the surface of the walls. They are special racks made of metal, wood or gypsum, which are mounted on the base vertical. The evenness of their installation is tested by the construction level. Lighthouses are fixed on the surface by quick-drying gypsum composition when it dries, the walls can be placed.
Lighthouses can be mounted not only vertically, but also horizontally, but then when applying putty, you will have to use the rule. Alignment of walls by beacons is more expensive than the simple applying putty, and the final result is visually practically different.
To make cracks, it is best to use gypsum compositions. The crack before processing is necessary to expand and deepen, and its edges will thread a sharp knife, so that the plaster is better closed with the surface. Then the recess should be coated with primer, and then fill with a spacion solution.
Finish putty wall
When the starting layer is dry, it is brought to perfection with the help of finishing putty. For this purpose, special finish mixtures are used, the structure of which is very smooth and homogeneous. The finishing layer is always very thin, it helps to hide the smallest pores, scratches and other irregularities. Such a putty to correct noticeable shortcomings will not work, so before it is important, it is important to make sure that the starting coating is applied exactly and efficiently.
Features of applying putty on the surface
If you are using a putty purchased in the form of a dry powder, first prepare a solution from it:
- Take the plastic bucket and pour into it a little clean cold water.
- Pour some powder as designated in the instructions for the product, and mix thoroughly with a spatula.
- To achieve the homogeneity of the composition, again mix the solution with a construction mixer or a drill with a special nozzle. If you need to adjust the viscosity, gradually add water.
The finished putty must be elastic, stick to the sphate, do not drain from it. If there are lumps in the solution, it means that you have added little water. If the putty flows from the tool, plug a little dry powder into the container.
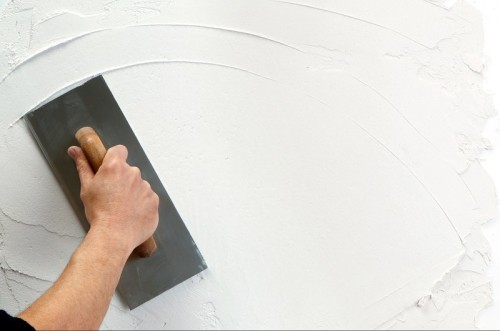
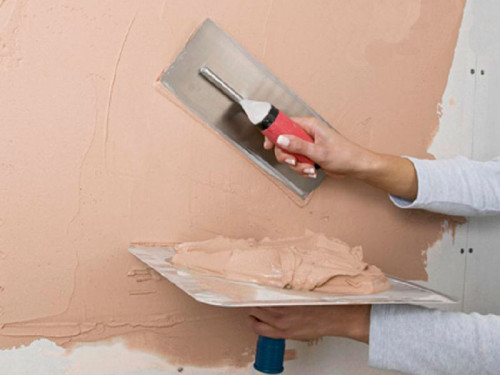
When applying the starting layer of putty, use a wide spatula. Try to distribute the wall evenly by holding the tool at an angle of 30 °. Make squeezed diagonal movements, for one such movement you must smear the entire solution, which is on the spitel. So that in the process of work did not form convexity, apply layers with the overtrown.
Divide the putty in small portions, so that solid particles do not have time to form in the finished solution. They will scratch the surface and affect the final result. Do not be afraid of the appearance of the strips from the spatula, subsequently you align them with the finish layer.
Smooth corners are sweep as follows:
- Using a small tool at the entire height of the angle, a thin layer of solution is applied.
- Then it is smoothed by a special angular spatula. Leave at least a day for drying.
- The next step, the angle is equalized by the finish line, using big and small spatulas. A small spatula is gaining a small amount of solution and impose it to a large tool. Then a large spatula material smeared on the surface with a layer of 1.5 to 2 mm.
All layers before applying the following should dry well. When the first layer of the finish putty will dry, on which there will be about 12 hours, the wall is re-covered with the finish layer. Then the dried material is grinding, achieving an ideal result.

