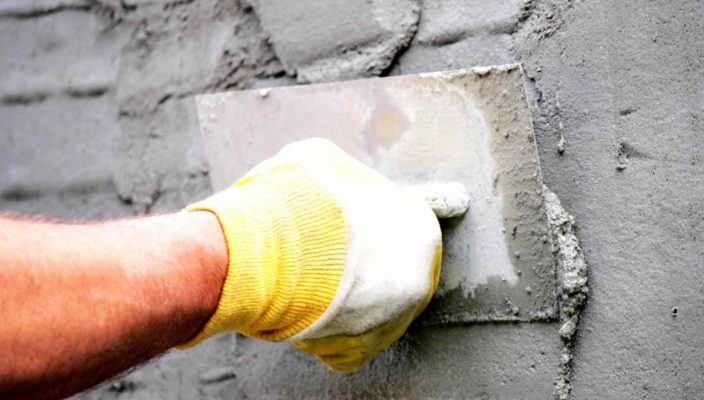
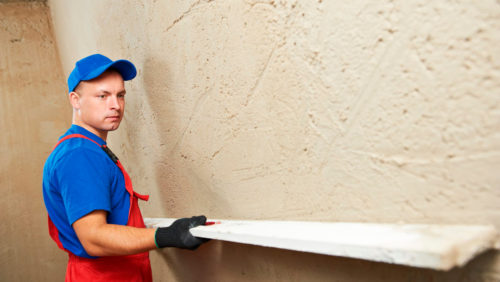
Plastering of the walls of the walls is one of the simplest and old methods of alignment of the walls. Unfortunately, the "professional" bricklayers often make their work so much that plasterers have not one day to correct its results so that the room looks more presentable. With all the seeming complexity of this work, there are no special problems in it. Only a small experience, well-developed eyemeter and patience are needed. One of the most popular methods for applying plaster on the wall is plaster for beacons. About how to make plaster with your own hands, using lighthouses, let's tell later.
Content
Advantages and disadvantages of technology plaster walls
Alignment of walls by plaster is not the only method to achieve an ideally smooth surface. Currently, wall panels from drywall or other material are successfully used. It is worth noting that the use of plaster is not always justified. If the deviation is vertically more than 10 cm (and there are such cases), the use of solutions not only economically, but is not physically justified. Such a layer of material will not be kept very well on the surface, and it will be necessary to lay it in 2, and even in 3 clips. In addition, the amount of dry mixture on such a wall will be calculated with hundreds of kilograms.
The advantages of plastering in comparison with other types of finishes can be attributed:
- Monolith of layer of finishing. This is very important in the context of the further operation of the wall. So, on the trimmed with plasterboard, the surface will be quite problematic to hang heavy bracket, for example, for a TV or a heavy picture. In the case of stucco, there are no such restrictions.
- Cost of materials. To align the walls with the help of drywall, a metal structure is required, which significantly increases the repair estimate. For plaster, only a solution, water and lighthouses are needed.
- Small loss of square. If the discrepancies between the floor and the ceiling are minimal, then the loss of the area will be small, in comparison with the drywall, which, at a bill of profiles, it will be twisted on each side of 3 cm.
Among the shortcomings of the technology of applying plaster on the walls, the following can be distinguished:
- A lot of dust. She will be everywhere. During the preparation of the solution, during surface grinding. Naturally, if the repair is carried out in a non-residential room, you can not pay attention to this problem, but if the walls are peeling in a residential room, then dust can deliver many inconvenience. With such a plasterboard there will be no such thing.
- It is impossible to correct large deviations. If the walls are very curves, then to align their putty will be problematic.
- Labor complexness. This work is quite complex and painstaking, moreover, requiring certain initial skills and a good eyelash.
Tools for applying plaster on walls and consumables
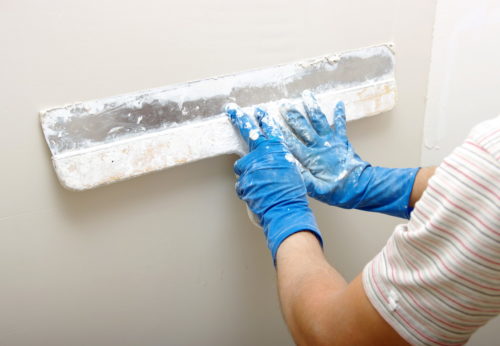
In order to level the walls with plaster, you will need a simple tool that is in every farm:
- Drill or perforator with a mixing nozzle. It is necessary for the kneading mortar for plaster.
- Bucket.
- Wide brush. For applying primer.
- Putty knife.
- Rule. This tool is necessary for applying a smooth layer of solution between beacons.
- Level, plumb, durable thread.
From consumables need:
- Primer deep penetration. It is needed to prepare the surface before starting work.
Dry mix of plaster for walls. It is sold in any construction store. There are various varieties of plaster for walls. . The amount of the required solution depends on the curvature of the walls and the required layer for correcting it.
- Lighthouses. They are special galvanized steel profiles. Thanks to this, the beacons are not subject to corrosion and not bent at the pressure on them, remaining in the initial position. The amount of beacons is calculated depending on the length of the rule and the length of the working surface. It is better to buy them with a reserve for 2-3 pieces. They are not too expensive.
- Dowel. Needed for fasteners of corner beacons.
- Dry gypsum. His solution is very convenient to mount lighthouses. It dries very quickly and keeps them at the surface quite tight.
Preparation of the wall in front of plaster
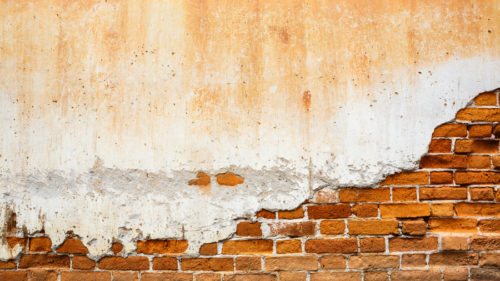
Before starting work, the wall must be cleaned of the residuals of the solution, the mounting foam and other unnecessary materials and thoroughly prohibit. It's not worth sranteing the primer in this case. The most frequently used primer is a PVA-based solution, which will create a durable layer on the wall surface. If this is not done, the plaster will go to bed and can even crack when dried.
Marking of the room and fasteners of beacons for plaster walls
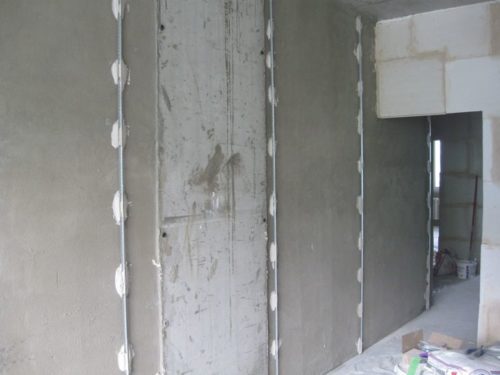
This is the most complex and important part of the repair process. The quality of plastering work depends on how to put lighthouses. That is why they should be taken very carefully to their installation.
Procedure for work:
- The markup starts from one of the corners of the room. What it will be - not fundamentally, it depends on the convenience of the work of the plaster itself. At a distance of about 200 mm from the corner, it is necessary to draw a vertical line. This uses a level or plumb. It will be a label of the first lighthouse. In the neighboring corner, which is adjacent to the same wall, it is necessary to put a label of the first lighthouse. The process of its application is the same.
- Now that vertical labels are delivered can be started to fasten the beacons themselves. For this, at the top and bottom of the drawn vertical line, two holes are drilled at a distance of 5 cm from the ceiling and floor, respectively. If the wall is brick or slag block, the holes can be done with a drill, with concrete walls - a perforator to help.
- After the holes are drilled, dowels are inserted down and the screws are twisted, but not to the end. The fact is that the hats of selflessness will play the role of stops, which are based on lighthouses.
- Next, the latter is applied to the hats of the screws and its position is checked by the level. To correct the position of the lighthouse, self-tapping screws are used, which are twisted or twisted depending on the desired direction of movement.
- After the lighthouse is set up, it needs to be consolidated. This is done using a gypsum solution. The dry mixture is diluted with water and brought to the consistency of thick paste. After that, it is applied along the line and attach a lighthouse to him. Since the plaster works very quickly, it's not worth kneading a lot, it's better to work with small portions, even though it is not entirely convenient. The lighthouse in the opposite corner is established similarly.
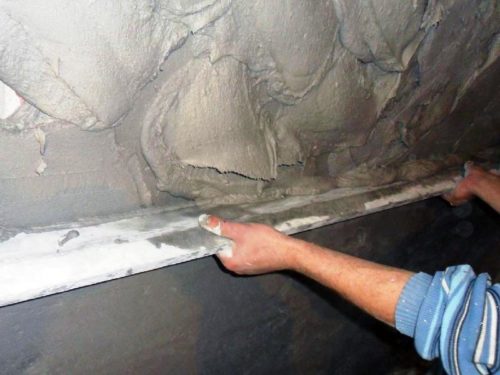
When two extreme lighthouses are installed, you need to install the average. This is done as follows:
- There are 2 holes on each side at a distance of 250 mm from the floor and the ceiling. The dowel is also inserted into them and the self-ease is tightened until the end.
- Dense thread is attached for the head of the screws. Then they begin to spin them until the threads will touch the lighthouses installed by forming a smooth horizontal plane. According to these threads, medium lighthouses are installed. The distance between it should be 20 cm less than the length of the rules, and at the same time the rules should fall on 1 length. Simple words: if the length of the rule is 1.5 meters, then the distance between the beacons should be no more than 60 cm.
- After they are installed, you can begin the process of plaster.
Plaster walls by lighthouses do it yourself
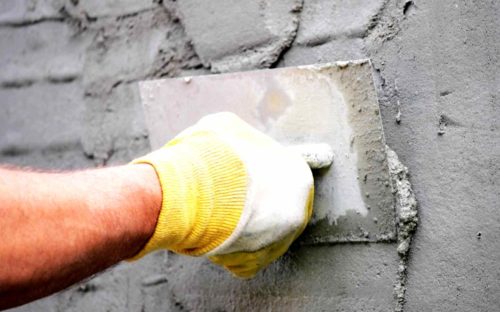
The process of plastering walls by lighthouses does not represent a special complexity and, if the lattes were installed correctly, the result will be good.
Stages of work:
- To start work, you should prepare a solution. The dry mixture is poured into a large container and some water is added. Then begin to mix with the help of a mixer, gradually adding water. The solution should not have lumps, and its consistency should resemble a thick paste.
- Some experts prepare a solution for plaster using cement-sand or cement-lime mixtures. Preparation of such solutions is justified if the plaster is carried out in a non-residential room and on a large area. Otherwise, it is better to use ready-made mixtures, the content of components in which is balanced, which cannot be guaranteed by using it alone.
- When the solution is cooked, it is thrown between beacons. You can do this with a spatula or hands. In the latter case, it is necessary to remember the protection of the skin. Contact with solution can cause irritation and cracking, so it is necessary to work in protective gloves.
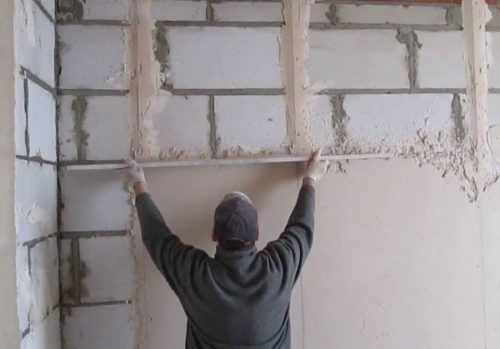
- Application of plaster on the walls need to be carried out with dense rows so that when it is resurrected, the rule does not remain empty seats. After the solution is applied to the wall, it is given to grab. For this you need 5-7 minutes. After this time, it is spilled by the rule. It is tightly resting in the lighthouses and pull from the bottom-up, making short horizontal movements. The residues of the solution of the plaster are removed from the rules and again pounce on the wall.
- When the plaster wall is over, she is allowed to dry well. After that, all the flaws are removed using a spatula.
- Now that the plaster finally grabbed, you need to remove lighthouses. To do this, it is upgraded from the bottom with a screwdriver and simply be separated from the surface. In place of the lighthouse, a small groove is formed, which is sealed with freshly prepared solution. After that, the wall passes again, it is ground and the finish putty is applied to its surface.

As you can see, the process of plastering walls by the lighthouses with their own hands is an easy task that can even be a master with a small luggage experience.

