The walls are the "face" of each room, therefore, on how they look, not only the appearance of the room depends, but also the mood of people living in it.
In this article, we will look at how to make the surface of the walls ideal to create a further decor and comfort in your home.
Content
Selection of wall leveling techniques
Aligning the surface of the walls is not a very difficult event, which involves compliance with special technology and the availability of necessary tools.
Initially, determine the preferred method. Today there are several ways to align the walls that can help you:
- the use of plasterboard sheets;
- alignment of walls with plaster;
- alignment of the surface of the walls by various construction mixtures.
Features of using each method
Of course, many prefer the first option, since it is quite easy to work. However, with all its advantages, drywall has a significant disadvantage - to install it, it is necessary to use a frame with a steel profile. At the same time, if you suddenly need to hang any heavy design on the finished wall, there is a risk that it may not stand it. It is about to use special mixtures to align the walls. In this case, the occurrence of such a situation is eliminated, since the walls aligned in this way are led by any load and other types of impact.
Pros and cons of the use of plaster:
- Its use eliminates the change in the quadrature of the room;
- to apply it to need to have special skills;
- today you can purchase several types of building gypsum compositions - decorative and ordinary. At the same time, due to the use of the first type, it is possible not to produce an additional decoration of the walls;
- the plaster has a rough surface, so it is not suitable for further painting walls.
Alignment of the surface of the walls by various building materials
The technology of alignment of walls under wallpaper includes a number of stages:
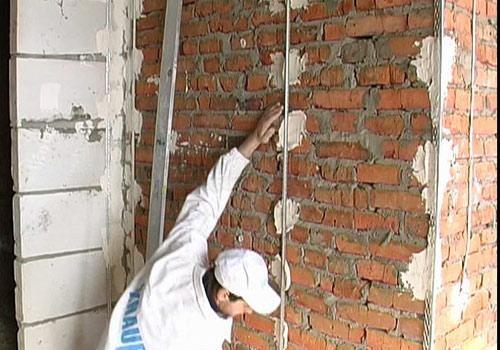
- determination of the defect of the walls with a plumb and rail;
- marking using cord and lighthouses;
- primer, plastering, putty walls;
- alignment of plasterboard sheets that are fixed on the metal frame;
- aligning with plasterboard sheets, which are fixed on the glue composition.
The above-mentioned actions vary from what purpose wall alignment will be carried out - under the use of "liquid wallpaper", under the cladding of ceramic tiles, under painting or sticking paper, flieslinic wallpaper.
Stucco Alignment Wall
This building material is a wonderful basis for any kind of decor of the walls. This method is the most effective for the surface on which there are defects from 3-6 cm. If the flaw is more, it is better to use the plasterboard design.
Today you can find mixtures of plaster and cement. For residential rooms, it is best to use the composition based on plaster, from cement - in the bathroom, in the kitchen and in other areas where elevated humidity is present.
Stages of work:
1. Turn off the power supply and clean the surface of the walls.
2. Next process the walls of the primer, which will increase the moisture resistance of the used building materials.
3. Determine the curvature of the surface using the level that is applied vertically to them. Where the difference is less than 10 mm, it is possible to align with a putty. If the defect is more than 10 mm, then it is not necessary to do without the use of plaster for beacons.
To easier to navigate, light air lines can be installed on the wall. To do this, secure in the corners, as well as the floor and ceiling profiles for which the threads will be stretched. You can check the lighthouse by vertical using a plumb. The beacon indicates the maximum height of the slope.
4. Start a construction makeup. Having read the instructions, we divorce about 10 l of a mixture, which is mixed with a mixer. I leave the resulting mass for 10 minutes, after which we mix again.
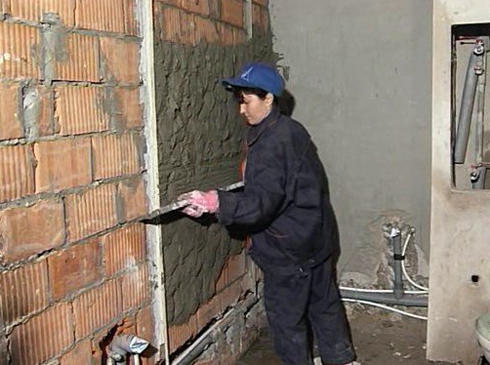
5. The mixture we distribute large strokes between beacons using a building spatula. If you need to apply multiple layers, wait for an excellent drying of the previous one. To distribute the composition well, use a metal check or smoothly, spending it upwards along the outlined lines. After that, it is followed by a spatula of entry the corners.
6. We give the walls to dry and then, using a metal brush, we clean their surface.
7. At the end of the work, we remove the beacon lines and proceed to the putty of the walls.
Advantages and disadvantages of this technique leveling of the walls of the walls:
- the use of building compositions does not change the quadrature of the room;
- to apply mixtures you need to have special skills;
- today you can purchase several types of building gypsum compositions - decorative and ordinary. At the same time, due to the use of the first type, it is possible not to produce an additional decoration of the walls;
- the plaster has a rough surface, so it is not suitable for further painting walls.
Alignment of walls using putty
The putty is applied to the walls in several layers, with each subsequent coating overlaps the defects of the previous one. The first layer closes large differences, "universal" - removes the roughness and waves of the previous one, the final layer - fills the scratches and pits of the average.
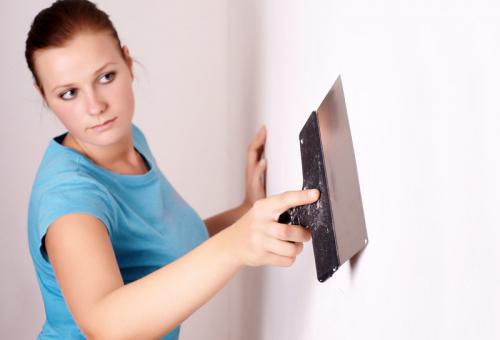
In the process of aligning walls with putty, it is recommended to use two spatulas, which makes it possible to effectively distribute excess the mixture and clean the tool from pebbles, garbage. At the same time, this activity is best carried out with lateral lighting.
Progress:
1. Initially, the wall is covered by the "starting" gypsum layer of putty. After it dries, the waves are cut using a spatula, all rods and tubercles.
2. The second layer is a "universal" putty, which does not give shrinkage when filling small defects. It should be distributed, keeping the tool at an angle. At the same time, as the mixture is applied, the spatula must be applied to the wall.
After the middle layer freezes, all the projections must be cut.
3. The third layer is "finishing" having a smallest grain. It is necessary to apply it with a thickness of up to 3 mm.
Alignment of walls by plasterboard without the use of frame
Sew walls with plasterboard should be alternately, it is not recommended to align the entire surface at the same time.
You will need:
- ribbon reinforcing;
- primer having a deep impregnation;
- glue plaster;
- plasterboard.
Progress:
1. Clean the walls and process them with primer.
2. We mix glue medium thickness.
3. The glue is applied onto the wall, and then on a sheet of plasterboard with large strokes.
4. Using the level, put the plasterboard to the wall and fastened it hard.
5. Formed enlightenment by glue.
6. The shelves cover the reinforcing ribbon.
Plasterboard wall alignment using frame
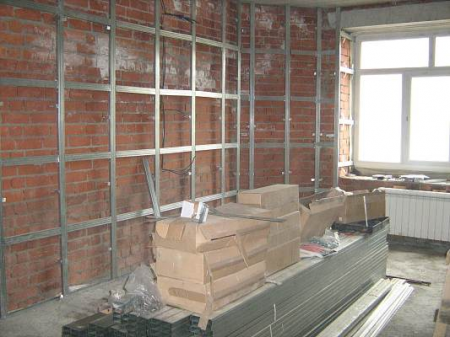
To align the walls, you will need 2 types of profile.
- guide;
- rack.
The first option is used to mount the contour of the structure. At the same time, the guides need to be placed parallel to each other.
Progress:
1. Initially, the profile is attached to the ceiling, and then, with a plumb, the place of fixation is determined to the floor.
2. Further in the rating profile is inserted by the rack and they are connected by self-drawing. The gap between the racks should be from 40-60 cm.
3. In order for the frame to be sufficiently durable, the rack profile is fixed to the suspensions that are mounted in advance to the wall surface. The suspension installation distance varies from 30-50 cm.
4. After the design is ready, it is necessary to fit the sheets of plasterboard strictly at the place. To fix them, it is recommended to use selflessness, which are made of oxidized metal (black). Details of fasteners are screwed up as carefully.
5. At the end of the work, the jokes of drywall should be sharpened.
The resulting space between the frame and the wall can be filled with minvata or other soundproofing building materials.
Alignment of walls under the wallpaper video:


