Before painting the wall in one or another shade, you need to give the surface a beautiful view. To prepare the wall under painting, it is necessary to treat with all the responsibility, because under a thin layer of paints, unlike dense wallpaper, even the slightest errors and irregularities will be visible. In this article we describe the technology of putting the walls under painting.
Content
Features of putty walls
Getting started to paint the walls, they must be prepared. Old coating, be it paint, wallpaper or tile, you need to consider. If the plastered surface has bloom, cracks and other unreliable areas, they should be clogged and close the fresh solution. Only after that the wall can be aligned with putty.
The finishing process consists of several stages. The material is applied to the walls by layers, giving each layer how to dry. After drying, the surface is grinning, ground and apply the next layer. Such work takes at least a few days.
Why should the painting of the walls be carried out exactly over putty? Unlike coarse-grained plaster, putty consists of much smaller particles. If you put the paint directly on the plaster, all the smallest irregularities and roughness will be very noticeable. But the thin layer of putty will help to make the surface with almost perfectly smooth, and so that the material is better to hold onto the wall, the plastered surface is desirable to open the primer of deep penetration.
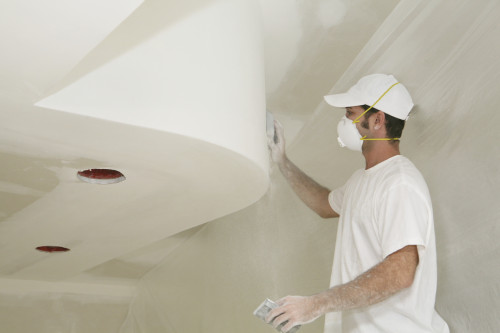
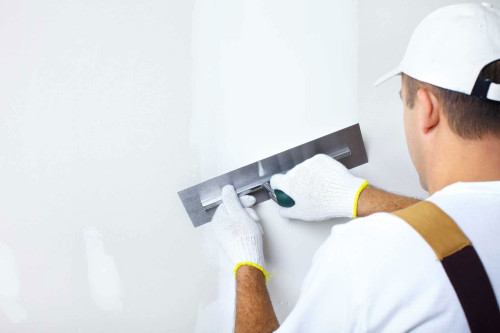
The process of applying putty under painting begins with a starting layer, which is convenient to perform with a wide spatula. Starting putty is applied with a layer of several millimeters, it should be thick enough to hide all noticeable depressions and irregularities. After some time, when the material is completely dry, it is watched and covered with groundwork. After that, they perform a layer of finish putty, as a rule, it is smaller and very white. The finishing material allows you to create a flat, smooth, snow-white surface, ready for staining in any shade. In some cases, when the wall is too curve or rough, it may be necessary to need an additional base layer.
Ready to paint the wall consists of several layers:
- The first layer is the base made of concrete, wood, brick, slag blocks, or other materials.
- The plaster is a second layer, the appointment of which is insulation and protect the walls, as well as their alignment. The thickness of the plaster fluctuates from 5 to 55 mm.
- The starting layer of putty hides the shortcomings that are present on the dried plaster. The basic putty is applied by a layer from 3 to 15 mm, depending on the smoothness of the wall.
- The finishing layer of putty is thinner, its thickness rarely exceeds 2 mm.
- If you need to make the wall perfectly smooth, it is possible to cover it by another layer of superfine putty, the thickness of which is about 1 mm.
When plastering and putting the walls, it is important to remember that all materials must dry on the wall naturally. If you resort to the help of a heater or a fan heater to speed up the process, lining cracks and occurs.
Varieties of wipelok
Determining which putty to choose to paint, you need to know which species this building material is divisible:
- Cement putty is considered a reliable material that is practically not affected by moisture. Such a composition can be used in the decoration of kitchens, toilets, bathrooms and other rooms where high humidity is often available. The cement makeup is rarely used as the finish layer, since after drying the wall becomes gray, and this color can peck through light paint or thin wallpaper.
- Gypsum putty does not tolerate high humidity, so such material is used solely when finishing dry rooms: bedrooms, halls, living rooms. Hyded on the wall, the gypsum putty creates a beautiful smooth surface, which, moreover, has a white-white color. On top of this material, you can stick wallpaper or in painting.
- The most modern, high-quality, but the most expensive material is considered polymer putty. With its help on the walls performed the finishing layer. Plastic polymer putty is quite slowly frozen, and after drying it forms a perfectly smooth and smooth texture on the wall.
We select putty and working tools
To work with putty, you should stock up with some tools, so you will need the following:
- A wide soft brush and roller, with which you will grind the wall.
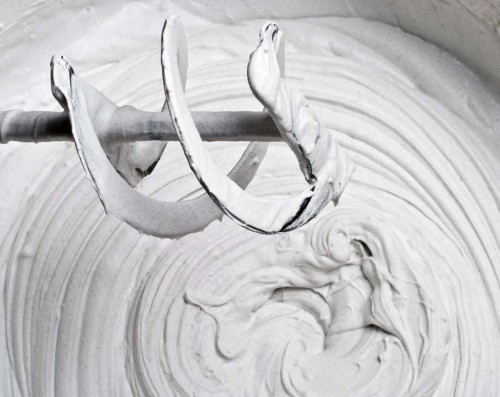
- To mix the putty in the container, you should be built by a construction mixer. Instead, an ordinary electric drill is suitable with a special nozzle, just keep in mind that the nozzle for mixing the paints is better not to use.
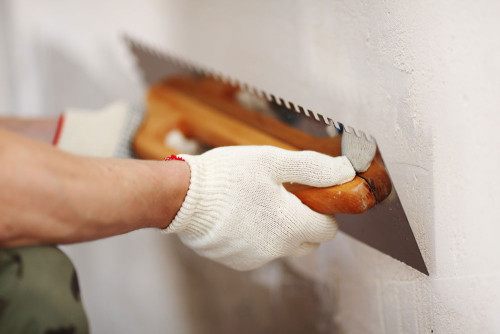
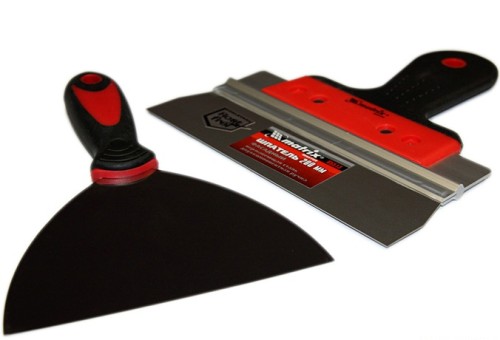
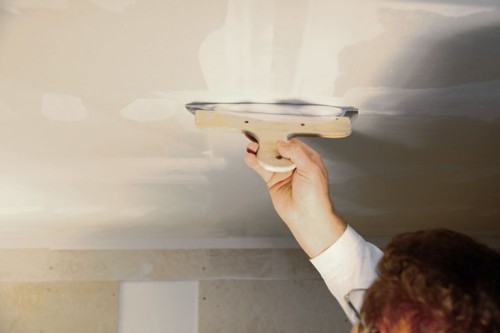
- Related tools for applying the composition on the wall are spatulas. There must be several of them, and they all should be of different sizes. The large spatula whose width is 50-60 cm, it will be necessary to process the extensive area of \u200b\u200bthe wall, such a tool can quickly bore a significant part of the surface. The average spatula of up to 25 cm wide is useful for applying putty in the corners of the room, and a small 5-10 cm wide spatula can penetrate in hard-to-reach places or close small errors. For corner processing, it is also convenient to use an angular spatula.
- The walls under painting should be very smooth and smooth, so after processing their putty, the dried material will need to be lured by a special mesh. It is advisable to use a fine-grained mesh.
It is necessary to select a putty for considerations of what the walls in the room are made and what is the level of humidity in the room. Many manufacturers offer customers special waterproof formulations that are suitable for lining walls in the bathrooms. As for manufacturers, such firms such as "Vetonit" and Knauf are most popular on the modern construction market.
For putty under the painting of plasterboard walls, material is often used to close the joints of Knauf Fugeenfuller junctions or the finish composition of Knauf Multi-Finish. So that the joints between the individual sheets of drywall were chosen qualitatively and unnoticed, the edges of the sheets need to be littered at an angle of 45 °. So that the putty keeps firmly, did not crack, did not go away and did not appear, it is necessary to use the reinforcing tape.
Before the painting walls of bricks covered with a layer of plaster, you will need to apply on the surface of 2 layers of putty: starter and finishing. Basic putty is designed to eliminate all irregularities, cracks, deepening, etc. The finishing putty will give the surface smooth texture and completed view.
Important: Using a putty, you can align only small shortcomings on the wall, for example, narrow cracks or pits no more than 5-7 mm depth. If there is more significant defects on the treated surface, it is better to use plaster.
The spatlement of the walls is carried out with a preliminary application on the surface of the soil composition. To protect the structure from fungi and mold or eliminate the already existing problem, you can resort to the help of special primers, which include fungicides. You can do otherwise, pre-covering the wall with antifungal agents, on top of which the shtatleviation will be carried out.
Putting the walls under painting with your own hands
Preparation of the surface under putty
There are several types of surfaces made of various materials and differing in their texture and texture. Carrying out the putty of the walls under painting, you need to consider which surface you will process. Distinguish several types of walls:
- smooth plastered surface;
- facing material with severe relief;
- wall covered with textured plaster;
- tile, wallpaper, wooden panels, plastic modules or other facing materials with a flat surface.
The wall that is planned to be painted should be smooth, not to have pronounced irregularities and drops. To eliminate all sorts of defects, you can use in one of the following ways:
- polish uneven surface;
- cover with plaster;
- align the surface by mounting on it sheets of plasterboard.
You can polish the wall only if you are confident that it is strong enough, it does not have cracks and damage that can threaten the integrity of the design due to its grinding materials. The surface is grinding sandpaper or emery bars, removing the old coating and part of the plaster. After completing this process, it is necessary to apply antiseptic compositions to secure the room from the growth of fungi and mold. Then the walls should be covered with primer, and those places that are already amazed by fungus or mold must be cleaned and smeared with plastering. Finished to the spatlement wall should be quite smooth, with no more than 2 mm drops.
If the wall covering is too old, the plaster is bubble, it moves down and crepts - it is better to completely remove it, and the walls themselves are reinstalled or tinted with plasterboard sheets. The appropriate option is chosen on the basis of material considerations, personal preferences, the presence of free time, features of the wall, etc.
The prepared surface before spitting is ground and leave until complete drying - it will take at least 6 hours. It is not recommended to start the work of the previous time, otherwise the quality of the coating may suffer.
Preparation of some surfaces to staining has a slightly different algorithm. For example, wood does not need to be additionally placed and opened with several layers of putty. The painting tree is simply grinding, and putty makes the most visible and deep irregularities. Then this wall is covered with antiseptic compositions to protect against insects, fungi and mold. You can also use anti-spyers that make the material less fuel. After all works, wood can be painted or varnished.
Surfaces with severe relief, for example, textured plaster or wallpaper, are simply covered with primer, and then proceed to staining.
Puttailing of walls under painting: applying the starting layer
It is worth noting that it is impossible to apply the paint directly to the sheets of plasterboard or cement plaster, since these building materials have high porosity and perfectly absorb liquids. Get a uniform and beautiful layer of paint in this case will not work, so plasterboard walls and walls are needed to pre-slip.
The starting putty, which includes fine-grained sand, is designed to create a sufficiently dense and thick layer on the surface, which will hide the small irregularities of the wall. The starting layer is applied by a large spatula, the width of which ranges from 60 to 80 cm. Material is smoothed by a large tool with a small spatula of up to 25 cm. The same device is conveniently embedded and correcting small errors on the wall.
It is necessary to make a solution immediately before starting work, because in the finished form, the putty is not stored for a long time, frozen after about 45 minutes after mass dilution with water. The solution is prepared according to the instructions on the package with the goods. Note that ready-made putty, which do not need to be breeded with water, also grab about 45 minutes after opening the bank.
When the walls are putty under painting, it is better to use a reinforcing mesh with a cell size of about 2 mm. The starting layer of the material is applied to a wide spatula on the wall, the thickness should be about 2 mm, and the width is equal to the width of the grid fragment. Then, the mesh is applied over the putty and press it slightly to the solvent. The grid is covered by another layer of putty.
Many newcomers engaged in such work for the first time, try to make the wall from the first time, ideally smooth and smooth, for which they carefully and for a long time smoothes the bands that are formed along the edges of the spatula. There is no need for this procedure, the most important thing is to apply the material in such a way to fill all the deepening on the wall and do not leave places that are not covered with putty. Strips that remain from the spatula can be a bit, and after drying the material, it is easy to lure them.
To dry out the starting layer, the putty will need from 6 to 8 hours, after the material is completely dry, you can grind it using an abrasive grid. With such work, it is better to use a rough grid with a large grain. After grinding, the wall surface becomes smooth, but its texture is still not smooth enough, so it is impossible to carry out painting work before applying finishing putty.
Applying finishing putty under painting
Materials for the creation of the finish layer do not contain in its composition of sand or other granular substances, therefore, as a result, the surface is obtained by smooth, and the material itself after drying becomes dense and almost impregnated with paint. The way to work with the finish putty is no different from the above. A wide and narrow spatulas are also used to work, but the material layer should not be too thick, otherwise, after drying, the putty will go cracked. The optimal thickness of the finish layer is considered to be 1.5-2 mm. Finishing putty after drying also needs grinding. Grind the wall need abrasive grid with a small graininess.
If the first layer of finishing putty did not give the expected result, 1-2 additional layers can be applied. The quality of the work done is the easiest to check with the help of a searchlight or lamp, directing the rays at an acute angle to the wall.
When the last finishing layer freezes, it needs to be carefully lured by an abrasive grid and open the primer. Before grinning the wall, the dust and other small particles remain in the process of work should be removed from the surface. This can be done both with the help of a vacuum cleaner and using an ordinary dry cloth.


