Anyone who has searched to the founding repair of its apartment, necessarily faced the issue of flooding floors. Choosing one or another type of flooring, it is important to prepare a qualitative basis for it. If you want to save yourself from dirty work, while getting a great result, the dry screed will become an excellent solution. In addition, if you do everything yourself, you can safely save. In this article, we will try to disassemble the use of gypsum sheet materials in the most detail in detail during dry construction. We will also consider one of the ways of dry screed using clay.
Content
Features material for dry construction
The modern building materials market is overflowing with all sorts of floors in the living room. In addition to the classic "wet" screed, which uses liquid concrete solutions, began to use a dry method. This method allows you to make a screed even when wallpapers are picked up, and finishing the room. Dry construction involves working without using dirty mixtures, while the process occurs much faster. To better figure out in all features inherent in the dry method, consider everything in detail.
Advantages and disadvantages of dry screed
Dry screed is a fairly popular method by which the floors are aligned. Laying the flooring begins directly at the end of the alignment.
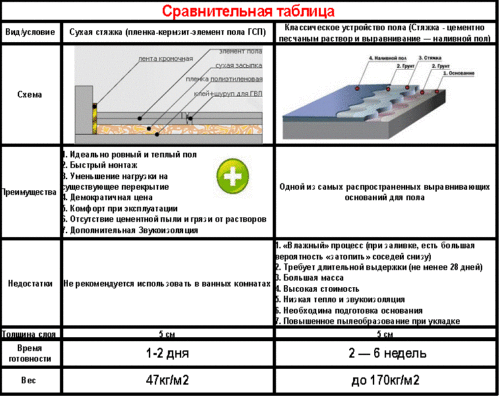
The main advantages of the dry screed are the following:
- the cleanliness of the work (the whole process occurs without dust and dirt, unlike the cement-sand tie);
- you do not need to wait for the final setting of the solution, the coating can be laid immediately on the ready-made "cake" of the screed;
- year-round use (you can work with a dry tie at any time of the year and at any temperatures. Unlike concrete solution, the dry filler does not crack during the temperature differences);
- a small load (dry mixture has a much smaller weight, which eliminates the possibility of deformation of the ceilings. Such a screed is perfect for the dilapidated buildings);
- easy to install communications (carry out a layout of electricity and water supply is much simpler, because with a bulk material it is easier to work);
- excellent sound insulation indicators;
- heat insulation (clay granules perfectly hold heat indoors);
- the simplicity of the construction method (you can independently hold the floor alignment in your apartment or room, assistant services you will not need).
As you can see, the "advantages" of this method is very much, however, "minuses" are also available, although minor. The main disadvantage of the dry screed is considered to be fear of moisture. However, this problem is quite easily solved. In order to give the floor surface excellent indicators of moisture proof, it is enough to coat it with waterproofing material.
Method of dry construction. Selection of material for dry screed
When we figured out the main advantages of a dry screed, it is necessary to choose the right filler for the mixture. Choosing a filler, consider a layer of the future screed. It should evenly fill all the irregularities and floors of the floor. Do not forget that communications will be held in the screed.
We choose the material for frowning dry screed
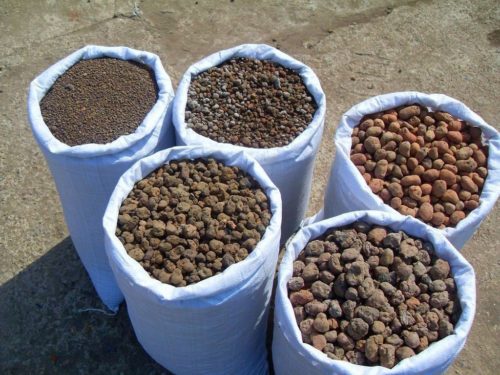
Multiple materials are used as a filler, the main task of which is to hold heat indoors. It is also important that the filler does not absorb moisture. To do this, use a porous material in the granules with a diameter of 2-5 mm. Basically, the screed is placed by a layer of about 50 mm. If a thicker layer is needed, the cake is enhanced using an additional layer of plates.
In order to align the floor with a dry screed method, the following types of fillers are used, which we suggest to consider further:
- Ceramzit. It is small pieces of clay, which are burned under the influence of high temperatures in a special oven. Granules are so strong enough that they begin to foam. After the material cools, the ceramzite acquires a porous structure, which gives it excellent thermal insulation indicators. It is believed to the most popular material. This is due to the fact that the clamzite has a sufficiently low cost, but it fulfills its useful function. Working in such a material, note that it is better to separate damaged granules before falling down, leaving only entire instances. Damaged slices of clay loss of beneficial properties, so it is better to get rid of them.
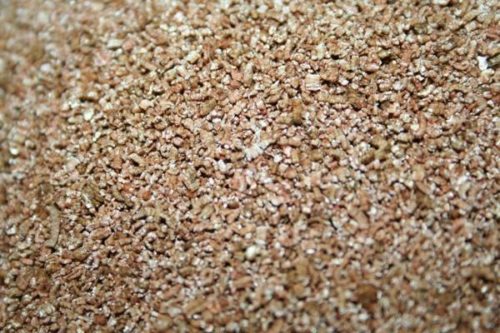
- Vermiculitis. Unlike clamzit, there is natural origin and a lower weight. Granules have a silver-golden layer structure. Please note that you better purchase a foamed version of the vermiculite for the screed, since it is he who will properly protect the floor from the impact of moisture.
- Perlite. Presented in several variants: expanded perlite (manufactured in the heating process to 1000 ° C), perlite granules (the most common variant of the filler), as well as perlite sand (the smallest fraction of the material). If you use a heated filler version, then you note that it has a very low weight, and can easily fly out. But the moisture in the granules is practically absent, which indicates its excellent thermal insulation indicators.
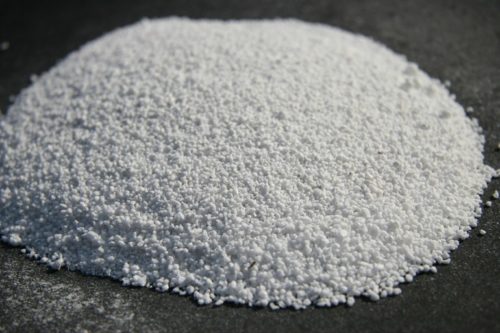
I would like to draw your attention to the fact that the dry screed does not always involve the use of backfills. In the event that the surface of the floor has minor differences, instead of backfills, a sheet insulating material can be used, such as extruded polystyrene foam. It is placed directly to the floor, after which the floor covering is placed on top. It has excellent sound insulation properties, so it is often used in the arrangement of the premises that are most often susceptible to external sound stimuli.
Choose sheet material
Before assessing the last layer of "pie" dry screed (floor covering), you need to put a sheet material. In case we build walls with a dry method, then drywall sheets are perfect. If the walls are cut outside, for example, on the veranda - we advise you to choose aquapanel. Depending on the features and microclimate of the room use different options for sheets.
Consider each option separately:
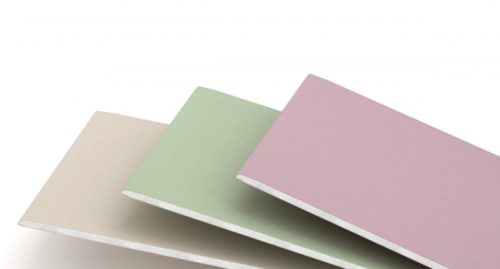
- GLC It is a hard gypsum mixture, which is placed on both sides to the construction cardboard. There are also refractory and moisture-resistant options for sheets of various thicknesses - from 6 to 18 mm.
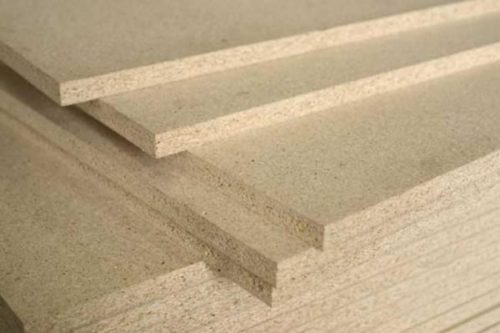
- Chipboard. It is manufactured by gluing wood chips, which is subsequently pressed into the slabs of various thickness and sizes. The mixture also add special substances that improve material performance.
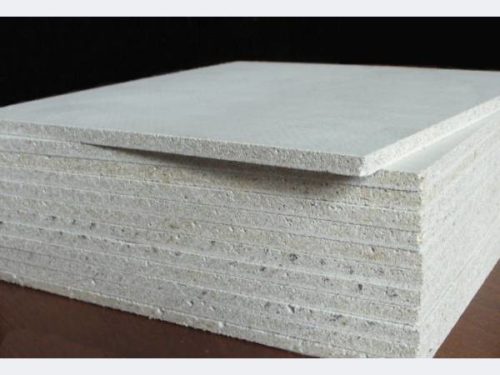
- GVL. The same version of the plasterboard sheet, except that the gypsum component strengthens the layer of fiberglass. The reinforced gypsum fiber sheet has a large bend strength indicator, rather than GKL.
- Vgvl. This is a gypsum fiber leaf, which uses special hydrophobic additives. Cardboard is also soaked with a special fireproof material. All this gives the sheet good indicators of moisture resistance and refractory.
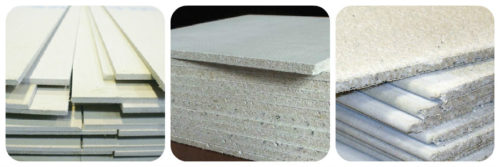
- Gsp. It is plates of conventional and moisture-proof type, which contain 80% of gypsum, 18% chips and 2% moisture. Due to this composition, plasterboard plates refer to eco-friendly material. One of the main deficiencies can be allocated that when the sheet segments, a sufficiently large amount of dust is released.
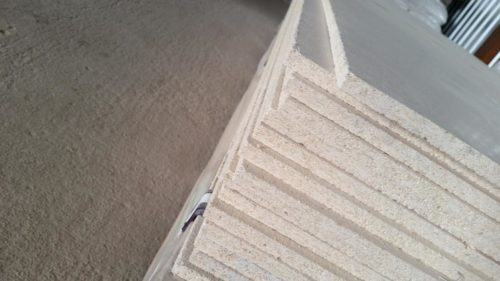
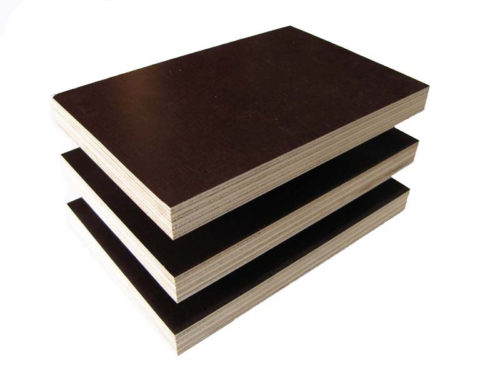
- VFL. Moisture-resistant plywood sheet is a few glued layers of veneer. They are treated with a special bakelite impregnation, which increases the service life of the material, protecting it from moisture and chemicals.
As you can see, the choice of sheet material for the "pie" dry screed is quite wide and diverse. For example, chipboard is perfect for the bedroom and drywall sheets. For the bathroom it is better to use a moisture-resistant version of plywood or a drying sheet. Please note that all types of this material have a fairly wide price range. Depending on the type of premises, we advise you to purchase GKC or moisture-resistant Fane. These options will be most acceptable at the price.
Dry screed with your own hands. Instruction
If you decide to align the floor in the apartment "dry" method, then it is important to prepare thoroughly. There is nothing complicated here, it is only important to observe a certain sequence of actions that will help fulfill all the work.
Calculation of materials for dry screed
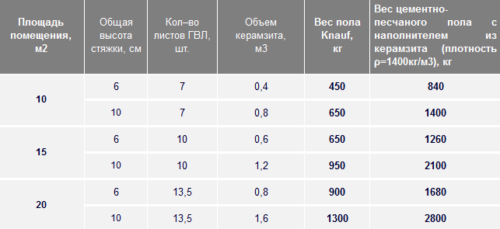
Start any construction work, including a dry tie, best with the calculation of the required material. To calculate the room area, you need to know its size. To spend all the calculations for sure, it is also important to concern in advance and calculate the future layer of "cake" screed. Based on these parameters, determine the thickness of the screed layers, as well as the type of submetock and sheet material.
To calculate the amount of material for all components of the screed, we will analyze each layer separately:
- sheet material. Since this material will fit completely on the floor surface, then it is enough for us to know the length and width of the room. These parameters varnimize, resulting in an area. To calculate the number of sheets, the area of \u200b\u200bthe room must be divided into one sheet area;
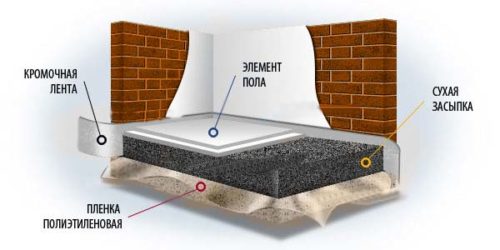
- waterproofing. Most often used polyethylene film with a width of 3 m. Depending on the method of laying (along or across the room), the number of films are calculated. Please note that the material must enter each wall at least 100 mm. If several pieces of film will be counted, the material is placed in a $ 150 mm;
- failure. To calculate the cube of this material, multiply the width of the room to the length of the room. The result is multiplied by the screed thickness (excluding sheet material). The backfill is better to take with a reserve of 10-15%. This is due to the fact that due to level drops, it is not always possible to carry out accurate calculations;
- dampfer tape. In this case, everything is simple, just just know the perimeter of the room, adding 10% on the angular bends.
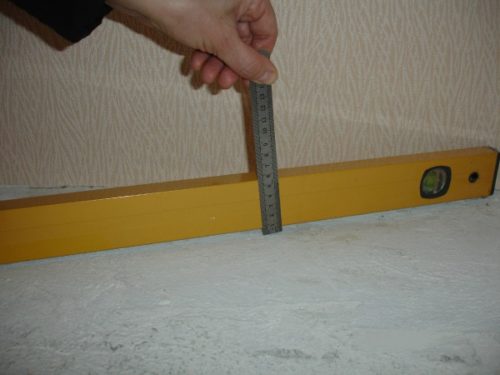
To calculate the amount of sheet material and polyethylene film, it is enough to know the parameters of the room. By purchasing a plot for a screed, take material with a margin. You overpare a little, but save yourself from unnecessary trips to a construction store associated with a shortage of the material.
Tools and materials for dry screed
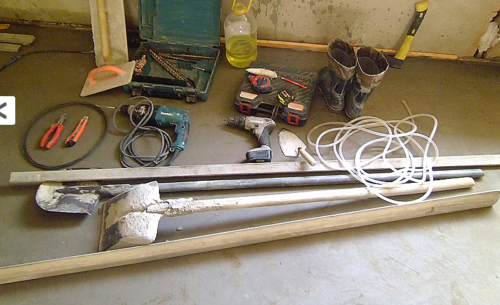
To carry out high-quality floating floor with a dry tie, we advise you to get the following:
- veyro, shovel, construction knife, dumping;
- level, rule, roulette, screwdriver;
- lighthouses or metal profiles, fastening elements;
- polyethylene film, damper tape, glue for folding, tape;
- subsidation material, polystyrene foam plates (if necessary);
- spatula, gypsum fiber tape, putty;
- gloves, special equipment.
Please note that some parameters of this list may vary. It depends on the structural features of the floor, as well as the selection of the substitution material. It all depends on the size of your wallet and the thickness of the dry screed. Choose only a high-quality tool, then work will not seem hard to you.
How to make a dry tie with your own hands
To carry out a dry backbone on your own, you need to know some features, as well as the technology of this method. The material of the "cake" layers of the tie may vary depending on the properties of the base and other features of the room. Below, we give an example of alignment of the concrete floor in the apartment using a dry screed using a clayjit as a subtype.
For such work, the following algorithm is used, acting in sequentially:
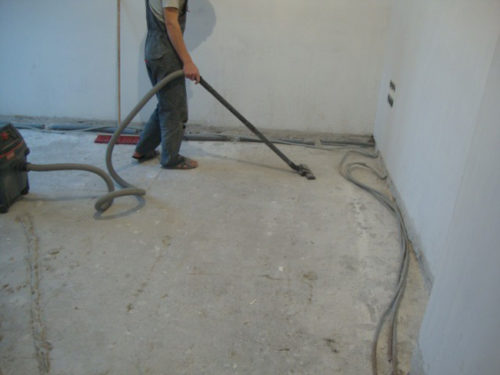
- First of all, you need to prepare the basis for the screed. Remove the old floor covering. If there are cracks in concrete, close them with a solution or a special sealant. Remove the entire garbage from the surface and the residues of the dried solution.
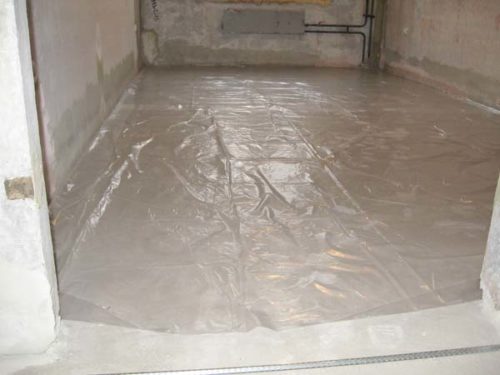
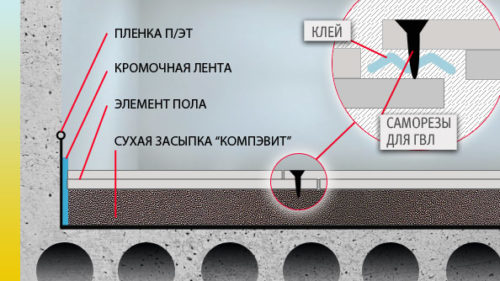
- Start laying the waterproofing material. It will protect the subtle from entering the granules of vapors. If it is necessary to poison the polyethylene film, then it is placed by a $ 150 mm, after which it is fixed using the tape. The joint at the same time is sampled along the edge of the rolled material. The edges of the film, set on the walls, are also fixed on the tape.
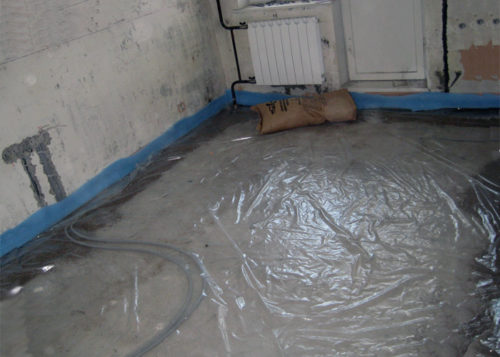
- On the perimeter of the room along the place where the wall is adjacent to the floor, start assessing the damper tape. It is best to purchase a ribbon 100 mm wide on a self-adhesive basis. It must be tightly pressed, especially in the corners.
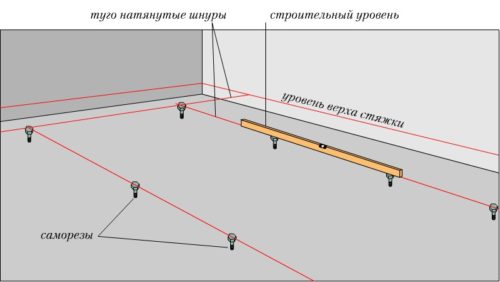
- Start Mount Lighthouses (or Metal Profile). Armed with the level and scolding with self-drawers, the planks fix parallel to each other at a distance of 1.5-2 m. Note that they should be located in the level to the horizon, because it is the lighthouses that the plane is set to the future screed. To fix the bar, you can use both cement-sandy solution and specialized fasteners.
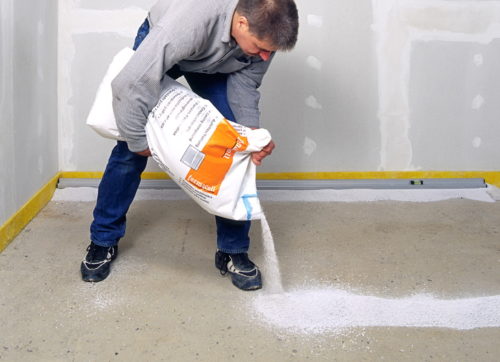
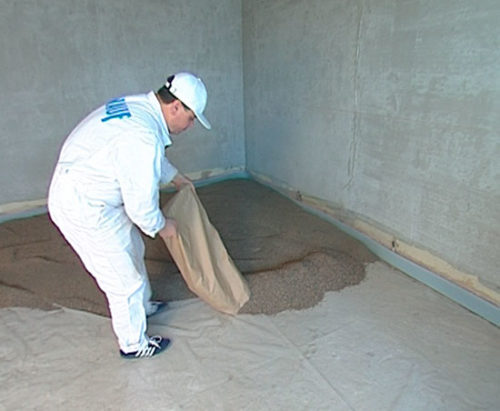
- Start consistently fall asleep clamzit. Do not forget that all granules should be integers to provide the necessary level of moisture protection.
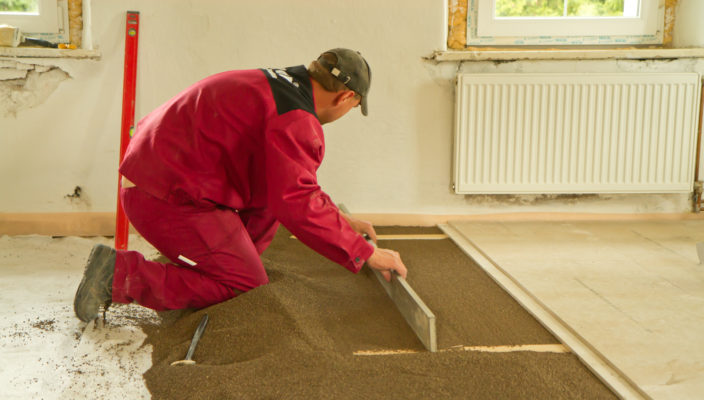
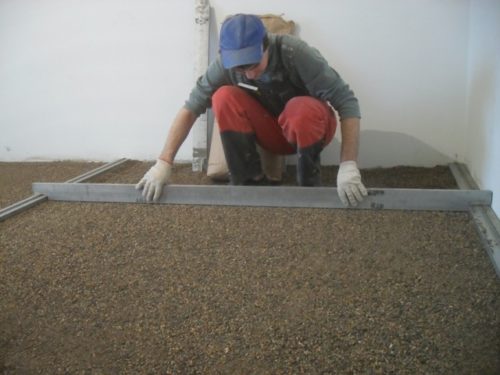
- Using the rule evenly smooth the clay. For the convenience of work, move on the lighthouses. In this case, the rule is placed one of the end for one lighthouse, and the second is to another. After that, the rule is moving from side to the side so that the ceramzite is evenly distributed on the site between the beacons, and did not divert higher levels. Move from the corner to the outlet from the room.
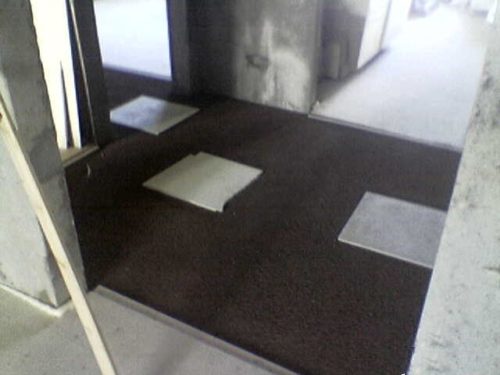
- Before laying a sheet material, arrange a plumbing platform with a small bridge. By him, you can easily move around, distributing the load on the submission. This will help you not "drown" in the clay. For the bridge, drywall trimming is perfectly suitable for both other rebelny material.
- If you are placing GLC, it is better to mount sheets in two layers. For reliability before laying the subsequent sheet of the second layer, the previous sheet is wetted by PVA glue. Sheets are stacked in a checker, twisting between themselves self-drawing. All joints are sampled by the reinforcing ribbon, after which they put off and grind.
- If you mount the moisture-resistant phanener, then one layer is quite enough. In this case, the joints are wetted in a special sealant, such as liquid bitumen.
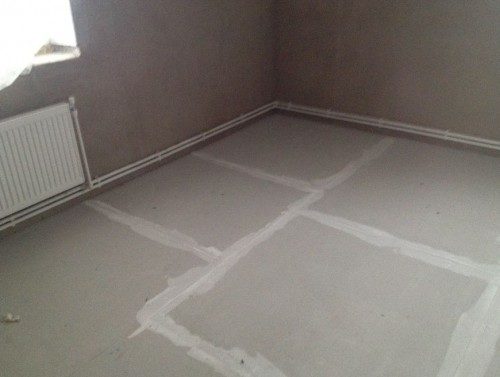
- The residue of the damper tape, which discovers around the perimeter of the wall, cut the construction knife.
- Now you can lay a decorative floor covering no earlier than 2 hours after drying the glue.
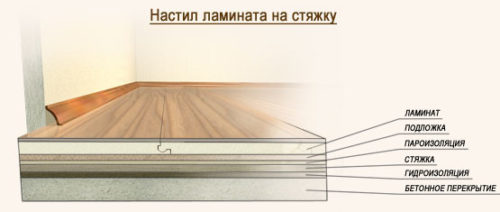
As you can see, conduct self-alignment of the floor in the apartment is quite simple. It is important to observe the sequence of the "Cake" layers of the screed. Be sure to seal all the joints and slots, regardless of the material selected. Do not rush, and act consistently, then the screed will last you for a long time. Do not forget that the qualitative and even foundation is the key to the durability of the decorative flooring. We hope that in this article we fully disclosed the question related to the technology of laying a dry screed. Take advantage of our advice, and the result will not make you wait.

