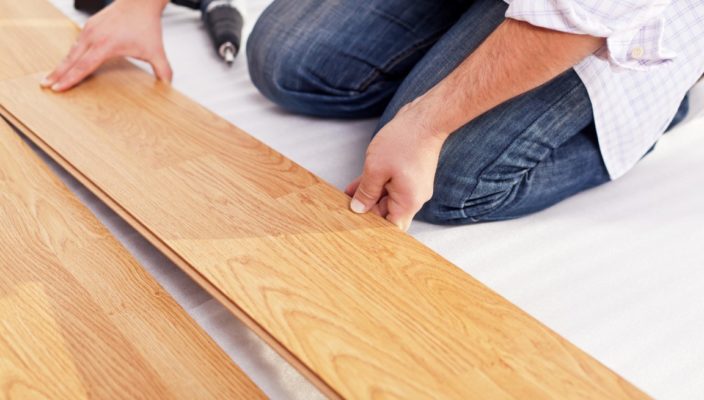
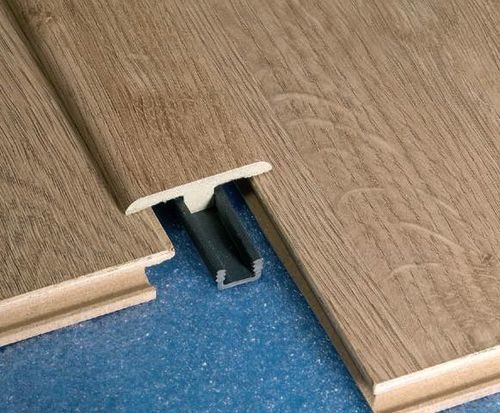
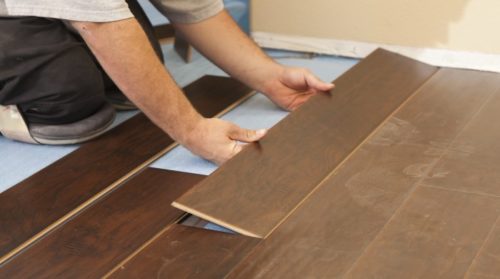
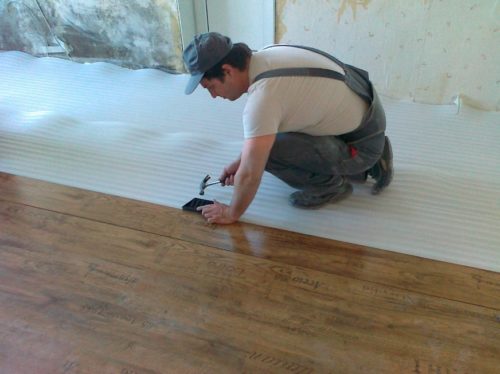
No repairs of the apartment or house do without replacing floor coverings. One of the most popular types of flooring for sex is considered laminate. Installation work on its laying can be made independently, without attracting specialists. Next, consider step-by-step instructions for laying the laminate with your own hands.
Content
- What is laminate, features and varieties of material
- Advantages and disadvantages of laminate
- Basic tools and materials for laying laminate with their own hands
- Main ways of laying laminate
- Laying of laminate and substrate with their own hands on concrete and wooden floor
- Laying laminate with your own hands: video instruction
What is laminate, features and varieties of material
Laminate itself consists of several layers:
- Kraft paper. Responsible for the sensitivity of the material to get moisture on it.
- Wood-fiber layer - DVP. The thicker and high quality Bed Plast in the structure of the material, the longer the laminate will serve.
- Smoliy layer. This is an external finish coating of the material.
- Decorative coating. It is it that is responsible for the beauty of the appearance of the product.
Class material in terms of wear resistance:
- Material class from 21 to 23. These are low product strength indicators. Such a laminate should not be treated in premises where there is a large number of people, small children or there are changeable humidity conditions.
- Material class with 31 to 33. The average quality of the material. Suitable for laying in apartments and private houses.
- Class of material - 34. Specifies the increased strength of the coating.
- Material class 42 and 43. Especially high-quality floor coverings. Can withstand contact with water. Such layers of laminate can be laid in rooms with large passability of people and with unstable indicators of humidity. The only one, the material of this elite class has a very greater cost, therefore it is made exclusively under the order.
For more information about the classes of laminate and in what rooms you can carry them out, you can learn from the table:
Advantages and disadvantages of laminate
This coating has its advantages and disadvantages. To the first of these, the following can be attributed:
- This coating does not need finishing and fully prepared for use.
- The installation process of laminate planks is quite simple and therefore does not require the use of special skills.
- This is a multi-layered material. Many synthetic layers of laminate are manufactured with high levels of strength both to moisture and mechanical damage.
- Prices for this cover is rather low, if you compare them with the cost of a parquet board.
The following factors include the disadvantages of this floor covering:
- This material refers to synthetic and artificial. So, if you give preference only with natural and natural flooring, the laminate is not suitable for you.
- Some varieties of this material (for example, class 21 laminate) have fairly low wear-resistance and strength.
Basic tools and materials for laying laminate with their own hands
The laminate planks should be laid in the latter queue, when all "dirty" and "wet" repair work in the room is complete, and in the room there is dryness and normal level of humidity. If all the conditions for storing and laying the material are observed, the finished flooring should turn out to be durable, durable and beautiful.
The following tools and materials will be required for work:
- Laminate planks (Product class Choose based on your premises' needs).
- Substrate for laminate.
- Saw, Lobzik for figure cutting. These tools will be needed to adjust the length of the side planks.
- A sharp knife for cutting the substrate.
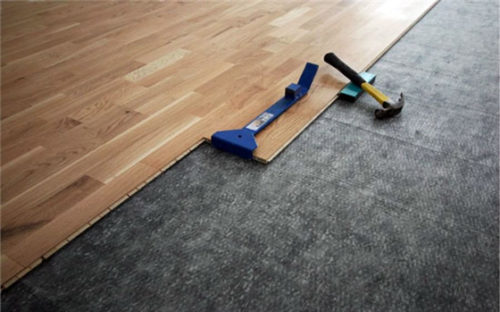
- Hammer, nail-holder.
- Pencil, line, level.
Before purchasing material for repair, correctly calculate the number of laminate for laying with your own hands. The calculation should be performed on the basis of two parameters:
- The area of \u200b\u200bthe room that is subject to repair.
- Plus 15% on the consumption of the material when it cuts it.
In addition, it should be responsibly referring to the selection of the substrate under the laminate, because the further quality and operational characteristics of the finished coating depends on it. The substrate is located directly between the basic base and laminate planks. Due to this layer, many small irregularities of the coating and installation defects are eliminated. The coating with a high-quality substrate is less "walking" if there is a large number of people on it. The interlayer itself should be durable in itself, but with this militant and elastic. Most often in the manufacture of a substrate for laminate use:
- Cork material.
- Polyeneetylene.
- Polystyrene.
Main ways of laying laminate
There are several basic ways to lay laminate:
- "Straight" laying. In this case, the laminate bar is laid parallel to the walls of the room. At the same time it is necessary to monitor so that there is no bias of the boards. In addition, do not forget that the laminate must "breathe", therefore, near each wall, leave a small gap, with a diameter of about 6-8 mm.
- "Diagonal" laying. In this case, as it is clear from the title, the flooring of the boards is strictly diagonally. Start such laying from the window. The angle of inclination of each plank should be 45 degrees.
- Laying "Christmas tree". This method is quite laborious, as it follows each board of the laminate to lay with a displacement, relative to the previous one. In this case, the consumption of the material will be greater, since it is necessary to cut several slats.
An exemplary pattern, which is obtained at various ways of laying, can be viewed in the diagram:
Laying of laminate and substrate with their own hands on concrete and wooden floor
Features of laying laminate on wooden floor
The order of installation and the features of laying laminate on the wooden floor do it yourself:
- First of all, you should prepare a draft floor for styling. The base should be tough and smooth. It is allowed to have defects and surface runners not more than 3 mm (they can be hidden due to the flexibility and thickness of the substrate under the laminate).
- If a concrete base is already alone evenly and rigid enough, then some difficulties may be with a wooden surface. For example, boards when walking can "walk", because of this intake of the base exceeds the permissible limit, and the locks of the laminate layers will disperse or simply break. Therefore, before moving to laying a laminate on a wooden floor, a pretty inspect all the basic boards and lags. They should not have any bends, they should not be attended by traces of rot. Damaged and broken boards must be replaced.
- Next, you should put additional wooden lags under the draft floor, which fix the floor covering in the desired position, and the boards will not be fed when walking.
- Note that for wooden floor, the presence of additional fasteners, such as self-tapping, nails, with which the draft boards are fixed in the desired position and acquire the necessary rigidity.
- Given the flexibility and structural features of wood, as a material if you mount the laminate on the wooden floor, the threshold of the permissible surface defect should be not 3 mm, and 1-2 mm.
After the draft base floor is finally aligned and strengthened, you can proceed to the laminate installation process. Stage technology Next will be the same as when laying flooring on a concrete basis, therefore, the installation process will look at the next section.
Laying of laminate on concrete floor
The order and features of laying laminate on the concrete floor do it yourself following:
- Spread all purchased laminate planks on the floor, and appreciate their condition. Select those who have chips or were damaged during transportation, they will need to be used to lay the extreme rows that will need to be cut and pruning.
- Since the concrete coating is initially smooth, you can immediately begin the installation of the laminate. Directly laying starts from the door.
- First of all, over the entire surface of the floor, we plan a substrate under the laminate. Since the substrate is most often represented by a non-solid sheet, but slices, then all parts of the flooring should be copped with a painted scotch.
- If you wondered how to lay a warm floor under laminate with your own hands, then it should be remembered that it is mounted on a draft base, and the planks are already stacked on top.
- Next, we carry out layout of laminate planks, ranging from the wall that is located on the door of the door. Initially, we mount the first row of planks. We do not forget that on the sides of the wall should be left a small technological gap, approximately 5-8 mm. If the last strap is not fully placed, then it should be trimmed using a jigsaw. At the same time, do not forget to leave the deformation seam. In order to be in the material, the chips are not formed, it can be cut from the reverse side of the plank.
- The second row is stacked according to the chosen installation scheme - exactly, diagonally, with displacement, etc. After laying the third and fourth row, a deformation seam should be made. Consider if the lock lock will be on the right side, the laying should be carried out from left to right, and if the spike on the bar is located on the left, then the laying is carried out on the contrary, to the right left.
- In the latter, when all laminate rows are laminated on the floor, the plinth is mounted.
Laying laminate with your own hands: video instruction
Detailed instructions for laying laminate can be found from this video lesson:

