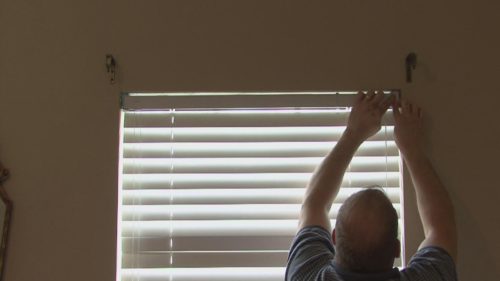
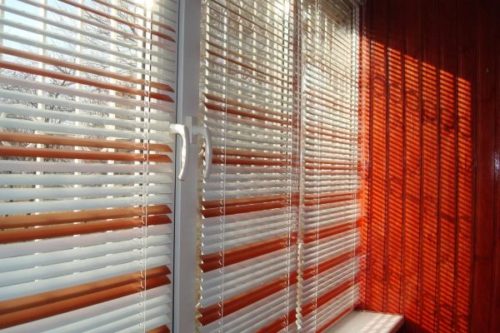
Installation of blinds on windows in our time is not only "tribute to fashion", but also a very practical event. In summer, they can save housing from sunlight, and therefore, it is noticeable to reduce the consumption of electricity to the air conditioner. In winter, blinds will become an additional obstacle for cold air, which penetrates the room through the glass, which will lead to savings on the payment of heating. Especially they need residents of the first floor to protect against unnecessary sights of passersby on the contents of their apartment or at home. The designs of the blinds today are quite a lot and each of them has its advantages, disadvantages, as well as installation features. On how to mount blinds on plastic windows with your own hands, let's tell later.
Content
Types of blinds, their advantages and disadvantages
Before starting the installation of the system, it is necessary to properly select it for specific conditions. To date, 3 designs of blinds are widely applied:
- Vertical blinds. They are a cloth of bands, sliced \u200b\u200bfrom dense tissue, which hang from top to bottom. Due to the turntable, each of the bands is synchronously rotated 90 °, opening or closing the view of the window. Thanks to the cargoes, each shutter band is strictly vertically. These models are installed before the window opening, which makes it impossible to use them together with curtains. Basically apply vertical blinds in office space, where practicality is always more important than the beauty of design and comfort.
- Horizontal blinds. The most common appearance, which is successfully used both in offices and in private houses. They can be mounted almost anywhere, including the windows frame. Often horizontal blinds are mounted on each sash to make it easier to open the window. They are perfectly combined with curtains, lambrequins and other elements of the decor. Basically, horizontal blinds are made of aluminum with a special coating. However, models from plastic, fabric or bamboo are sold on the market. The disadvantage of horizontal blinds is that there are many dust on the surface of their bands. That is why they require high attention in care.
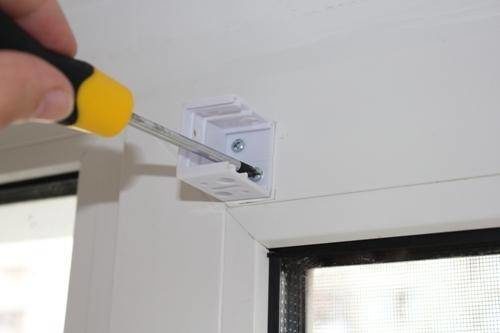
- Internal shutters or fabric blinds. They are a fabric cloth, which thanks to the special mechanism rolls into a roll. The advantage of these blinds is that any ornament and drawing can be applied to the surface of the canvas, which, in combination with a wide palette of the tissue itself, leaves ample opportunities for designers. The disadvantage of such models is the complexity of the care.
How to install plastic vertical blinds
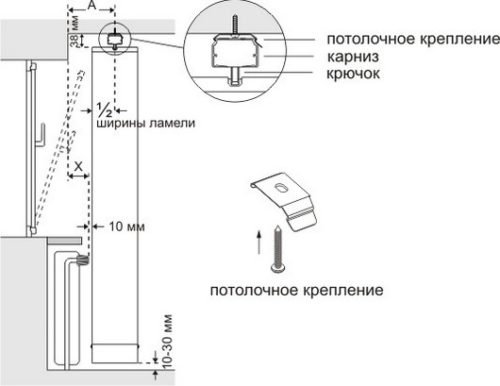
Basically, vertical blinds are attached to the window opening. In this case, the most important thing is to withstand the distance from the opening to the blind mechanism. It should be sufficient that the bands can be rotated without interference. Depending on the distance depending on the width of the bands.
To install blinds on the windows, you will need hand:
- Dowel and screws - up to 5 pieces of 6.0x40 mm.
- Drill or perforator with a drill with a diameter of 6 mm.
- Screwdriver.
As a rule, blinds are sold unchanged (eaves with a mechanism separately from tissue bands).
Fastening the cornice itself can be performed in two ways:
- To the ceiling.
- To the wall with special brackets.
The order of attachment of the cornice to the ceiling is as follows:
- First of all, it is necessary to mark the position of the cornice. From the wall, a certain distance retreats and a mark on the ceiling is made. The same are applied along the entire length of the eaves in a step of no more than 1 meter.
- Through the marks, a straight line is taken carefully. To do this, you can use a painting lace.
- Now inside the cornix itself in increments of 0.5 meters, holes with a diameter of 3.5 mm are drilled. Through them, the dowel will be screwed up self-sufficiency.
- When the holes are drilled, you can proceed to the "fitting" of the cornice. This will require the help of another person. The cornice is applied along the line and through the holes drilled in it are the same in the ceiling with a drill with a diameter of 3.5 mm. Then the cornice is postponed, and the obtained holes are drilled under a diameter of 6 mm.
- Next, dowels clogged into the resulting holes. It is necessary to do this in such a way that the edge of the dowel does not speak from the hole. Then the cornice is installed in place and fastened with screws.
- After the cornice is installed, you can hang out the rest of the blinds.
- If the ceiling is made of drywall, it is desirable to mount the cornice to the profiles of the crate with the help of screws. In the event that it is impossible to do this, the eaves is attached directly to drywall using a special dowel.
- In some situations, consolidate vertical blinds to the ceiling is not possible, for example, if the latter is made of PVC film (the so-called stretch ceilings). In this case, it is mounted on the wall using brackets. In the cornion blinds there are special threaded holes, thanks to which brackets are attached to it.
- The brackets themselves are mounted on the wall above the window opening. Before starting work, it is necessary to mark the markup to the level so that they are installed at one height. Mount the brackets to the wall with the help of a dowel.
Horizontal blinds - Montage do it yourself
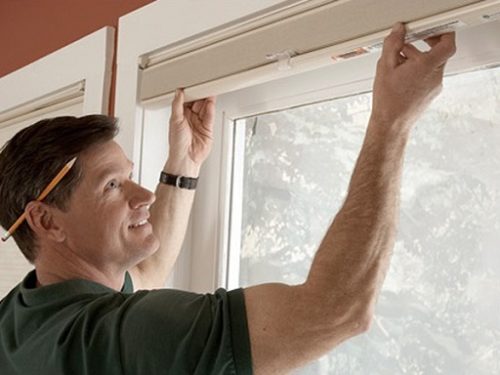
Horizontal blinds are installed, as a rule, directly on the frame frame. If the windows are metal-plastic, then problems with the installation of the blinds will not arise at all. The package of each system includes special brackets, thanks to which they are attached to the windows frame. To secure blinds to the window you will need:
- Screwdriver.
- Pencil.
- A set of small screws (10 pcs. It will be quite enough).
Procedure for work:
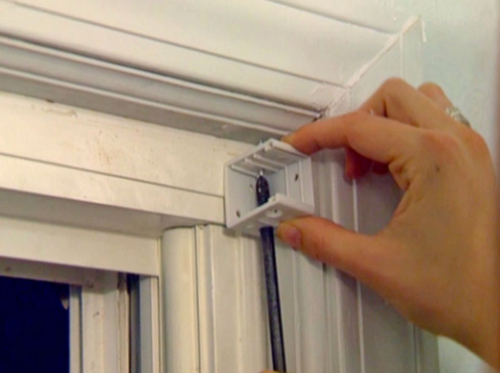
- The first thing to the eternity mount mounting brackets. They are installed quite simply - on the latch. After that, it is necessary to outline the position of the brackets on the windows frame. To do this, blinds are applied in such a way that the edge from the eaves reached the edge of the stroke. Pencil is applied marker lines. Then the brackets are removed from the cornice and applied to the frame along the line. Each of them has several mounting holes through which the brackets are attached with the help of self-tapping screws.
- By installing the brackets, you can attach eaves to them and straighten blinds. When they are installed on a deaf sash, there are no problems, but difficulties may arise with a movable flap. The fact is that when the sash opens, the blinds will be assumed from it. It will look very bad. In order for the blinds did not deviate from the axis of the sash, the special plastic locks are screwed down to the frame below. For their installation, you need to fully straighten the blinds, and at the level of the last plank, fasten the fixators with each side of the window.
- Further, the last plank is started in the retainer and snaps up. Now, when opening the sash, blinds will not hang in the air, and will be on the same axis with the frame.
Installation of rolled blinds on plastic windows with hands
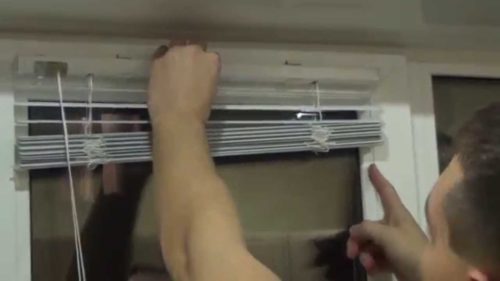
Rolled blinds or curtains have become quite popular thanks to their beauty and practicality. The simplicity of the design makes it possible to easily mount them and, if necessary, shoot for washing.
All the necessary parts for fastening the blinds are sold in the kit.
To carry out work on the installation of rolled curtains, you will need:
- Screwdriver.
- Set of screws.
Sequence of installation work:
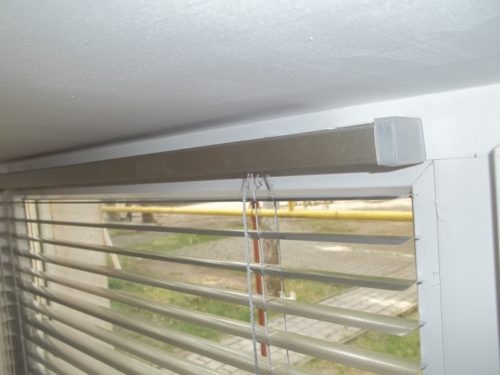
- First of all, it is necessary to assemble the top of the blinds. To do this, special fastenings are inserted into the end of the roller. For deaf and opening sash windows, they are different. The latter, in addition to the hole for the screws, has also special hooks that begin for the sash. Also for the convenience of installing in the kit there is two-way tape. After the mounting mounts are installed in the ends of the roller, double-sided tape is pasted on them. Next, the curtain is placed on the window of the window and fixed with the help of bilateral tape. Then the roller is neatly removed to the mounts remain fastened on the frame frame.
- Now you can fasten them with self-draws. The first they are screwed into the upper holes. In the bottom holes, before screwing in them with the screws, the guide line is starting with each of the sides. To fix it, an ordinary node is tied at her end. After that, self-hole is screwed into the bottom hole.
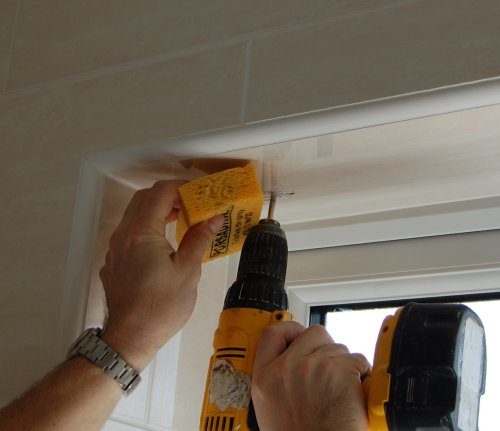
- Now you can install a roller with blinds. Next to the drive end of the roller, a special chain is attached, pulling for which, you can raise or lower the curtain.
- Below the blinds there is a special plank, in the ends of which there are holes. They need to start a guide fishing line.
- Next course the flap frames are attached tensioners for the guide fishing line. They consist of two parts: the mechanism of stretching and fastening dice. On the reverse side of the dice is pasted double-sided adhesion. In the special holes of the tensioner, guide fishing line. After that, its position is regulated. Choosing the most optimal, the dice is pressed against the frame and fixed on the tape.
- Next, the tension mechanism is removed, and the dice is fixed in addition to two screws. After that, the mechanism is collected together, a fishing line has been done in it and with a screwdriver stretches. The line tension force is indicated in the instructions.
