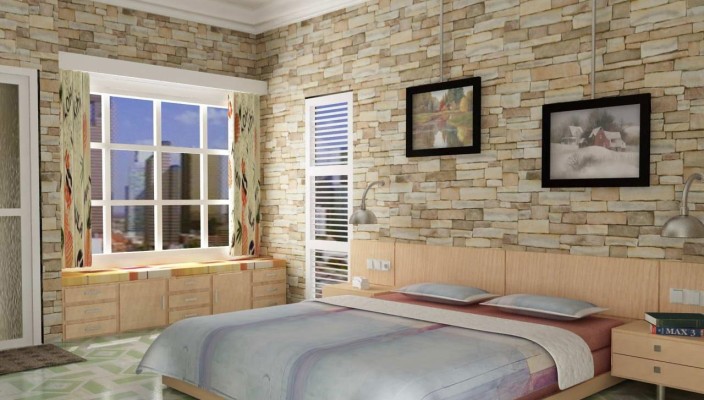
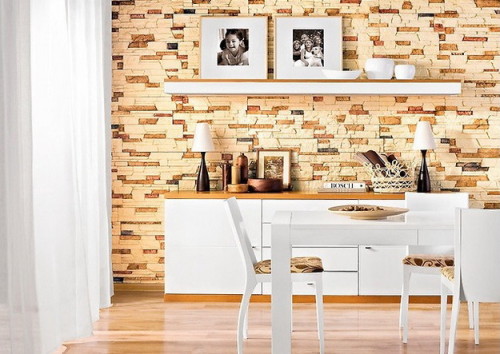
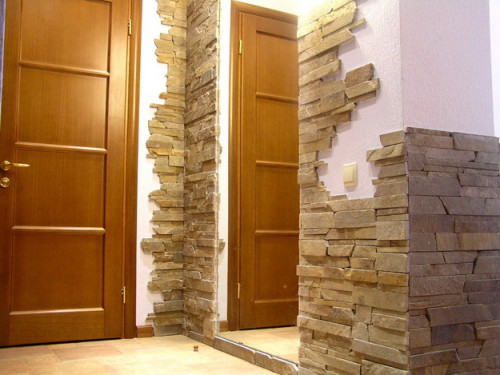
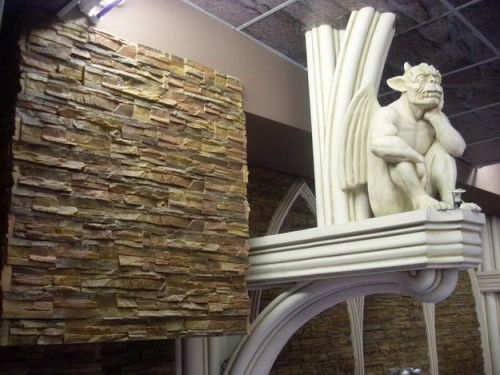
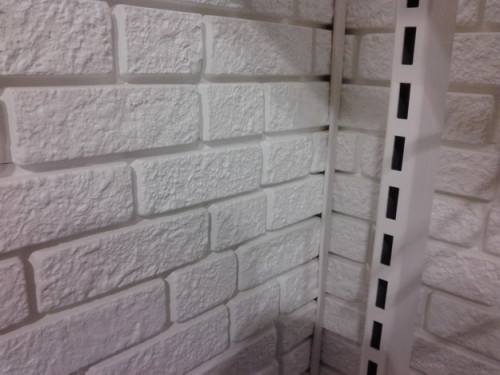
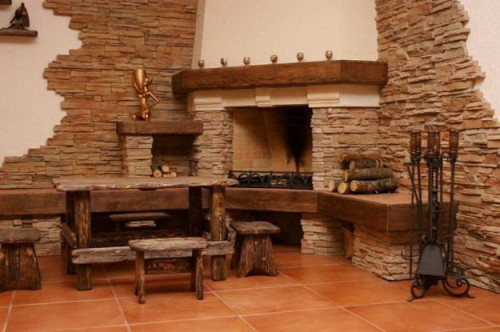
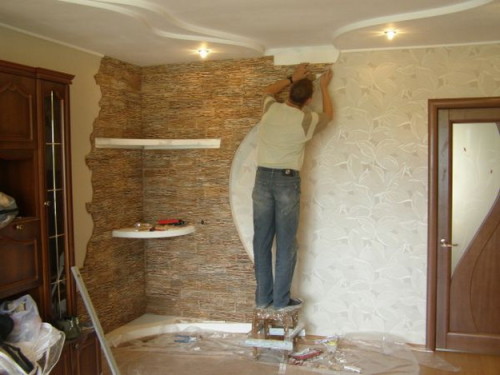
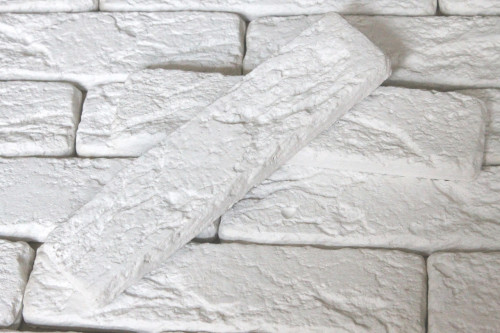
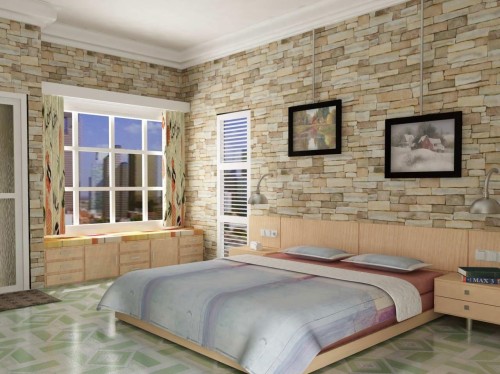
If there is no possibility to use natural stone to finish, you can try to replace it with plaster decorative bricks. Thanks to a large number of positive characteristics, this material is increasingly used in the finishing of the premises. By the way, it can be made with your own hands by taking the basis of the plaster. In any case, the price of it will be lower than that of other similar materials. At the same time, the installation will take much less time.
Content
Product specifications
Using natural stone, the masters achieve quite interesting results. But before applying it to finish it yourself, it is worth studying all the available disadvantages that are, as well as from any other material. One of the main costs is the high cost. In addition, its transportation can be quite expensive. We must not forget that the stone itself has a rather large weight, and in conjunction with other materials it has a sufficiently large load on the wall. Because of this, it is almost impossible to mount it personally, without any help.
Externally, it is almost impossible to find some differences between natural and artificial material, for the preparation of which two techniques are mainly used:
- The first is mixing sand, cement and the desired amount of water.
- The second is the use of gypsum.
There is another option, namely, the use of polymeric substances. It is quite rare.
Consider the main advantages of plaster bricks:
- And the first thing that can be noted is a much smaller weight than in natural stone. Thanks to this quality, this material is allowed to use fraught fragile partitions.
- In addition, the advantages of artificial gypsum bricks can be attributed much simpler processing. It is recommended to produce in place, thanks to which you can exclude losses during transportation.
- In addition, bricks, the basis of which is plaster, can be made from the very beginning with a flat surface, which will reduce the cost of processing the material.
- Artificial brick more racks than natural to different external influences.
- It should also be noted that the stone for interior decoration on a plaster basis is much better washed and the dirt is practically no place.
- A big plus is that an artificial stone can make arbitrary design, and thanks to a large selection, it is allowed to use it for finishing almost any room. Gypsum material has a wide color gamut. This in particular concerns gypsum white bricks.
It is worth saying that artificial stone can be different in its external characteristics. So, for example, it happens to be chick. Such a stone looks as if he was abounded by the edge of the hammer. Decorative gypsum bricks are used to create various options in the design of the room. Externally, this material can still be butht. He looks like a boulder. When the stone has smooth uneven edges, it is called sawn. In general, externally, such material can take almost any form.
One kind of artificial stone is a gypsum tile or a gypsum decorative brick, which is actively used today for interior decorations in various variations. In particular, it allows you to fully or partially fade the ceiling and walls. In addition, this material is used to design columns, arches. It can still be used for finishing compartments for ventilation and highways, as well as to decorate fireplaces and furnaces.
Preparatory work when finishing
Before making a gypsum tile with your own hands under your interior design, select the desired installation method. Depending on this, the material is selected with smooth smooth edges or with protrusions and potholes for a dense connection. Some other restrictions do not exist, i.e. You have the right to choose any shade or several colors at once, you can create a relief pattern and give the surface of the roughness or smoothness. In addition, it is easy to combine gypsum bricks with other materials for finishing. In particular, with wallpaper, stucco and natural stone.
Decorative stones based on plaster do it yourself not very difficult. To do this, just adhere to special instructions. Because even with a small effort, the house can be made more comfortable and beautiful.
Before you start work, you need to make sure that all the necessary tools and materials are available. In particular, they will need - water, sand, special additives and coloring compositions on water. A gypsum solution is made from a mixture of plaster and water.
From the tools you will need a container of plastic, molds for plaster, electric drill and pallet.
Gypsum brick do it yourself
To date, the range of this material is quite extensive. Gypsum decorative brick buy is not a problem. Despite this, many prefer to produce it on their own. After all, it is not really so difficult, as it may seem at first glance. In general, the gypsum is quite affordable material. At the same time it is pretty simple in preparation. Therefore, it is easy to make a gypsum brick for interior decoration. To do this, it will take water, glue (preferably PVA) and plaster itself.
The process of manufacturing gypsum brick provides for some additional investments. For example, matrices for the formation of material. By the way, this component is often used in construction work. These molds are characterized by stiffness, composition and a certain texture. They can be made of silicone or polyurethane.
To knead the solution, use a liquid and dry matrix. The mixture has a filler, some water, gypsum chips, additives, dye. Some ingredients can slow grasp of the material.
Below is the sequence of steps for manufacturing gypsum bricks:
- First matrix lubricants, which determines the formation of future stone surface.
- Then the mold is processed by paint.
- When all components for the preparation of gypsum brick are available, they should be accurately mixed. As a result, the mixture should be obtained, which is similar to the consistency in the sour cream.
- After that, the finished solution is poured into a predetermined silicone form. It can be easily found in almost any building materials store. There you can also find out what the gypsum brick is the price.
- The finished mixture is stirred.
- When the mixture is freezing, a special blade is taken, with the help of which surplus formations in the matrix are removed.
- Thereafter, the form leaves about 45 minutes so that the material will be frozen.
- When the brick will be ready, it is getting out of the matrix and transfer it to the room where it finally hardens.
- Now you need to wait about a quarter of an hour so that the tile can dry. Drying time depends on the thickness of the layer.
- When the tile is driving, it can be decorated with acrylic paint.
- To increase the service life, the stones are covered with special substances. This is especially true for premises with high humidity.
To date, the gypsum tile "under the stone" is often used. Many designers apply it in all their projects. This material can decorate almost any room. Often it is used to decorate public institutions, offices, exhibition halls and fireplaces. This material makes the interior more presentable and exquisite. From the pros, it can be noted that it does not require frequent repairs in the room. The fact is that good plaster with proper operation can serve for long years without losing its qualities and properties.
Sometimes this material can look inappropriate. How it is correct, it happens when it is unnecessary or improperly used. Therefore, it is recommended to receive advice on this issue in advance at a decoration specialist.
Gypsum Brick Stacking
Start follows from the preparation of the working surface. In fact, this is the most important stage in this process. It includes an inspection for moisture, old wallpapers, fat or paint stains. In short, the surface must be cleared. From the existing irregularities you can get rid of the mounting glue and putty. In order for the gypsum brick to be better attached during masonry, it is recommended to cover the working surface of the acrylic primer. The process of applying should as soon as possible comply with the recommendations specified on the package.
The next step should be the markup of the wall. At this stage you will need a pencil, ruler and construction level. In order to smoothly put the gypsum tile on the working surface, the horizontal lines should be done in advance. To cut the tiles are not very noticeable, they are best laid at the bottom. Such defects will completely be able to hide the plinth. Although, even without it, they will be practically invisible. The laying process is best started from the corner and then move in the direction of the center.
When the surface is cleaned and marked, you can proceed to applying the adhesive composition on the opposite direction of the material. To do this, it is convenient to use a small spatula. As a glue for this purpose, many apply PVA. Although the mastic and cement makeup are the best adhesive properties.
The layer of the adhesive glue should be no more than 7 mm. The temperature regime in the room is no less important - the air temperature here must be at least +11 degrees. After applying glue, the tile presses to the working surface. Just do not need to do it too much. During material masonry, do not forget to fill the gaps with the same adhesive composition.
When the tile is laid, you need to proceed seams. The protruding parts are best cut with a grinder or hacksaw. Gypsum glue is suitable for filling the existing gaps.
After about a quarter of an hour, the seams were filled, on the consistency will be similar to plasticine. Therefore, it needs to be applied as quickly as possible until he lost his plasticity. Separate seams are convenient with a narrow wooden blade. After hardening the solution, it is necessary to delete an excess mixture. This can be made with neat movements of the wet rag.
Gypsum tiles are widely used in almost the interior of any room. Most importantly, choose the material correctly. In addition, you need to know how to use it correctly, i.e. It must be suitable under the rest of the decor. It should not forget that this material applies only internal finish. Outdoor decoration with plaster brick practices quite rarely. The fact is that the external atmosphere is a rather aggressive environment. In such conditions, the material will not be able to hold out for a long time.
Molds for gypsum bricks do it yourself
For the manufacture of molds, it is enough to adhere to the following instructions:
- First collected from plywood box. You can use any other material. The most important thing is to take into account the size of future molds. They ideally should be completed in such a way that several parts be placed in them.
- After that, you need to clean the inside of the molds.
- Then the processed side and the bottom must be lubricated with soap solution.
- Now Silicone or polyurethane in the matrix should be pouring.
- After that, the soap solution is applied to ready-made gypsum patterns.
- Then they must be put in the box by pressing in a pouring mixture.
- The next step will be the addition of the selected substance to the edges of the drawer.
- Now it is necessary to wait until the solution does not fully become solid. For this, it is usually required a little more than a week.
- It remains to remove the tiles and get ready-made templates from the box.

