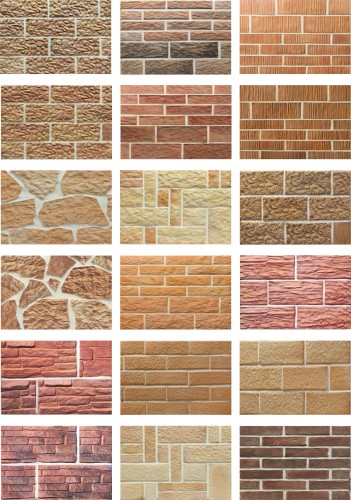
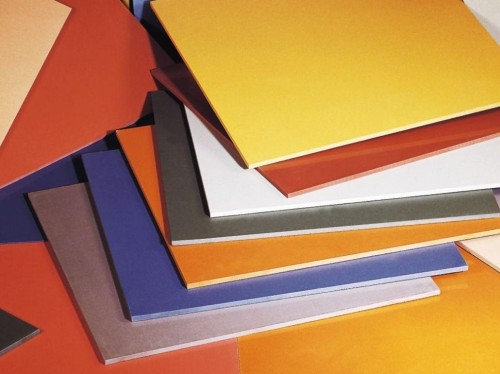
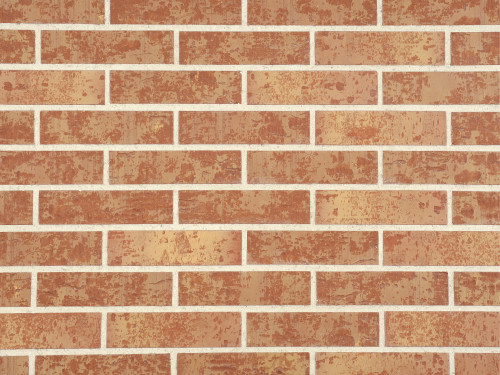
Furnaces and fireplaces lined with ceramic tiles acquire a presentable appearance. Due to the specifics of the functioning of the focus, not all material is suitable for its facing. The choice of materials for registration in any construction hypermarket is quite wide, so before use you need to get acquainted with the characteristic of each material and choose the one that the parameters you need. It will also help to make the right choice of the tile for facing the furnace viewing a photo or video on this topic.
Content
Choose a stove tile: Main parameters
I stumbled upon a variety of different quality, appearance and characteristics of materials, it is important to understand what to pay attention to when choosing a tile, and what is a secondary parameter.
- First of all, the material should not dissemble with the style of the room in which the stove or fireplace is located. An important factor is the conditions of operation of our object and the environment of its functioning, such as living room, sauna, sauna or bedroom.
- If the furnace or fireplace is used to heat the dwelling, the most successful option is clinker tiles. The baked clay is not suitable for this purpose. The clinker tile is 2 species, type A or V. A variety of class A is a tile made on modern equipment using computer technology. It has a lower error of deviation from the specified sizes, and the drawing applied to the outer part is better. When buying, do not dismount the labeling of bars.
- If you choose a fireplace tile, keep in mind that the tile should:
- have a high heat resistance;
- have high resistance to air temperature drops;
- be a thickness of more than 8 mm;
- have high strength;
- have a small-scale structure.
- All listed properties acquire a special relevance if the fireplace is located in a room, which is no longer heated.
Tiles for fireplaces and stoves
The listed properties correspond to several varieties of materials, consider in more detail the most widespread types of ceramic tiles for facing furnaces with minor differences.
Tile terracotta
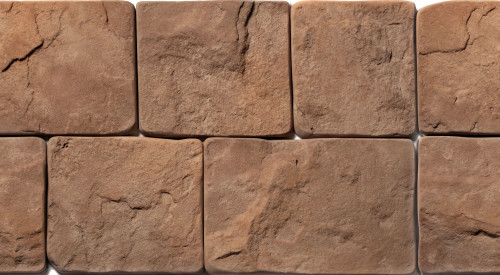
- The terracotta tile for facing furnaces refers to the discharge is environmentally friendly and does not harm health, since it is made on the basis of clay.
- In addition, it has high strength, durable and can be used both for internal and external work.
- It's not afraid of frost or heat. The perfect option for unheated premises.
- Often difficulties with the maintenance of this kind of material, with proper installation, also does not occur.
- The terracotta tile does not miss steam, air and excessive humidity, which also positively characterizes it, because in a room with a furnace, which is lined with it, is always a comfortable atmosphere in terms of heat and humidity characteristics. An ideal option for its use is the room of a bath or Finnish sauna.
- The terracotta tile is easy to work, it has high adhesion with the surface on any basis.
- Firing tiles from this raw material are produced at 1100 ° C. Production technology allows to achieve high refractory qualities of this material, therefore sudden temperature fluctuations to it nipochem.
- In terms of thermal expansion, the terracotta tile is comparable to refractory brick, so the design of the fireplace of this kind of material will provide the ovens high heat transfer and efficiency.
Tile tiles
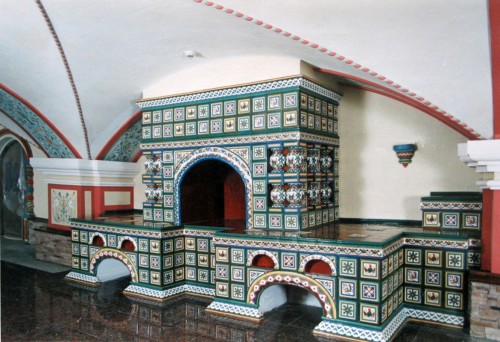
- For the manufacture of this facing material, special types of clay are applied. Elements of tiles are covered with icing and practically do not have restrictions on the variety of applied pattern.
- Raw materials for manufacture is environmentally friendly, so the finished material does not affect health, and also has high heatproof and increased heat transfer.
- Caring for the furnace, which is discussed from the outside, elementary, because the material is unpretentious in operation and serves long enough, however, all these excellent qualities are appreciated.
- The heat, emanating from the furnace, lined with tiles, environmentalists consider the most environmentally safe. However, the high cost of this material for facing fireplaces and stoves has a negative effect on its popularity and prevalence in domestic use.
Tile Ceramographic
- Ceramic granite is considered the most modern material for facing furnaces and fireplaces tiles, which is characterized by a monolithic structure that does not have the pores.
- This artificial finishing material is resistant to the heat and is well kept warm in the cold.
- The chemical composition of the tiled material contains quartz sand, clay small fraction, marble crumb and metal oxides. Pulmonary is made by pressing a semi-dry powder by high pressure with a subsequent tile firing.
- The color gamut of artificial ceramic granite has an unusually wide spectrum, allowing designers to implement the most unusual solutions that draws their imagination.
- In addition to the external attractiveness, porcelain stoneware has such practical properties as durability, durability, moisture resistance and heat resistance. Such material is ideal for baths and saunas, moreover, the facing tile of this type feels perfectly under the scorching sun, since its coloring does not fade over time.
Clinker tile Heatroxproof
- The clinker fireplace tile is one of the types of ceramics, which in the production process passes a one-time firing.
- For its manufacture, several different grades of shale clay are used, which is rich in oxide and flux. In the process of production, a chamotte powder is added.
- A variety of colors is achieved by artificial painting.
- Especially for high-quality facing of surfaces with elevated heat level, clinker tiles are made with a thickness of at least 9 - 12 mm.
- During the installation, the tile is fastened with a thermoclaus, with the complete lack of garbage. For heating foci in unheated premises, the tile mount is carried out by special frost-resistant glue.
- To improve the quality of the clutch of the material with the surface, the specialists are recommended to pre-attach the grid to the base surface, and then the material for cladding is already installed.
- For better leveling of seams, it is recommended to use a special grout for mounting clinker tiles. The benefit of the manufacturer offers grout color in a large assortment, respectively, the scheme of material, so the aesthetic side does not suffer.
- The material of the heat-resistant tile of this type refers to heat-resistant and durable facing materials, which, moreover, has increased strength. The low porosity of the surface contributes to high heat transfer, and water absorption up to 3% is resistance to condensate with temperature drops. Therefore, this material shows high performance specifically in unheated rooms, having a high frost resistance.
- Clinker tiles refers to environmentally friendly materials and does not carry the threats to the health of people when used in residential premises.
Maitolika tile
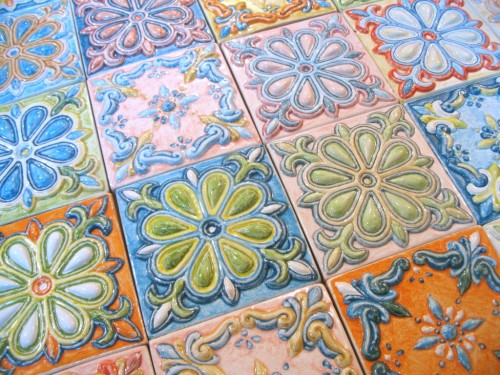
MAIOLICA is called the exhaustable antique ceramic tiles made of faience, upgraded with painted glazed terracotta.
All of the above materials are refractory ceramic tiles, which are used to clamp fireplaces and home furnaces, are the most popular at present. Prices for individual species differ significantly, however, you can save at the expense of installation work by doing them yourself. The fastening of the tile does not require the highest qualifications, and is available to people with elementary skills in construction.
Facing the oven tile do it yourself
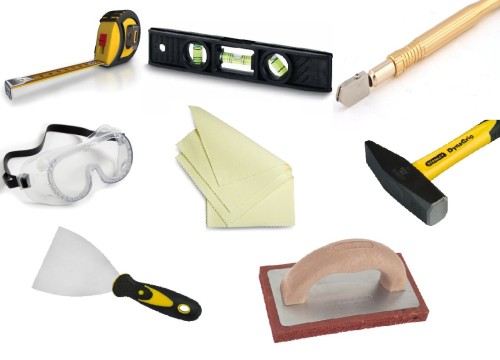
Tools and materials
- Tool for vertical surface adjustment.
- Tool for building corners.
- Set of spatulas of various sizes.
- Marking pencil.
- Construction brush.
- Electric drill.
- Guide.
- Set of nails and washers.
- Hammer and chisel.
- Rubber molding.
- Mesh construction assembly.
- selected facing material in sufficient + 10% stock.
- Termocles.
- The primer mixture and cement-sanded solution for mounting tiles.
- Plattegores for processing material for angular parts and squeaks.
- Plastic jumpers for mounting tiles.
- Strip solution into the front of the facial tile.
- Paintwork materials if necessary.
Calculate the number of tiles
- Before buying the material you choose, correctly calculate the required volume. The tiles do not need a lot, noine, if the expensive consumator remains unused, but also the shortage of fraught with poor quality work.
- A sufficient amount is calculated as follows: The height and length of the surface of the furnace must be divided into the corresponding edges of the tile. Then, to the value of the sides of the bars, it is necessary to add the size of the permissible seams, and all this is deducted from the furnace area.
- The results obtained by unacceptable mathematical calculations should be rounded into a majority, throwing the number after the comma. To the result obtained, be sure to add 10 - 15% of the stock.
Facing the furnace: preparatory stage
- First of all, it is necessary to clean the entire surface from the old coating using a metal brush, if necessary, chisel and a spatula for removing clay and plaster.
- From reason it is also important to remove dust and dirt residues. After these works, the surface should be completely even.
- Following cleaning, you need to part seams between the masonry stones at a depth of at least 1 cm.
Align the surface
- Before fastening the tile surface, it is important to align and strengthen under the lining.
- To do this, on the front side, the mounting mesh from the wire with the cell size is about 1.5 - 2 cm and the cross section diameter of 2 mm. Using the mesh, the focus design will significantly increase and it will improve the clutch of the surface with the tile.
- The grid is fixing 10 cm nails, evenly scoring them between the stones of the leafing of the hearth. For this, you can also use screws with a diameter of about 4 - 5 mm, pre-reserved for them holes in bricks.
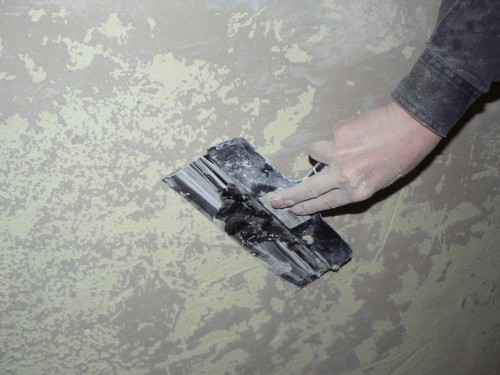
- To align the surface, it is also possible to use glue either a mounting solution, in an amount depending on the extraction value. Glue is used for small holes, a sand-cement solution is used to align deep irregularities or a pre-prepared mixture of cement and clay. For these works, cement should be only high-quality, M400 brand, not lower.
- Before applying the solution, the surface is important to moisten, and then check the thickness of the mixture using the level. To the next stage you can start only after the surface will finally dry.
Perform markup
- Differenceing the surface and facing of a brick oven tile should be started from below from the level of the furnace, and from left to right, taking into account the tile seams.
- After that, solid bars are fastened in the middle part, and cutting on edges. They prepare them in advance, trying to make the same size, preferably not very narrow.
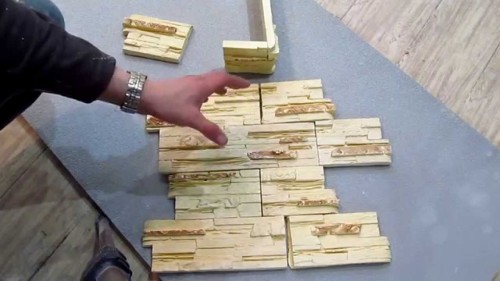
- We distribute tiles, folding on the floor. Pre-label it for the order of laying for the convenience of work and eliminate errors.
- In order to avoid the skewing of the strokes, fix the temporary guides from the metal or wood.
- First of all, lay out the lowest row, and then alternately moving up.
Making the primer
- To improve the adhesion of the tile with the surface, before fastening the material, the surface is ground.
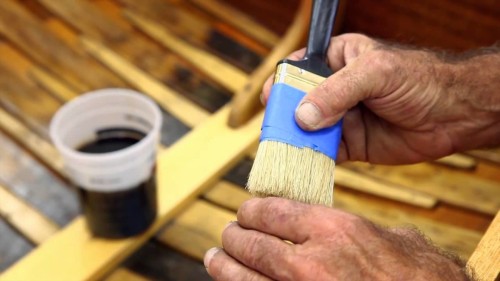
- The mixture for alignment is applied with a brush or roller. It is important to choose a soil having penetrating properties and strictly follow the instructions for using the composition.
- After processing and before the next step, the surface should dry completely.
Preparing glue
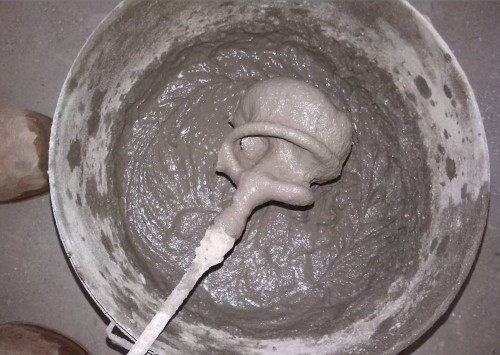
- Glue drag with water exactly in accordance with the instructions.
- The adhesive mixture does not retain its properties for a long time, so prepare the solution immediately before work, about 15 minutes, and in small portions.
Laying tiles on stones or oven
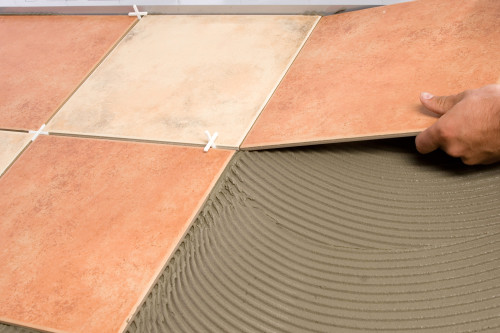
- On the prepared and marked surface we applied glue with a spatula with a tooth. We put the solution on the tile from the back side to the depth of the teeth, as if evenly smearing the glue.
- Then we turn the tile by applying it simultaneously to the rail guide and to the base of the surface.
- For the clutch, carefully lean back to the surface of the palm and push the weight. Watch that the tile does not shift. If you need to align the lump, make it smooth movements, slightly swaying it on the sides, making a little effort. You can also challenge the rubber Cyans.
- Sequentially lay the following tiles to the last in a row.
- To achieve uniform of the gaps, plastic cross-lintels are inserted during laying tiles, 2 on each side. When the glue will dry, they are painlessly removed.
- The next row is placed only after the previous grabbing. Periodically check the level, is it withstanding the horizontal line. Vertical line and direct angle necessarily check every 2 - 3 rows. Noticing deviation, immediately eliminate inaccuracies, because at the end of the entire laying when the surface will dry up, it will be extremely difficult to correct.
- The extra solution that has sharpened between the tiles is also necessary to delete immediately, do it with a rag. During the laying, the outside of the bars periodically wipe with a damp cloth to remove small liner droplets.
- If you are tested by checking vertical, horizontal and direct angle, you can solve this question with preparatory work. Just secure the horizontal cord with nails, which are removed after completion. So that such a cord does not resist, small weights are tied at the ends.
- Having completed the facing of the entire surface, remove the guide and complete the installation of the last row. Now you can proceed to laying the cropped tile blanks at the edges.
Making putty
- After strengthen the tile, learn no less than a day, and start making the seams. For these purposes, use non-ferrous mineral mixtures based on cement.
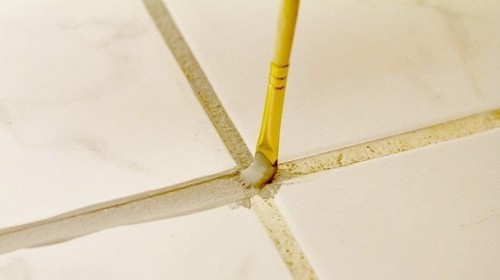
- Before you start the fuggification, clean the seams with a rubber spatula, as if indenting inside between tiles. To do this, expand the tool at an angle of 90 ° C, and recall the smelting.
- Remove the excess glue and fill the seam again. At the end, it is easier to hang it with a wet sponge.
- After 30 minutes, the putty will grab. Now you can wipe the tile with a soft cloth or a wet rigid washcloth to remove the remnants of glue and smelting on the outside of the cladding.
Finishing stage
At the end of work, prolapse the tile using a special heat-resistant varnish. Such a reception will protect the tile from dirt and soot, which means the operational and aesthetic part will be saved much longer.
Works are completed, the focus was transformed, he is having fun in it, the comfort surrounds you and warmly. Facing the oven tiles with their own hands will bring comfort, practicality and beauty.


