If your room provides a plasterboard wall, a box or ceiling, then after they are installed, it is important to prepare the surface to the final finishing. The plasterboard plate has a smooth and smooth structure, but the coating is not solid, since it consists of several components. During the installation, various irregularities and joints appear, which simply cannot be avoided. In addition, the ceiling acquire a pleasant appearance, it must be aligned. To do this, use the shtlock, which you can easily find and purchase in any construction store. The plasterboard ceiling putty does not provide for the use of special technologies, so we advise you to fulfill all the work itself. This process is quite simple, and it will be on the shoulder to everyone who is able to hold a spatula in his hands.
Content
Preparatory work
As in any other construction business, the preparation for work occupies a separate place in the working process. To get a high-quality and beautiful surface, it is important to take into account all the technological features of the room in which work will be carried out. When aligning the ceiling by a conventional or decorative putty, this stage is important to perform correctly by adhering to the algorithm.
Selecting a mixture for plasterboard plaster plaster
To date, there are two species of shplanke, which is used to align plasterboard structures. In addition, they are produced using various additives and compositions that directly affect the scope of the plaque mixture. To determine the choice of the desired solution, it is important to know the characteristics of the room in which work will be carried out.
The leveling mixture used for the plasterboard plastering plaster can be divided into the following types:
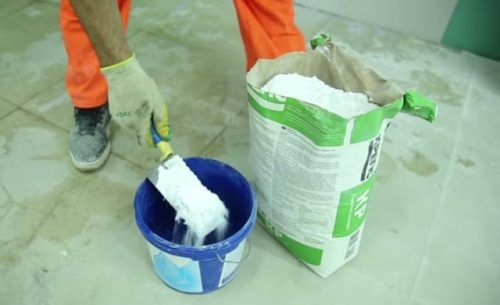
- Dry mix. Such plates are sold in bags and consistency are similar to flour. The scope of such plates is determined by the presence of special ingredients. In order to make a solution, it is enough to add water to the mixture in the proportion specified by the manufacturer. Dry mixes are available in three types: cement, polymeric, gypsum. For decoration of residential premises, a gypsum option is perfect. For bathrooms and other premises, often affected by high humidity, applied a cement-based replacement. The polymer mixture is often used to create a finishing coating, when aligning monolithic and other surfaces. It is important to note that the mixtures differ in the thickness of the layer, which directly depends on the characteristics of the application surface.
- Ready solution. For the packing of the finished putty, plastic or metal vests are used. It is necessary that when stopping work, the mixture did not frozen and did not deteriorate. In this case, the bucket is tightly closed, which helps to avoid damage to the product. But it is worth considering that the service life of the finished solution, which began to be produced, is much smaller than the dry mixture. It is important to mention that the solution is made on the basis of acrylic-containing elements that allow you to achieve a solid base from covering. With such a mixture easier and faster, it is not necessary to constantly knead the solution. But note that the material remaining after generating, after a while will lose its operating function.
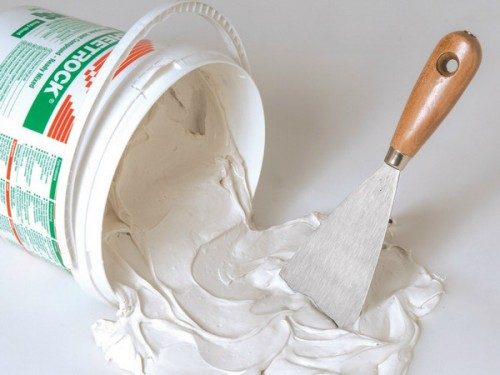
Rehend to the selection of shtlings for the ceiling very seriously. Find out the seller-consultant about the composition of the mixture. Ask about the scope of the putty. Note that ready-made solutions are more expensive than dry mixtures, but sometimes it can be on hand. For example, for finishing a small ceiling, it is better to purchase a ready-made acrylic putty in a small container of the required volume. If you buy a finished solution, at the end of the work, you can simply throw the cloth into the landfill. In any case, the selection of the attack is entirely dependent on your wallet, as well as features and sizes of your drywall ceiling.
Tools and materials for plasterboard plaster plaster
Before you begin to align the surface of the drywall, you need to build out everything necessary. Featuring the right tool and material, you can produce all work without much effort, and the result will delight the eye.
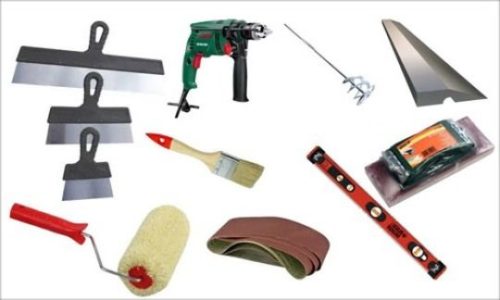
To make a high-quality finish shplotovka ceiling of plasterboard, get the following tool:
- drill with a nozzle for kneading solutions, grinding machine, sandpaper holder;
- construction knife, wide spatula, small spatula, cuvette, roller with a nozzle, brush Machova, screwdriver;
- sandpaper, serpent, glass cholester, paper tape;
- spacek (dry mixture or finished solution), primer, mixture for seaming;
- level of water, construction rule, Bit PN2;
- gloves, glasses, respirator.
Such a simple set of aids and materials will help you align the ceiling without much effort. Do not forget to correctly choose the leveling mixture, then the work will be enjoyable.
Preparation of the foundation
Before you begin to align the ceiling surface, it is necessary to carefully prepare the base. The service life and the quality of your ceiling directly depend on the correct operation of the work at this stage. Perform everything consistently and do not miss any detail, then the coating will serve you for a long time and will delight the eye.
To prepare the surface to equalize the putty, are approved as follows:
- If the ceiling is mounted on profiles, let it "dispersed" within 10 days. This will help to further avoid the appearance of cracks and other undesirable moments.
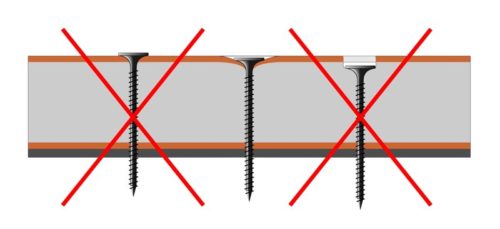
- Check the ceiling for repellent elements. Spend your hand or spatula to places where the stove is attached to the profile. It often happens that the self-sufficiency is cleaned, but he repeats a little. Take advantage of a screwdriver or screwdriver to touch the fastener, while keeping in mind that the self-tapping screw should be in 0.5-1 mm plasterboard.
- Inspect the ceiling for detachments. So it happens if when fitting the drywall, the sheet was inaccurately cut off. To eliminate the flaw, it is quite gentle to cut the paper, after which the plaster is treated with sandpaper. Thus, the solution will not be broken together with the paper.
- Treat the entire ceiling area with primer. This will give plasterboard more hardening properties, while the shplanke will be better to pester the surface.
- Now you need to sharpen the hats of the screws. Take a little solution and begin to apply with cruciform movements over each mounting element. Note that the layer of the solution should be so that it completely overlapped the self-tapping screw.
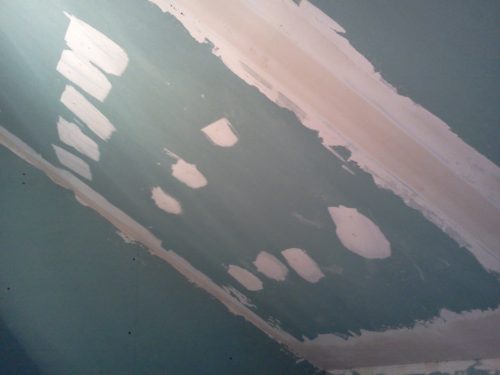
- Places of adjoining plasterboard sheet to the wall must also be sealing. To do this, you can take advantage of a special sealant or simply sharpen the seams. To do this, apply the shplanyow at the bottom up so that the solution filled the slot. Use a small spatula. If the mixture got on the stove, it is better to remove it until it hardened.
- Now that the base is ready, let him dry.
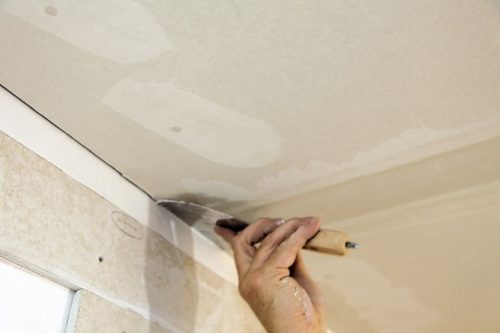
Take advantage of the ceiling preparation with all attention and responsibility. Make sure that all the elements are covered, and the surface is ready for further alignment.
Sealing seams
This stage provides several embodiments using different materials. The choice of one or another species depends on the features of your room. Note that without these works, the further leveling of the surface is simply impossible.
To emphasize the joints of drywall plates, use the following methods and materials:
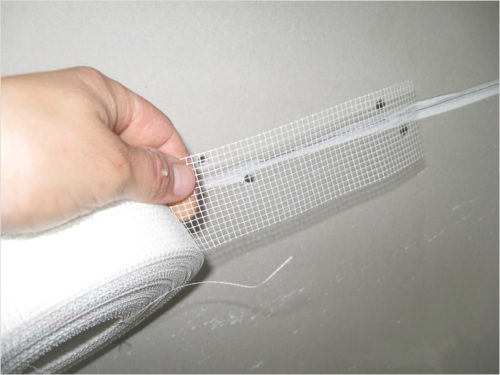
- Grid-Sherryanka. It is a rolled self-adhesive tape designed to reinforce the jacks of plasterboard plates. To close the seams, first cut the sickle on segments, equal to the length of the seams. Apply the putty along the seam, then start to put on it with a tape. Press the grid with a spatula so that the solution filled it completely. If necessary, add a plate mixture so that the surface has acquired a smooth view. Check the connection for the presence of threads. If necessary, cut them.
- Paper tape. You can also take advantage of glass chickens (fliseline tape). This method is used more often for rooms with an aggressive medium, for example, for a bathroom or basement. The joint must first be filled with putty. It is necessary to do this so that the seam is not completely filled, then let him dry. Now we glue the paper tape on the PVA along the junction movement and give it dry. At the end we apply a thin layer of putty on top of the tape.
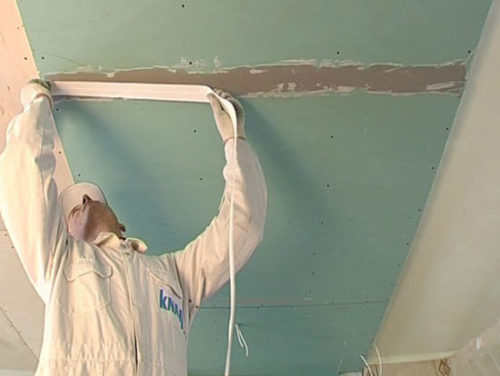
- Grinding seams. It is worth noting that when connecting cutting parts, the joint must be processed before the installation of plasterboard plates starts. To do this, use a special planer, which takes the edges at an angle of 45 °. If these procedures have not been performed, the joint is cut off with a construction knife, directly on the mounted sheet. The mixture uses specialized material. The most common is - Knauf Uniflot. It is applied with a small spatula in two stages, with intervals for drying. After hardened, the coating is cleaned with sandpaper.
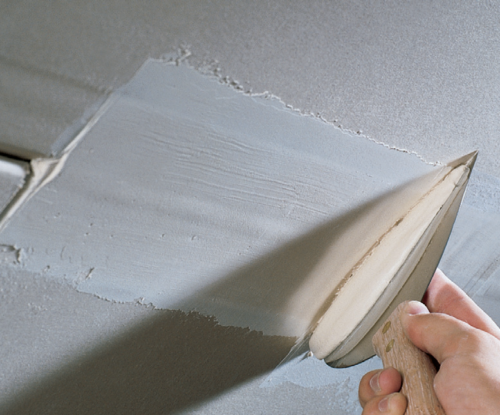
Seaming seams is a fairly simple process, however requires the correct sequence of actions. Choose a convenient way for yourself, while consider that when the cutting seams are putty, an expensive mixture is used. It is more often used on an industrial scale. It will make more sulfur or flizelin ribbon for us, it all depends on the characteristic features of the room.
Plasterboard Ceiling Plate
To "tighten" a plasterboard ceiling using a putty, you need to correctly perform all previous steps. Pay attention to the humidity and purpose of the room in which you will work. Get yourself with all the necessary tools and material, then the whole process will not seem difficult to you.
Leveling of plasterboard ceiling
When the surface is prepared - the seams are sealed, and the mixture dried and ready for processing, you can begin to one of the last steps of the putty.
To align the ceiling of drywall come as follows:
- Soak the ceiling by primer to increase the adhesion of the base. Use the roller with the nozzle of the middle of the pile.
- If you do not use the finished solution, prepare a dry mixture to work. Mix a small amount of water with water in the proportion indicated on the package. The mixture must be a consistency of thick sour cream.
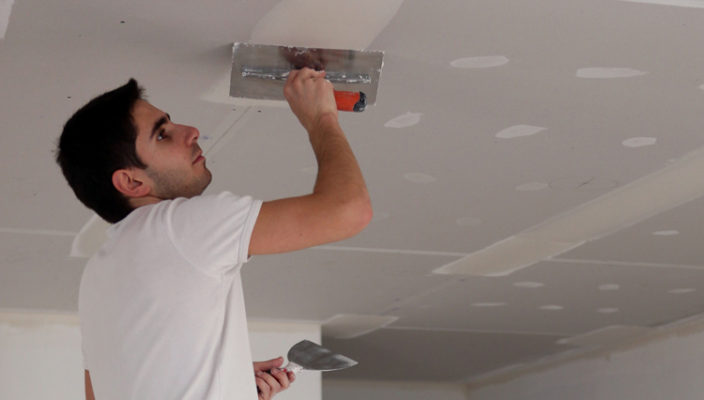
- The resulting solution evenly distribute the length of a large spatula. To do this, use a small spatula.
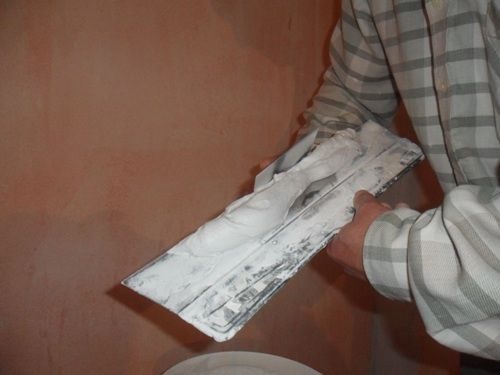
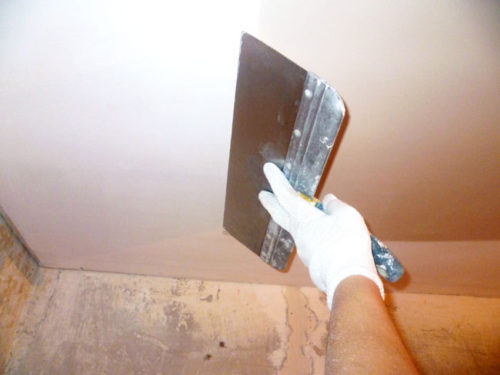
- Apply the putty on the sheet at a small angle, as if smoothing the surface. You have to get a layer of 1-2 mm. All movements must be operational. It is better to stretch a little on trimming plasterboard plates.
- If you notice that the excessive amount of material has been applied, it is better to grab it. To do this, use the rule. Moisten its conical part in the water, then start smoothing the surface until they align the plane.
- Leave the processed ceiling to push for a day.
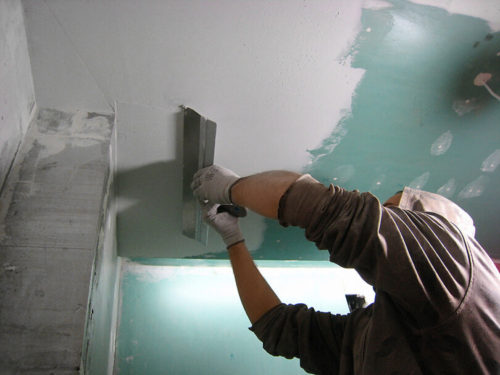
- The solution that hardened large pieces, takes away with a small spatula. Do it carefully, by analogy of work with the chisel.
- Armed with a grain with a shallow fraction attached to the "sandpaper" (P80 - P120), start the ceiling to "sand" so that the surface has acquired a homogeneous look. Do not push hard on the grave, you can consider the excess layer of the shtlock. Do not stop in one site for a long time.
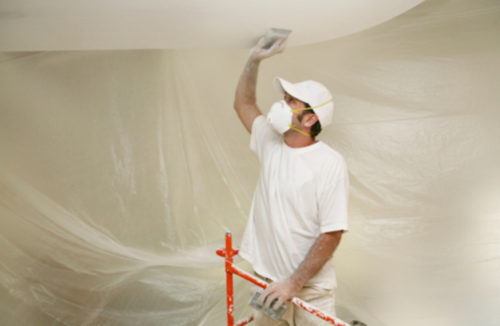
As we see, it does not need special skills and efforts to align the plasterboard ceiling with a putty. It is enough to prepare a mixture and practice a little. Perform all actions consistently and carefully, then the result will exceed all your expectations. We hope we fully disclose the question associated with the leveling of the ceiling of plasterboard with their own hands.

