Among the modern ceiling coatings are particularly popular with multi-level structures: stretch or drywall. A wide selection of materials and good fantasy will allow you to turn the housing to a real work of art.
Content
Advantages of multi-level plasterboard ceilings
The decision to create in the house or in the apartment a multi-level stretch ceiling of plasterboard can be very successful, because in favor of this choice they say numerous advantages of this design:
- The simplicity of execution is considered one of the most significant advantages, since it is much easier to mount the ceiling from GCLs much easier and faster than to separate it with some other facing material.
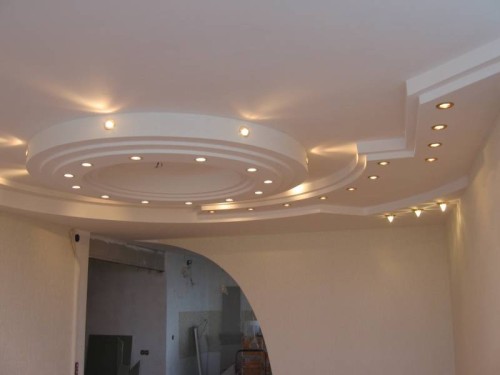
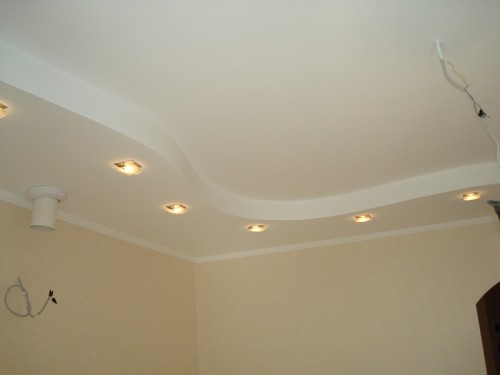
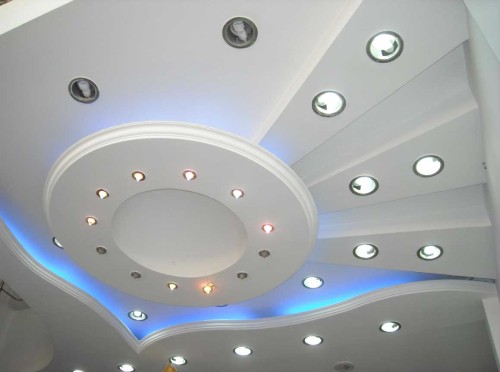
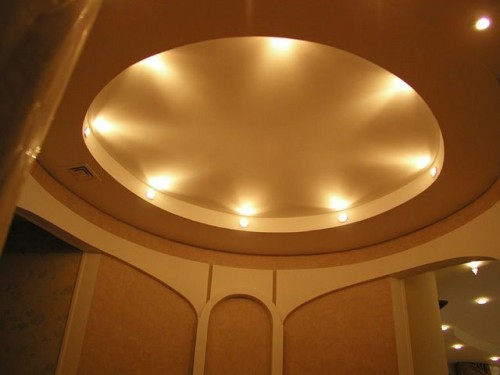
- Multi-level structures allow you to change the geometry of the room visually expanding it or lifting up. The right choice of lighting together with a variety of ceiling forms is a great way to visually increase the space space.
- This coating can easily hide communications. Plasterboard ceilings disguise not only thin electrical wires, but even water, gas or ventilation pipes.
- It is not necessary to align the draft ceiling before covering it, the material is not necessary, the material will hide all defects.
- Using a multi-level coating, a room can be divided into separate functional zones without removing additional walls or partitions.
- The ceilings of this type allow you to create interesting and original lighting, using point lights, halogen lamps, LED backlight, chandeliers, etc.
- Plasterboard refers to environmentally friendly materials. It fireproof, as it does not completely burn, and also has good vapor permeability.
- The price of multi-level ceilings from drywall is very democratic, compared with many other facing materials.
- Another advantage of the structures is their long service life. Such material can serve at least 20 years, and under favorable conditions, at all completely will not lose its properties and appearance.
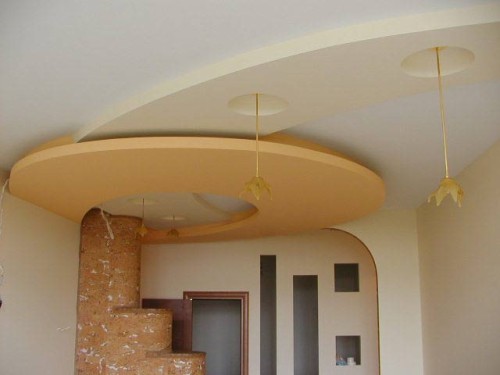
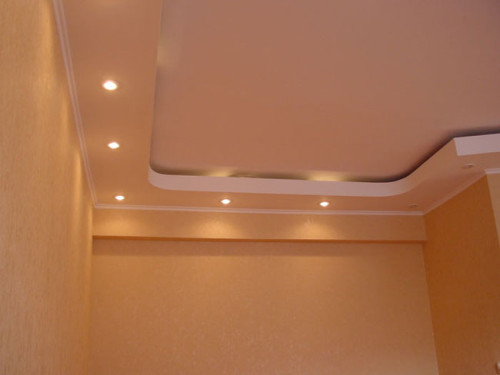
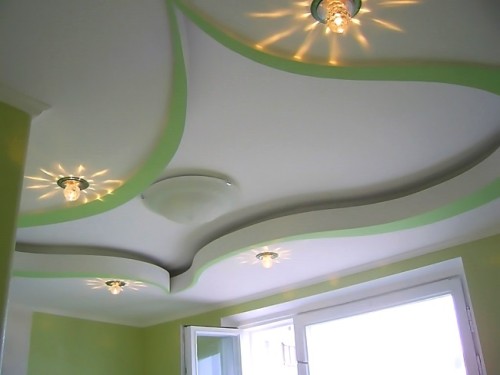
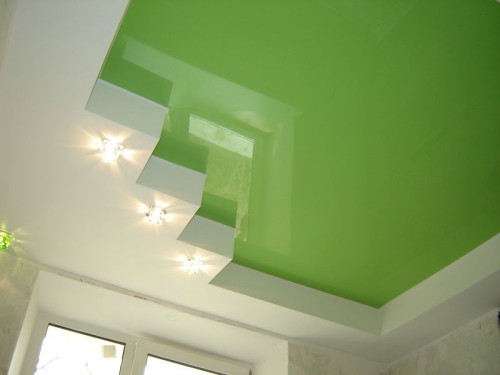
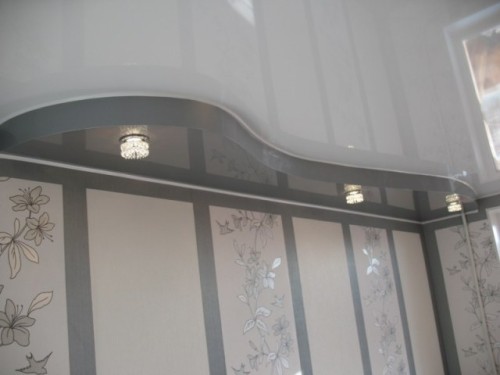
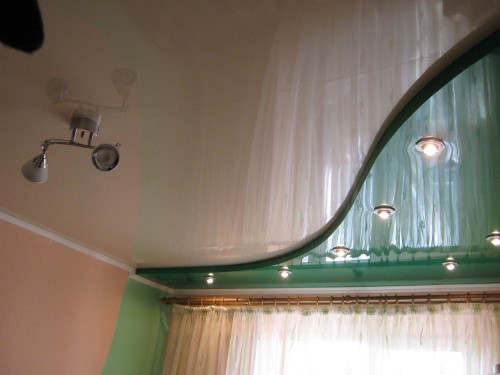
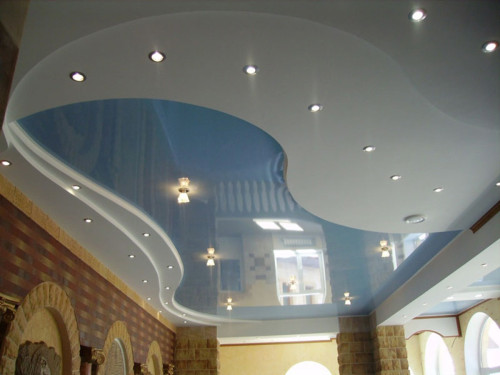
Multi-level plasterboard ceilings, photo:
Multi-level ceiling of GLC do it yourself
Action Algorithm, Precautions
Plasterboard - convenient in work and universal material, using which, in the shortest possible time, align the inner surfaces of the premises as soon as possible, as well as create all kinds of designs. Installation of multi-level ceilings from drywall can be carried out with their own hands, the algorithm of action looks like this:
- First, the ceiling markup is made in the place where the design will be placed.
- Then the perimeter of the room creates a U-shaped profile.
- The next stage is the installation of the main carcass from metal products.
- Then the installation of HCL for the first level is carried out.
- After that, metal photographs are mounted, to which the sheets of the remaining ceiling levels will be attached.
- The next step, the design is trimmed with plasterboard sheets.
- Then the surface is covered with fine putty and polished, after which the finishing finish can be carried out.
When creating drywall structures, the recommended indoor humidity should not exceed 70%, otherwise the material will deteriorate.
Before starting the ceiling finishes, complete all the works related to water. You also need to make electrical wiring in advance, to equip ventilation. Some precautions must be observed:
- protect the eyes and lungs from gypsum dust using a respirator, building glasses;
- provide good ventilation in the room;
- use all the tools only by direct appointment;
- de-energize the room;
- trace the stability of the stepladder, stairs;
- from time to time to remove the accumulated construction garbage and dust.
Instructions for creating a multi-level ceiling of plasterboard
To mount the drywall ceiling itself, first need to prepare the following tools:
- ticks;
- needle roller;
- raspil width 25 cm, with which the sheets of sheets will be processed;
- bouncer;
- edge plans;
- screwdriver.
The appearance of the finished ceiling and the number of its levels will depend on the personal preferences of the owner, and the entire installation process can be described as a sequence of stages:
- First, on the treated surface make markup on which the level of the future base of the ceiling is indicated, as well as the initial position for fastening the beams.
- Then a U-shaped profile is installed throughout the perimeter, after which the main frame of the ceiling profile is mounted.
- In addition to these profiles, an auxiliary structures are also attached to the surface, which will be subsequently involved in the second level setting.
- The next step is installed frame to create a second level of construction. For this, U-shaped profiles are recorded on the ceiling and walls. They set them with the help of self-samples, which are screwed into the C-shaped profile through HCL, observing a certain distance. If there is no additional profile, and the ceiling is already covered with sheets, the U-shaped profile is fixed to the ceiling with long screws.
- At this stage, the prepared second level of the design can be sewed with gypsum sheets, leveling with putty, paint.
- For mounting the ceiling profile, direct suspensions are used, which are installed on the wall using dowels. The fasteners are screwed at a distance of 40 cm from each other. In the process of work, it is necessary to check the smooth design with a stretched lace and level. Additional structure strength can be ensured thanks to transverse jumpers that are made from the ceiling profile.
- When a multi-level ceiling device from drywall, its "floors" can be given different unusual forms. Fortunately, such a material is not only easy to cut, but also nits well. For this use two main ways: dry and wet. With a dry method on the side of the bend, furrows are cut through, after which the designs give the desired shape and fix it in this position. To implement a wet method, a sheet of drywall is pierced with a needle roller on one side, then be richly wetted and placed in a template, where they are left to dry.
- Having gathered a carcass from metal products, he was trimmed with plaster. For this, sheets cut into the necessary fragments with the help of a construction or stationery knife. The top shell of the material is cut with a knife and make a small furrow in the gypsum itself, then the sheet is placed on the edge of the table and break in the right place. The joints are cleaned with sandpaper or branch.
- GLCs are fixed to the frame by self-drawing on metal, trying to screw them into the surface with the surface of the material.
- The junctions between the plates and the recesses that were formed in the places of fastening are shut off with a putty, pre-imposing the reinforcing grid.
- The aligned surface is grinning and proceeding with the finish finish.
Multi-level plasterboard ceilings. Video
Installation of multi-level stretch ceilings
The stretch ceiling is a modern coating that is created by pulling the PVC film on the frame from metal products. Such a ceiling looks beautiful and effectively, has a smooth seamless surface, has a wide variety of colors and designs. The stretch cover looks important in any interior design, besides, it does not completely reduce the area of \u200b\u200bthe room, but even makes it visually more spacious. You can add such a ceiling with spectacular illumination, various patterns and images.
The price of a multi-level stretch ceiling is significantly higher than that of the plasterboard design, but certain means can be saved if working independently.
The technology of installation of multi-level stretch ceilings involves the use of one of two ways:
- The use of the harpoon system is considered a simpler and affordable method for which special skills and skills are required. Garpuna is fixed during the production of the frame, so before ordering the materials, you need to make the right faces of the room. By the way, many experts advise to acquire a canvas, which will be 7% less than the area of \u200b\u200bthe room.
- The design of the multi-level stretch ceiling can be created using a wedge system - this is a more complex method for which the appropriate experience will need. Plus it is that it is possible to choose a film of any size, adjust its tension, drag in the right place, delete extra fragments.
To create a multi-level stretch ceiling, you will need:
- Baguette is an aluminum or plastic profile that is installed around the perimeter of the room. With the help of a baughet, the film is mounted on the ceiling or wall. There are several types of baguettes: with ceiling mount, with wall mount, as well as connecting - separation. To create such a design, wall profiles are most often used, but sometimes use ceiling. If the room is too large, the PVC can be saved. So that it does not happen, the film is divided into several parts, connecting them with separation.
- PVC canvas with harpoon perimeter.
- Special insert, with which it will be possible to close the gap between the wall and the ceiling after all works.
Before starting the design of the design, all dusty works should be completed, lay wiring and other communications. The wiring must be brought to those places where the lighting devices will later be placed, and hang on the dowel.
When creating structures with PVC film, choose only those lamps that are very hot, otherwise the material will resist. Too old, the sweeping ceiling should be put in order, repel the penetrated plaster, clean and primed the surface.
Detailed technology for mounting multi-level stretch ceilings you can look at the video, which will also find in our article. And for a start, I would like to give a description of the installation of the frame:
- The second level of the ceiling can be a plasterboard design, on the perimeter of which the baguette is mounted. But you can perform the entire Ceiling of PVC Film, in this case you will have to make a special bar that will separate the levels on which the baguette will be fixed. The bar can be made of metal products or from a wooden bar.
- The frame for a multi-level stretch ceiling can be made from anything, for example, from thin plywood. It can be bent in the desired way to create roundabilities and smooth lines.
- Before installing a multi-level stretch ceiling around the perimeter of the surface of the surface, the profile is attached. It is fixed with the help of a dowel and placed strictly horizontally, in the process of testing the position of the construction level.
- Together with the first profile on the ceiling, a second-level profile is mounted. If you use wooden bars, close the repellent parts by plastic corners, so that the film is not damaged about the wood.
- At this stage, it is also necessary to make fasteners for the chandelier and for point lamps, if you plan to place them.
After mounting the frame, you can proceed to further work - the installation of the film by the method of harpoon attachment. To do this, you need to get a gas gun. So as not to spend extra money on it, take the gun on the rental. The installation of PVC canvas is carried out in this way:
- The air in the room is heated to a temperature of 50-70 ° C.
- Then the canvas are inserted into the grooves. After cooling, the film will stretch and forms a smooth smooth surface. If in the process of work the film somewhere gathered with folds, it is necessary to warm it well in the place.
- Harpoon, located along the edges of the film, is inserted into the grooves using a blade. Work she needs to be careful not to damage the PVC.
- The second ceiling level is tensioned in the same manner as the first.
- Following closure between the wall and the gap are formed. Mask can be using a special plastic battens.
- After the film has cooled and tensioned, it is necessary to make holes for the fixtures. In those places where the attachment ring and insulating paste film is cut in the inner space. Then set the lights on the mount.
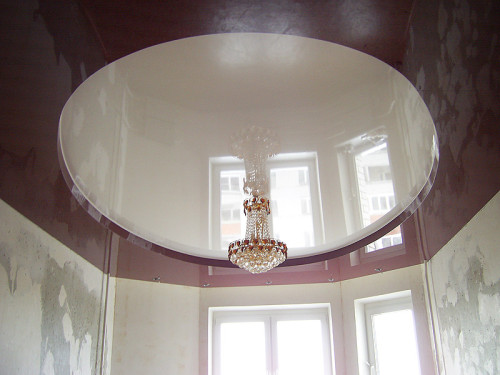
Multi-level ceilings, photo:


