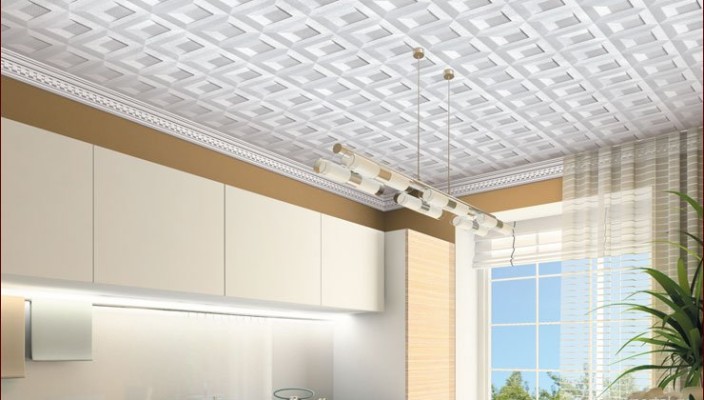
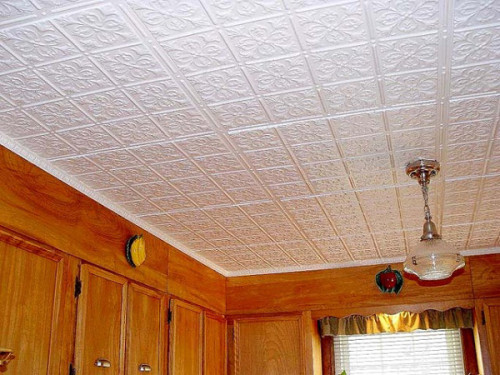
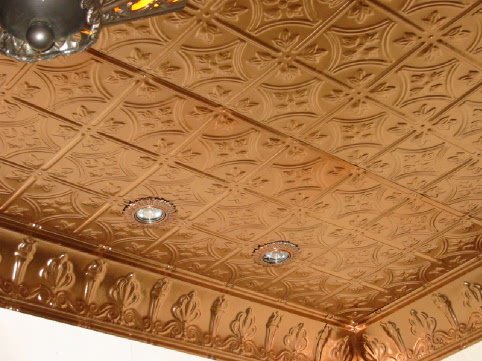
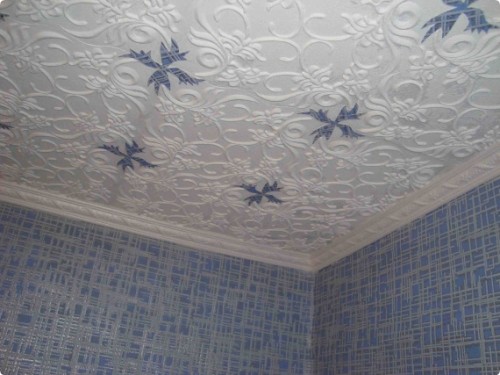
Ceiling trim Tile - interior transformation at an affordable price in the shortest possible time. The installation of this building material is quite simple, no special skills and skills are required.
Content
Ceiling Ceiling Tile: Benefits
- The material has standard sizes, various shades.
- Thanks to her you can hide small ceiling defects.
- Tile has a different texture and pattern.
- A good heat and sound insulation layer is created.
- The ceilings from foam plates are easy to clean, do not appear.
- Damaged material is easily replaced.
- Installation of plates is an economical and accurate interior transformation option.
Disadvantages of mounting tiles on the ceiling
- At this ceiling is very noticeable joints.
- If the material is not processed by a special protective layer - it is afraid of UV rays and moisture.
- The ceiling lined with foam plates is considered fire hazard.
- The thickness of the material does not allow the lamps to be equipped into the ceiling.
- Plates from foam cannot hide essential surface defects.
Types of ceiling tile
1. Depending on the presence of a protective layer:
- non-laminated;
- laminated.
2. According to the production method:
- extruded (extrusion);
- injection;
- stamped (pressed).
The first tile type is created by the method of thermal exposure to polystyrene granules. In consequence, they are processed by a special machine - extruder. On a cut, such a tile has a porous structure, characterized by a smooth merezerny surface.
The second type of material is made by sintering polystyrene foam raw materials. On the cut, such a tile has a lot of white balls (granules).
The third type of tile is created by stamping. In this case, the blocks of polystyrene are affected by a special press. The thickness of the finished product is minimal - about 7 mm. The only drawback is the material has a loose structure and a porous surface, which affects the strength of the product.
3. By type of seams:
- seamless (has uneven edges, ideally coinciding with each other, the seams on the ceiling are not noticeable);
- sow room (has smooth edges, seams on the surface are well visible).
Selection of ceiling tiles
By purchasing a ceiling cladding tile, pay attention to the following parameters:
- dimensional accuracy;
- proper geometry of products;
- the tile angle must be direct;
- rate the grain of the material, the evenness of the edges;
- high-quality tile should not crumble;
- if there is a pattern on the material - take the goods with a reserve;
- the quality product must have the same polystyrene grain size.
How to glue a tile on the ceiling: accommodation options
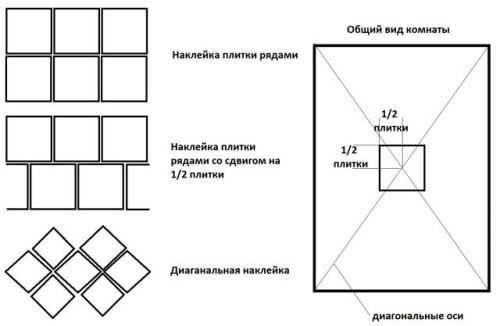
1. Diagonal.
Tensioning the ceiling diagonals 2 threads, mark the intersection point. Then spend 2 lines perpendicular to each other. So you will get the surface divided into 4 equal parts. The first square is fixed in an angle in the exactly indicated center of the room. Next, we move around the drawing. To glue the tile in this case is recommended closely.
2. From the center of the room.
The material is fixed in the same way as the first option, the only mark is done otherwise. After the point in which the chandelier is located, 2 perpendicular straight lines are held. Marking should be parallel to the walls of the room. Then in the resulting direct angles you need to spend the lines at an angle of 45 °. Next, proceed to fixing the tile in the same way as in the first case.
3. Chess.
Installation tiles here need from the center of the room. It is important to arrange the items so that they are strictly parallel to the walls.
4. Facing a snake.
In this case, the tile of two colors will be required. Make the surface markup, as in the first or second version. Products are fixed from the center, according to the drawing.
Ceiling tile cladding: work rules
1. After purchasing tiles, unpack it and stand in warm, dry room 2-3 days.
2. It is important to start installing the material from the center of the ceiling, and not from the far wall.
3. For trimming tiles, use the stationery knife.
4. Buying lamps, give preference to those in which the power is limited to 60 W.
5. When installing products, use the glue "Titan", "moment" or other other, adapted for expanded polystyrene.
6. The glue is applied to the reverse side of the tile by points in 20-25 cm increments.
7. Do not glue the material immediately after applying glue, let it lie for a few minutes and grab slightly.
8. Neakkutically applied glue immediately wash the wet sponge.
9. At the end of the work, lock the polystyrene eaves along the walls.
10. If the room has a low ceiling - get thin cornices.
11. The tile glue can serve as a mastic, a common putty.
How to glue ceilings with tiles
Progress:
1. Preparation:
- the surface should be cleaned of dirt and dust;
- if there is a minor difference, then you need to create an additional framework;
- next, you need to apply primer and wait until it dries.
Notes:
- if there are several layers of old whitewash on the surface - it must be considered;
- purified ceiling is ground.
2. Installation of tiles:
- spend in the center of the room line from the window to the opposite wall;
- equip an additional rigidity edge;
- the first row is fixed close to the rake, which is held along the drawn line.
Notes:
- the following tiles are located on both sides of the first two guides until you finish the 1st row;
- extreme tiles cut up using a special knife;
- 2nd row start again from the central line.
3. Punching friezes.
Installation of foam friezes - the final stage of work. It should be glued, ranging from the corner. To adjust friezes in size - cut out a small insert.
Notes:
When fixing friezes, experts recommend using profile.

