Floor screed is one of the most important steps when conducting interior finishing works. A curve floor can cause not only large inconveniences in operation, but also spoil the whole "picture" of repair. With perfect walls and ceiling, irregularities on the floor surface, which immediately rush into the eyes, will become a big "flying spoon." For private houses, the problem of the screed device on the floor surface is complicated by the fact that it should protect the room from dampness and heat loss. Especially if there is no basement. About how to make a screed in a private house with your own hands, let's tell later.
Content
- Wet screed options with their own hands
- How to make a screed. Dry floor do it yourself
- Preparation of the floor surface to laying a screed
- How to make a screed with your own hands. Laying thermal insulation
- How to make a screed with your own hands. Laying waterproofing
- How to make a screed with your own hands. Installation of reinforcing belt
- Installation of lighthouses for styling
- Fill screed with your own hands
- Screed with your own hands: video
Wet screed options with their own hands
Wet ties are most often used in the construction of private houses or floors in apartments. In the latter, such a method of alignment of the floor is relevant only in the case of the presence of concrete overlap. In old houses, where wooden floors, sex ties made of concrete do not. Conditionally all wet ties can be divided into several main species, although the technology of their laying is almost the same:
- Knitted screed. This type of screed is mainly used to align the floor in the apartment on top of the concrete slabs of the overlap.
- With the presence of waterproofing. Such a screed is used in places of high humidity (internal waterproofing of the floor), and even if it is placed directly to the soil (outer waterproofing of the floor). The last is relevant for private houses without basement.
- With the presence of heat insulation. The heat insulation of the floor is used in residential premises, where maintaining a comfortable temperature is very important. When performing work in a house without a base level or in an apartment on the first floor with an unheated basement, laying of the thermal insulating layer is mandatory.
- With the presence of a final coating. The so-called bulk floors based on cement solutions with the addition of polymeric materials, have an excellent ability to form an absolutely smooth surface. In addition, due to the bulk sex, dust is excluded on the surface of the screed. Modern bulk floors perform another decorative function, as under the layer of a transparent epoxy surface, you can even place pictures, and the color of the polymer bulk floor can be selected almost any.
How to make a screed. Dry floor do it yourself
Dry floor ties are not so often used as wet, but every year their popularity is growing. Such ties are a multilayer structure based on bulk materials of high density. Naturally, it will not go through it, so it requires a solid finish coating.
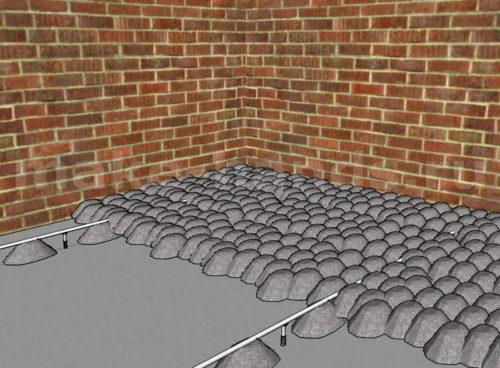
As the main layer, the so-called subfolder, clamzite is used, perlite or vermiculite.
Dry screed consists of several layers:
- Waterproofing. A layer of waterproofing is stacked on the draft floor. It can be rubberoid, a rupture, waterproof or dense construction polyethylene.
- Dry befling. This layer provides the thickness of the entire floor. Laying on the floor of the grainsitis with their own hands, like another submet, is performed by the beacons as well as the usual concrete screed.
- Dampfer tape. It is installed around the perimeter of the room and separates the walls from the bulk material. The height of the tape should be at least 20 mm above the layer of submet.
- Finish layer. Mainly for the organization of the finish layer use gypsum-fiber moisture resistant plates (GVLV). They have a perfectly smooth surface, long service life, no moisture and temperature drops are not afraid. In some cases, a leaf phaneer with a thickness of 15 mm is used as an finishing coating. However, this material requires additional processing and protection against moisture.
The advantage of such a floor laying system is the simplicity of its implementation and low laboriousness of work. In this case, you do not need to knead a large amount of solution, and it will be much cleaner in the room. Also, the advantages of such a screed include good heat and sound insulation. However, it is worth noting that the coating in this case will not be monolithic. In addition, the finishing layer is quite expensive, which increases the entire cost of the screed in comparison with the water floor with their own hands.
Preparation of the floor surface to laying a screed
Procedure for work:
- Before starting the screed, you need to carefully prepare the surface. The old screed is dismantled completely, after which the base is fully cleaning from its residues.
- After that, the surface of the slabs of the overlap is thoroughly ground. For this, the primer is spilled over the surface and smeared with a painting brush or rolled with a roller. The primer does not regret. Surging the surface will be within 5-6 hours.
- If the screed is poured onto a ground surface, then the subflink of rubble and sand is fitted, which is filling the waterproofing layer. When laying a layer of sand or clamzite, materials can be saved with water. In this case, you can achieve from a normal shrinkage.
- In apartments with concrete floors to lay crushed stone and sand.
- If the screed is laid in the bathroom or in the kitchen, then before it is pouring it is worth putting all the communications (water supply, sewage). The same applies to water warm floor. The system is installed before the screed is poured.
How to make a screed with your own hands. Laying thermal insulation
If the screed is poured on the first floor of an apartment, under which there is a unheated basement, or in a private house without a basement floor, the installation of the thermal insulating layer is mandatory. Otherwise, heat will just go out. In apartments above the first floor, this is done at will (if you do not want to hand out the neighbors from below).
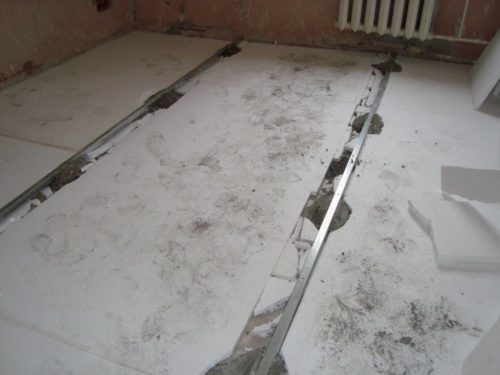
The insulation mainly use clayjit or extruded polystyrene foam. The first has smaller thermal insulation properties, but it serves much longer.
How to make a screed with your own hands. Laying waterproofing
Waterproofing is laid rolled materials laid on the floor surface. It can be hydroisol, rubberoid or polyethylene. Installation of waterproofing with any type of screed is mandatory, especially if we are talking about the pouring of the wet solution. When the waterproofing device, the strip of materials are stacked with a bunch of at least 150 mm. After that, be sure to be isolated with a tape or welded. If the reinforcing layer will be used when pouring the screed, it is necessary to put gaskets to the surface of the waterproofing layer so as not to damage it.
How to make a screed with your own hands. Installation of reinforcing belt
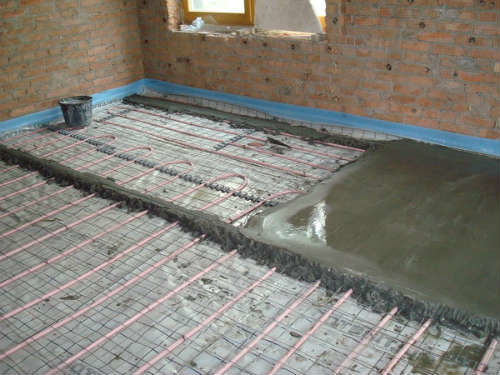
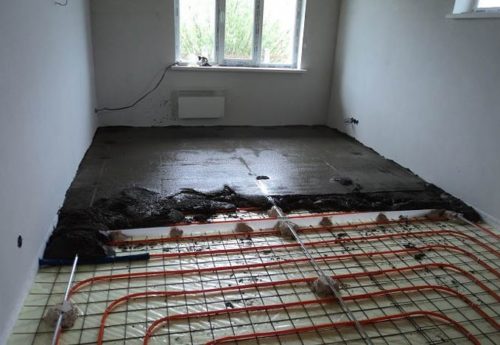
The reinforcing belt is applied in the case of a large screed thickness. It gives it greater strength, which reduces the risk of concrete cracking under load. It is usually a reinforcement grid made from reinforcement with a diameter of 4-6 mm, cooked with each other with a cell of 100 mm. Some builders in order not to apply the reinforcing belt to be added to the fibrin solution, which is a fibrous material that gives concrete additional strength. In the same way, a nylon screed is made with their own hands. If a warm floor of a cable or water pipes, it is better to use a mesh under the screed. It can be fixed with elements of a warm floor.
Installation of lighthouses for styling
The main points of installation work at this stage:
- In order for the screed to be smooth, a lighthouse system is installed on the floor surface. Lighthouses are a special steel profile. In order to dissolve the solution poured on the floor, on the surface of the lighthouses are carried out by the rule, thereby moving the floor. Installing a beacon system - the task is not too complicated, but requiring attention.
- The first thing for solving this problem is the blacks for the installation of the floor under the installation of screws (dowels). From the wall of the room retreats 200 mm and draws straight. On it with a step of no more than 800 mm, screws are installed. The distance is not recommended to increase the profile when the load does not be reached. They screw themselves until their caps are on the same level. This is checked by a hydraulic or laser level.
- The height of the arrangement of screws depends on the thickness of the screed. The recommended screed thickness with your own hands for apartments is no more than 50 mm, for houses - depending on the need for thermal insulation. In apartments, the thickness of the screed is limited, as it has its own weight, which will create an additional burden on the building structure.
- The second row of screws are screwed at a distance of 1 - 1.5 meters, depending on the length of the rule. The distance between the rows should be 300-400 mm less.
- The head screws of the second row must be in the same level with the first next.
- By putting all the rows of screws, you can start the installation of beacons. For this, a cement or gypsum solution is prepared, which is superimposed around the screw. While it does not frozen, profiles are installed on the surface of the hats of the screws. You can only work with lighthouses after the solution completely freezes, better - the next day.
Fill screed with your own hands
The consumption of materials on the screed with your own hands can be calculated very simple. Basically, a cement-sand solution is used for the screed device, in which the proportions of cement and sand - 1: 3.
- To prepare 1 m 3 The solution is needed about 2 tons of dry mixture. That is, if the proportion is observed, 500 kg of cement and 1500 kg of river sand are needed. If the screed thickness is 100 mm (or 0.1 m), and the area of \u200b\u200bthe room is 20 m 2then for its device you need 2 m 3 Concrete, or 1 tons of cement and 3 tons of sand.
- Cooking the solution is very simple. To do this, it is better to use a concrete mixer. On 1 bucket of cement and 3 sand buckets, approximately 8-10 liters of water poured and is thoroughly mixed.
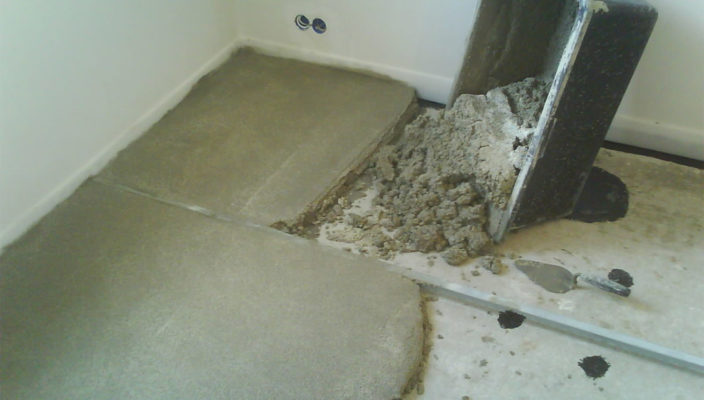
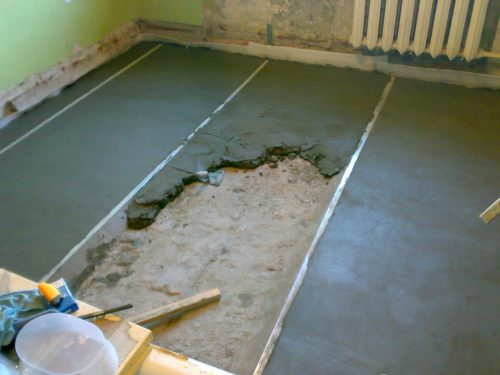
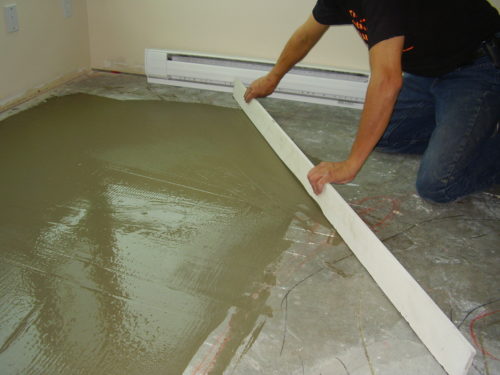
- The screed from the far from the front door is poured. For a start, the first strip is poured. The solution is poured between the bands and stretches with the help of the rule. If it is not enough to fill out of all the volume, then add more. So all the stripes are poured up to the door.
- You will be glanced about a day or two. It all depends on the moisture content indoors. After that, gently remove lighthouses and close the seams with the help of the same solution and kirk.
- Complete strength concrete will type in about 25 days. At this time it must be moisturized.
- After the final pouring of the concrete, it is possible to grind a semi-drying screed with your own hands and applying the finish coating.

