Construction plaster grid is an integral attribute of most internal and external finishing works. It serves to strengthen the walls, improve adhesion with plaster mortar, increasing the service life of the coating. Today we will tell you how to choose a plaster grid and how to mount it on the walls.
Content
What is a plaster mesh
In order for the plastered surface to retain its original appearance as long as possible, it is necessary to strictly adhere to the construction technology. This means that there is a special grid between the draft wall and plastering solution, which would combine two layers. Initially, wooden bars and rails were used for the reinforcement of surfaces, later the metal networks from the wire came to shift, then the plastic and fiberglass materials were invented. However, the appointment and principle of operation remained the same - to strengthen the surface and create favorable conditions for applying a finishing or leveling solution.
For which you can use the reinforcing plaster grid:
- Create a firming internal frame that will not allow the finishing layer to crack or crumble.
- Improve the adhesion of the finishing solution with a rough surface by increasing its area and creating relief. Especially relevant for such smooth materials as a foam and its derivatives, plywood, chipboard, silicate blocks, etc.
- Processing joints, adjoining or seams after mounting sheet materials: chipboard, drywall, plywood, polystyrene foam, etc.
- For installation of waterproofing and insulation.
- The plaster grid is used not only to work with vertical surfaces. She strengthens concrete ties and bulk floors.
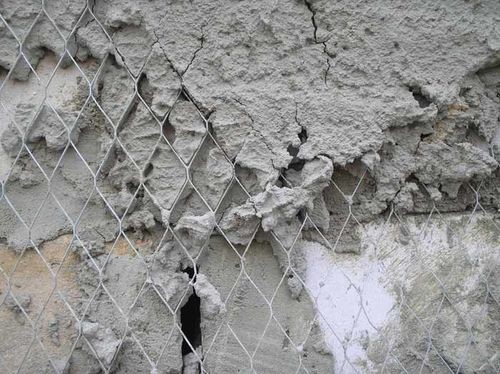
Why do you need to strengthen the plaster? The fact is that after applying a thin layer of the solution, it gives an uneven shrinkage in the process of drying, and this can lead to cracking. The grid does not allow the plaster to collapse as during the aging, as in the future, when the surface will be subjected to temperature and humidiform changes, mechanical effects and other adverse factors.
The most serious and destructive impacts are the outer walls of the house, and therefore the plaster grid should be reinforced. For this reason, all mesh can be divided into two large categories: for outdoor and internal works. The facade plaster grid is adapted for more extreme operating conditions, and therefore its cost is higher than that of products for interior decoration.
Types of plaster grid
So, we smoothly approached the theme of the species of plaster grids. The modern building market offers so many types of this product that the injecting person will be easy to get confused. The differences consist not only in the appointment and cost, but also in the materials from which the grids are made.
We list the main types:
- Plastic is one of the most durable varieties. The masonry mesh consists of a polymer material and is used for laying bricks and applying thin layers of solution.
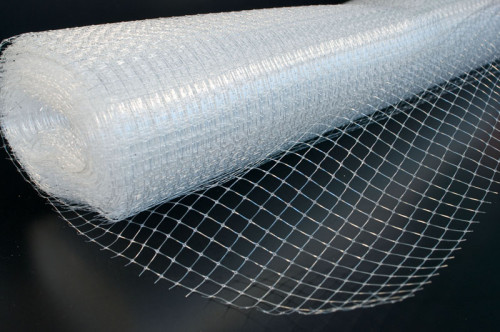
- Universal - distinguish fine, medium and large grid with cells 6x6 mm, 13x15 mm and 22x35 mm, respectively. The first is used for the reinforcement of thin plaster layers when working with walls and ceilings. The average grid is made of polyurethane and is also used to decorate walls and ceilings. Designed for the exterior decoration of walls of buildings. It is mainly used to work with warehouse and industrial structures.
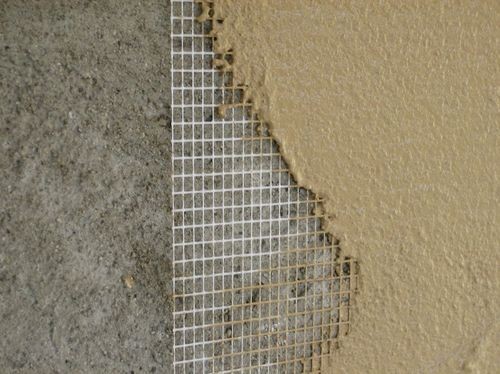
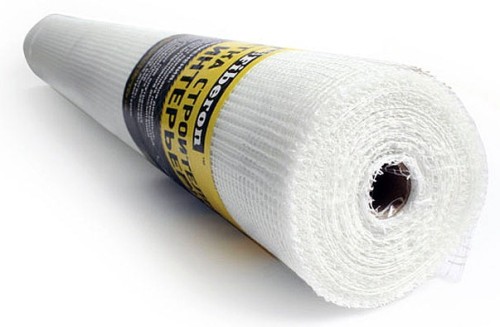
- Fiberglass - probably, the most popular type of grid used for the inner and outer decoration. Made of thin threads of alumoforosilicate glass. The peculiarity of this material is that it does not break, even if it is greatly bent, and therefore it is convenient to work with such a grid even on complex embossed surfaces.
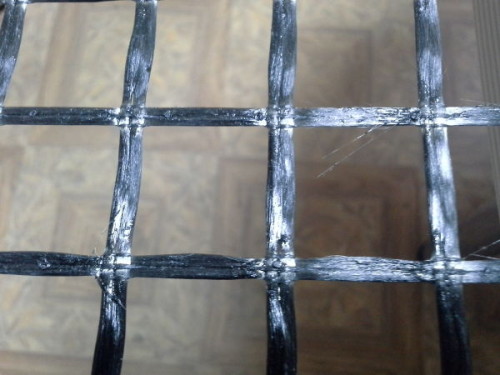
- Plurima is a polypropylene mesh with cells of 5x6 mm. Distinctive features are inertia with respect to chemicals, as well as extraordinary lightness, which allows it to be used for ceilings. Can be used for facade and internal works.
- Armaflex is another type of polypropylene grid, but with larger cells 12x15 mm. It is distinguished by enhanced nodes, which makes it possible to use it if necessary, the imposition of a particularly thick layer of the solution.
- Sintoflex - polypropylene mesh with cells 12x14 mm or 22x35 mm. Does not come into contact with household and building chemicals, it has low weight and versatility. Can be used for outdoor and internal work.
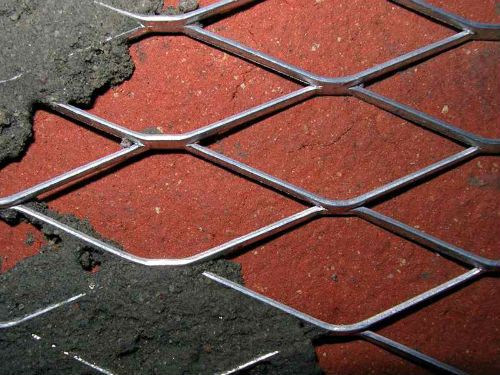
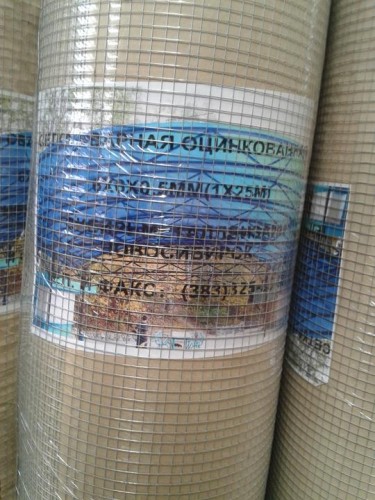
- Metal - wire steel network with different cell sizes from 5 mm to 30 mm. Designed for increased loads with internal finishing works. It is not recommended to use it for outdoor, since unprotected metal will quickly start rust.
- Galvanized - but this network can already be laid outside, since it is not subject to corrosion. The galvanized plaster grid is mainly used to finish the facades, but it is also suitable for work in premises with extreme operational conditions.
How to choose a plaster grid?
At first glance, it may seem that in the use of the plaster grid there is nothing complicated, but there are nuances here, which are advisable to consider if you want to get a quality result. Two fundamental factor that have a direct impact on the selection of the mesh are to be selected: the thickness of the plastering layer and the base material of the wall.
There is also such a notion as extreme plastering conditions, when the solution is applied with a thick layer more than 3 cm, and the surface at the same time is absolutely not able to give the necessary adhesion. In this case, it is not enough just to drown the grid in the solution - it must be fixed on the wall, and then apply plaster. Otherwise, the solution falls off from the surface along with the reinforcement.
So choosing the grid, you need to consider the material of the wall:
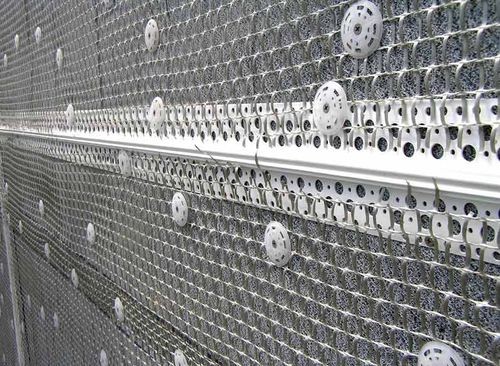
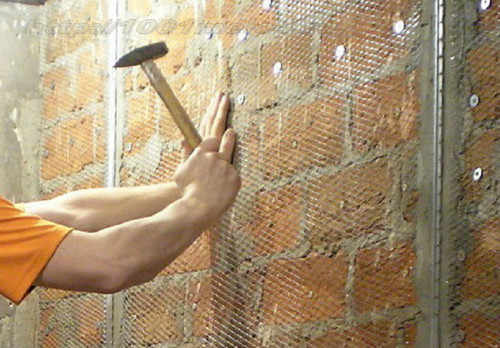
- If it is concrete or a brick, the plaster grid should be attached using a dowel with a larger diameter washers than cells.
- On wooden surfaces, the network is screwed by galvanized screws.
- For metal bases, only the metal network is suitable, and it is fixed using a welding machine.
It should be understood that the thicker layer of the solution, the stronger there should be a plaster grid. For example, polypropylene products are not designed for heavy loads and can only be used if the plaster is applied by a thin layer and make it on a suitable (not extreme) surface. They are enough to simply be mixed with a solution to the wall and wait for drying.
To understand, a layer of which thickness should be applied to the wall to align it, you need to be able to handle the construction level. To do this, first it is necessary to find the lowest point on the ceiling, put a mark there and estimate the thickness of the solution layer.
Depending on the data obtained, you can choose a type of plaster mesh:
- If you work with a ceiling without rust, and the thickness of the layer of plaster is 20 mm or less, the solution can be applied directly to the base without the grid.
- If the ceiling with rusts, or the thickness of the layer is greater than 20 mm, but not more than 30 mm, use the fiberglass plaster grid.
- For layers, the thickness of 30 mm need a metal network and its reliable fixation on the basis, otherwise it will fall off under their own weight.
- If you work with an uneven ceiling or walls with drops in a height of more than 50 mm, the rational only to align such a surface is not plastering, but sheet materials: plywood or plasterboard. Consumption of dry mixtures in this case will be too large.
For better orientation among numerous proposals on the market, you should know only a few main characteristics of the grids: the surface density, which is impregnated and direct product purpose (facade, interior decoration, seams, etc.). The surface density can be called the main characteristic, on which the reliability and durability of the material depends. The more grams per 1 m², the stronger will be the reinforcement.
Depending on the density, all mesh can be divided into several types:
- 50-160 g / m² - plastering and painting networks for indoor work. The difference between plaster products from painting consists in cell dimensions - in the first they are not less than 5x5 mm, the second can be smaller.
- 160-220 g / m² - grids for outdoor work with cell size 5x5 mm and 10x10 mm. Can be used to work with thin layers.
- 220-300 g / m² - reinforcing networks for basement and underground structures. They are distinguished by the enhanced structure, thereby maintaining extreme loads and adverse conditions.
The cost of the grid increases in proportion to its density.
Marking, which is available on packaging or documentation:
- C - grid;
- SS - fiberglass mesh;
- N - designed for outdoor work;
- In - for construction work indoors;
- W - network for putty (painting);
- A - reinforcing network of increased strength for bases and underground structures;
- U is a reinforced grid.
Near the letters usually indicate the tensile strength indicator, for example, SNU 200-4600 means that this is an enhanced network for work outside, the density of which is 200 g / m², and the strength limit is 4600 H for a strip of 5 cm wide.
FEATURES OF MONTAGE
Earlier, we already mentioned that, depending on the material of the surface and its condition, as well as depending on the type of mesh and the thickness of the plaster layer, the finish technology will be different. We suggest to consider the process of plastering walls with the participation of the two most popular types of mesh: metal and fiberglass.
Metal grid
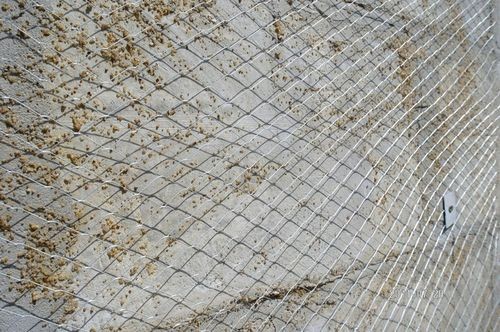
Since the wire plaster grid weighs quite a lot, it must be fixed fixed on the draft wall. We remind you if you work outside the house, use only a galvanized network. It costs it is much more expensive than the usual metallic, but for a long time will retain an outdoor finish, and will not be the cause of its premature destruction.
In addition to the grid itself, you will need a dowel, self-tapping screws and galvanized mounting tape. Before mounting, make the wall measurement and cut a suitable piece of the grid. Some professional builders recommend also to degrease the network, rubbed it with a rag moistened in acetone or alcohol.
The main stages of the metal plaster mesh mounting:
- Drill in the wall of the opening under the dowel at a distance of 40-50 cm in a checkerboard order.
- Attach the grid to the wall and begin to fix it from the top corner under the ceiling.
- Under the hats of selflessness, be sure to put small segments of the mounting tape. It is possible to use special embellished washers, but the tape is much smaller, and the effect gives the same. To speed up the work, instead of self-tapping screws, you can use a dowel-nails and drive them by an ordinary hammer.
- It is rarely possible to close the entire surface of the solid segment of the grid, so if it is necessary to build reinforcement, make a total of 10 cm.
If you have a wire woven plaster mesh and a wooden wall, you can simplify the task and fix it with the help of a furniture stapler, as shown in the video below:
Plastering fiber
Woven plaster mesh made of fiberglass is used mainly for internal works and is very popular with self-taped masters. First of all, this is explained by the simplicity of installation, in the second - low cost and versatility.
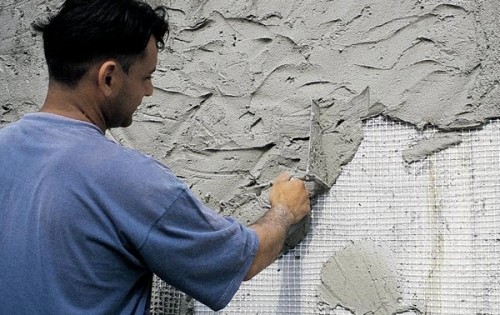
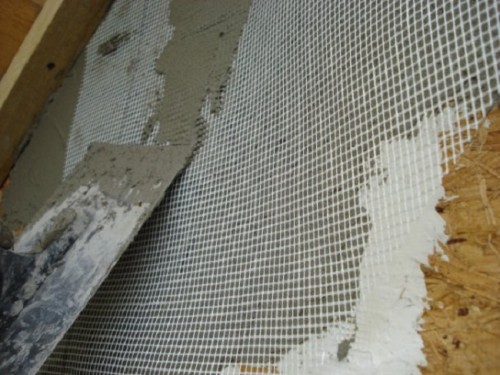
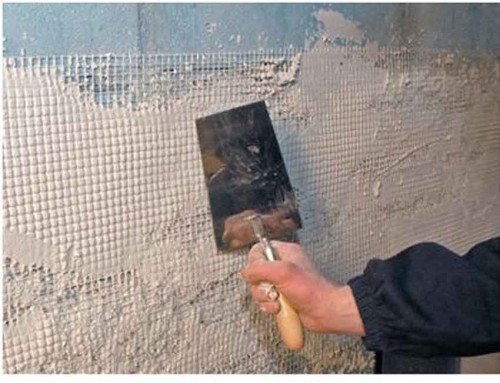
So, to attach the fiberglass mesh, it is enough to fasten it with self-strains at first to the outer edges, and then on the inner area. If the grid is finely and lightweight, it can be simply glued in several sections on a plaster solution. There is also such a practice - there are plaster on the primed wall, the reinforcing mesh is slightly trimmed in it, waiting when everything slits slightly, after which the second leveling layer is applied.
Experts recommend to unwind rolls with a mesh and fix cuts along the walls, having them parallel to the floor surface. Start securing the most convenient from the top corner. If you need to build the panels, also make the adolescent at 10-15 cm. But to achieve the maximum strength of the leveling coating, you need to try to cut the plastic plaster grid so as to avoid cutting into small pieces.



Tell me, what kind of construction grid to choose? I'm here https://arh-group.ru/s-fasadnaya-setka/ I looked at a few options.