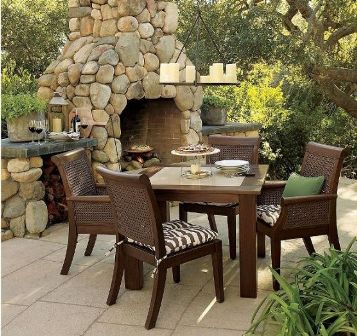
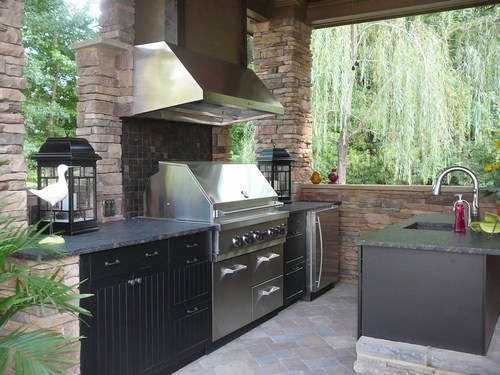
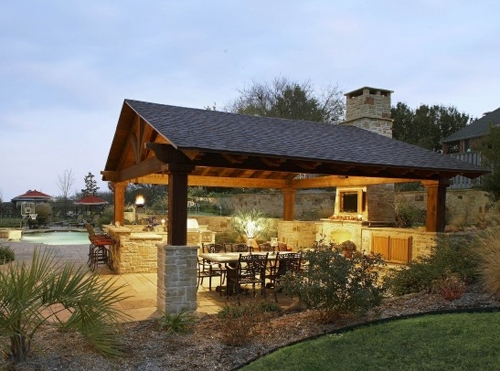
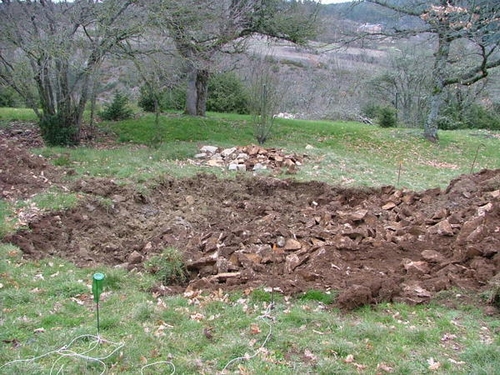
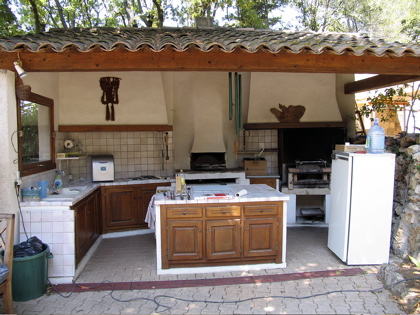
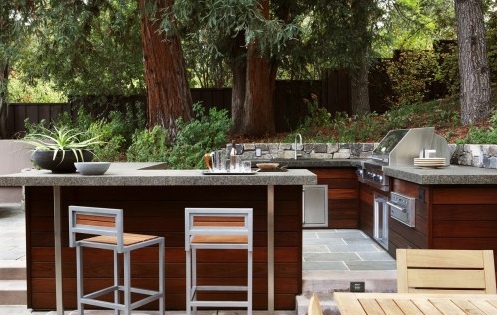
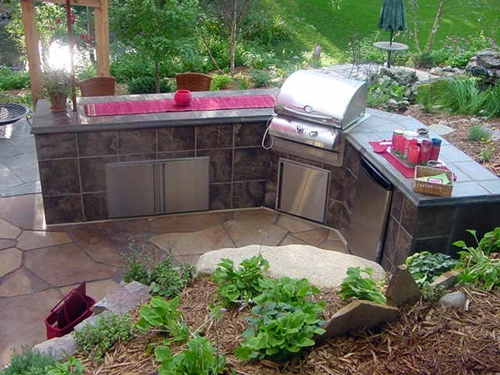
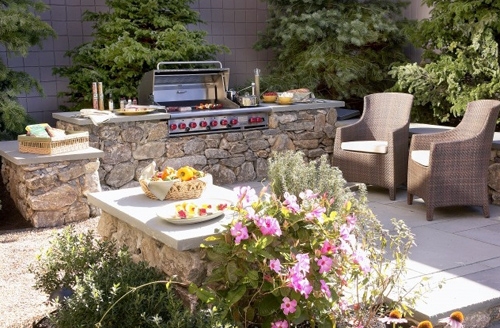
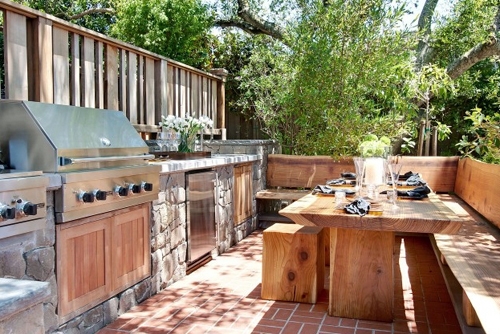
The long-standing traditions have summer kitchens in the country in separate houses gradually go into Genesis. Today, modern design becomes all bolder and they are starting to post next to terraces, open cinemas, pools, etc., creating a unique design of the yard with such a structure. You can build a summer kitchen yourself quite quickly, especially if there is a ready-made site near the house, if it is not, then depending on the type of construction you can make it open or closed.
Content
Types of summer kitchens:
- summer kitchen with a gazebo;
- summer kitchen with bath;
- summer kitchen with a veranda;
- summer kitchen with mangal and the like.
Closed summer kitchen involves the use of a little more building materials during construction, while it remarkably protects against dust, wind, etc. If you wish, it can be used all year round.
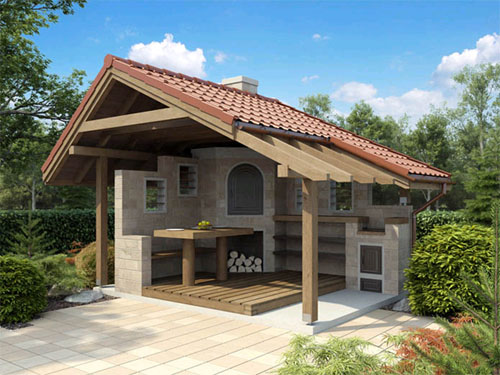
An open type can be without walls and pose a small platform with curtains, canopy or without it. At the same time, the buildings are considered openly, which are erected as a kind of pavilion - the roof and three walls.
Also create a summer kitchen on the plot can be in the form of a wooden design team, which is trimmed by plywood, wood or plasterboard. A more durable type is built from foam blocks, natural stone, bricks and other similar building materials.
How to make a summer kitchen with your own hands
Kitchen selection
Located with a place under the summer kitchen, see that it is conveniently located for the supply of various types of communications: water supply, waterproof, electrical wiring, etc. Also an important nuance is the location of the kitchen away from the livestock, toilet and compost pits. Otherwise, eating here will not be very comfortable.
If you wish to build a summer kitchen from non-resistant building materials, it is better to highlight it away from the passenger-plated structures.
Often, the kitchen attracts over the cellar is the perfect solution, since all the necessary products will always be at hand, and after summer conservation, you can quickly place the orders.
Also, experts recommend to have a summer kitchen under the trees, so that the sun and heat of the hearth did not bring you inconvenience. In extreme cases, orient windows to the East or North - thus hitting the scoring rays will be minimized.
Device platform
Preparing an earthy plot, it should be pre-aligned and provide a bias for water drain. If you plan to supply communications, they are created at this stage.
When building a summer kitchen without walls, the foundation can not be laid, but to limit the ordinary platform.
Progress:
- first rotates a depth of 100-150 mm;
- then he falls asleep by sand;
- next, the pillow from the sand is trambed, and wooden boards, paving slabs or bricks are added to it, which will serve as the basis.
If you are planning to create a stationary type of kitchen of stone, brick, etc., here it is necessary to provide a real foundation. Under the stone and brick structures lay a ribbon foundation, and under frame wooden - column, which will stand on stone or brick columns.
Progress:
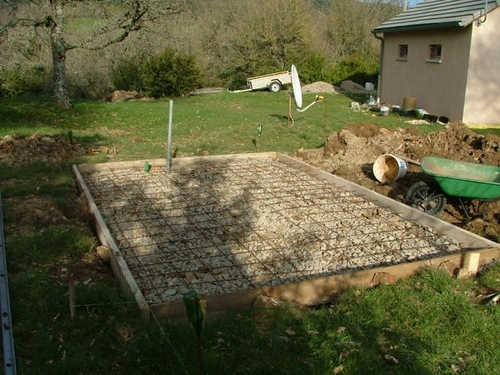
- at first, according to the occupied perimeter (it should be 100 mm more planned section) the ground is removed to a depth of 500 mm;
- a sand pillow (150 mm) is well placed on the bottom;
- on the remaining 300 mm, the foundation of a certain type is erected.
After the fundamental basis is ready, you should think about the floor arrangement.
Progress:
- between the walls of the foundation is a steel of a sand pillow (100-150 mm);
- trambet her;
- then they fall asleep with rubble, which is also rambling;
- next, everything is poured with a solution of cement.
Construction of walls
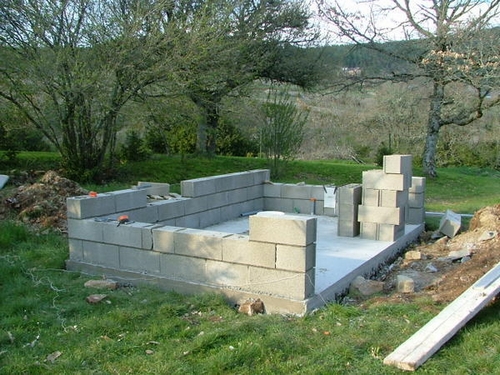
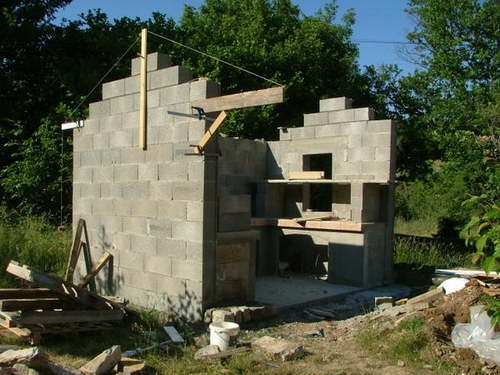
Construction of a summer kitchen from a brick assumes the presence of knowledge and skills of brickwork, while it is practically no different from the construction of walls. Mainly applies masonry in one brick or pollipich.
However, it is much faster to build a summer kitchen from a wooden frame, which is trimmed by boards. In this case, the supporting elements will not be a wall, but a frame consisting of solid wood or bars. All frame elements are fixed with each other with screws. At the same time, close attention is paid to the compound with metal corners of the beam structures with the foundation.
After the framework is exhibited, it is cut with the outer side by boards up to 2 cm thick, and with inner - clapboard, plasterboard, etc.
Summer kitchen roof
Today, a double roof is very popular in the construction of summer kitchens, it can also be done with a single or flat. If you wish to use the room all year round, it is recommended to provide in the structure of the heat-insulating layer. Completes the roof of the tile or slate.
For an open kitchen, which has a view of the site, it is advisable to create a canopy. So on metal or wooden racks, a doomle is mounted, which is covered with roofing building materials - polycarbonate, corrugated color plastic, etc.
Installing windows
When erecting a closed summer kitchen, you should take care of the window frames. The window box should be installed in the opening quite tightly, by the need to apply silicone special gaskets. If the construction design allows, you can use large windows that will be located from the ceiling to the floor.
What to cook
Summer cuisine is completely unthinkable without furnaces, which are several types:
- for barbecue;
- for daily cooking.
For everyday cooking, the easiest to use electrical or gas plates. Some prefer more exotic variant - a Russian wood-burning furnace, which is lined with refractory bricks. This option attaches significant savings, however, increases the risk of fire. Therefore, be sure to pride the high-quality ventilation system.
Summer kitchen with barbecue is a kind of furnace, which is similar to a fireplace, having a baked binge on coals of vegetables, meat and other food. Mapping a barbecue, pay due attention to the construction of an exhaust pipe.
Interior decoration of the kitchen
Outdoor coating in summer kitchen can be made of 2-3 cm boards thick. Such a floor, opened by varnish, will become a wonderful alternative to parquet. If this building material is not satisfied with you, then linoleum on top of it. You can also use ceramic tiles or natural stone.
Depending on the design of summer kitchen, the ceilings are trimmed with plasterboard or 2 cm boards thick. Wooden coating is recommended to cover with oil, and plasterboard sharpen and paint the water-level paint, or just to bother.
Speaking about the walls, it is worth noting that it looks great with a clapboard with a tree or plasterboard, which is subsequently chosen in any color.
Summer kitchen design
As mentioned above, the main decoration of the summer kitchen is the oven. However, to comfortably use it, and then eat food with an appetite, the sink, countertop, dining table and chairs should be provided in the room.
The interior can transform vases with flowers, wrought iron, carved wood, porcelain, ornamental clay products, as well as textile original things.
How to build a summer kitchen of an open type
Initially, you should purchase the necessary tools, building materials and equipment, and also to determine what will be included in the design. It can be a bar counter, bio-or gas fireplace, oven or oven, mini refrigerator, cabinets with shelves, washing, cooking surface or grill. Immediately solve the issue with communications or organize an additional place for a gas cylinder. Take care of light placement and determine the size of the kitchen island.
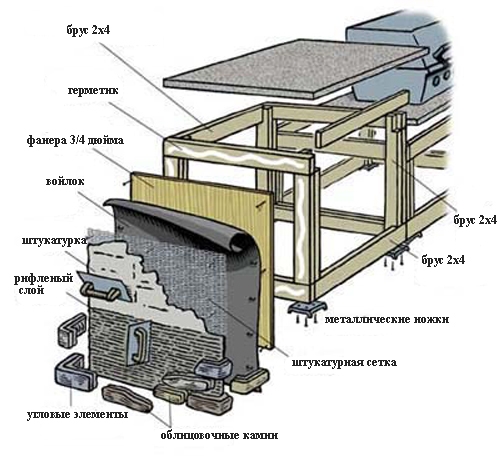
For the construction of a kitchen island on a frame of wood, we will need the following materials:
- the stone is artificial from light concrete;
- metal legs;
- sealant designed for outdoor work;
- plastering for external work;
- plaster mesh;
- felt construction;
- plywood 3/4 inches thick;
- bar 20x40 mm.
This frame design provides sufficiently low placement of the grill so that its lattice is located at the main concrete countertop level. The material for the countertop does not matter, the main thing is its surface must be moisture-resistant and does not deteriorate when the temperatures drops. For example, you can use:
- mosaic;
- artificial or natural stone;
- porcelain stonewares, etc.
The construction of summer kitchen includes a number of stages:
1. Construction of a wooden basis:
- according to a predetermined plan, the timber is collected and the framework is mounted, which is fixed with 2.5 inches screws;
- at the joints of the bars, cutouts of 1.5 inches depth are created;
- for fixing the structure, the bottom of the middle frame, an additional bar is fastened and the legs are mounted;
- then plywood lies;
- in places docking the brusade frame and plywood is applied sealant;
- next, the plywood is attached to it with two 1 inch screws;
- internal shelves, doors and necessary fittings are created;
- after that, all removable elements are dismantled and finishing work begins.
2. Preparatory work on plastering:
- a wood frame is covered with construction felt, which should overlap on the joints, about 50 mm;
- next is the duncar under the plaster;
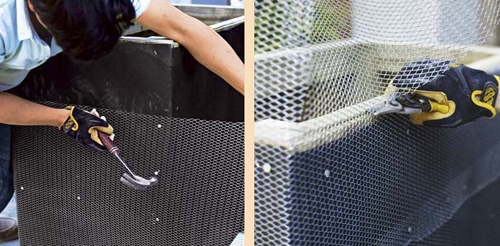
- it is best to apply a plaster grid by fixing it horizontally at a distance of 300-350 mm and 150 mm vertically using nails;
- observe the direction of the pattern and overlapping the joints by 50 mm;
- then, protruding the mesh frame is cut;
- at the end of the work, check that the duch has not saved.
3. Watching:
- initially, the kitchen island should be located in the right place, since the facing can take it;
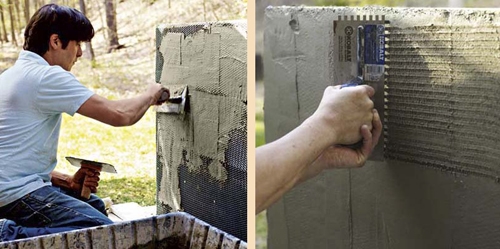
- instruct the plaster according to the instructions and apply it on the grid, controlling the content of each cell;
- the first layer should be done not too thick (the drank drawing should be viewed);
- give the first layer to dry (60 minutes);
- the second layer is applied by a trowel with jar (0.5 inches);
- smoothly move horizontally, holding it at an angle of 45 degrees;
- the second layer remains at least a day.
Recommendations:
- if you plan to make cladding with tiles, the corrugated surface will provide good grip with the base;
- if you do not want to favorab the kitchen with a stone or a tile, then the second plaster layer must be aligned, produce a grout and subsequent putty.
4. Facing with artificial stone
After the plaster dries, the internal shelves are mounted. Next applied to the door body and the boundaries are scheduled. For cladding, it is best to apply concrete stones that perfectly imitate a natural pattern, weigh much less and are processed easier. Make sure that the vertical seams of the neighboring row overlap, and the color of the stone alternated.
Progress:
- starting the facing should be with the angular elements, laying out the rows of spending;
- the reverse side of the stone of 25 mm thick is covered;
- next, the trowel creates pits;
- excess construction mixture are removed;
- the stone is fixed on the side of the kitchen island, carefully pressed to the base;
- then you should knock on the stone and make sure that there is no air gap;
- at the end of the work, after the daily drying of the facing layer, the tabletop, sink, grill and doors are mounted.
Other summer kitchen arrangements:
- if desired, you can refuse cladding and make a tabletop and stainless steel kitchen island;
- you can also use a metal frame instead of a wooden frame;
- create M-shaped and P-shaped structures;
- combine with kitchen bar rack;
- create a brick kitchen and separate it with brick artificial siding;
- lining with mosaic or ceramic tiles;
- make cladding with clapboard, porcelain stoneware or composite building material.
Summer kitchen with your hands video:


