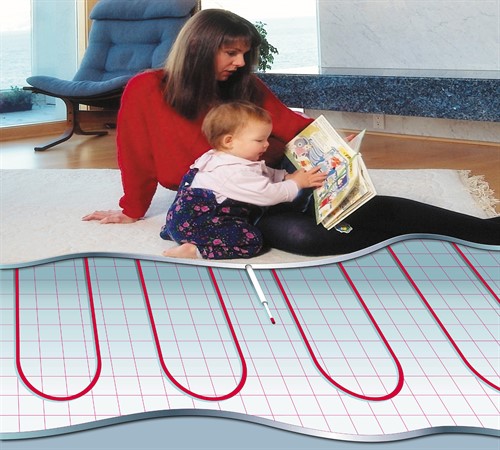
Recently, electric heap floors in the house as the main or additional source of heating began to establish an increasing population, in view of a number of positive characteristics of warm floors and relatively simple installation. The main thing is to correctly select the type of electric floor, and during self-laying - relentlessly follow the installation of the installation defined for each type.
Content
Types of electric heating floor, their characteristics
Among the variety of warm floors, 3 main types of electricity are distinguished.
Mats are heating
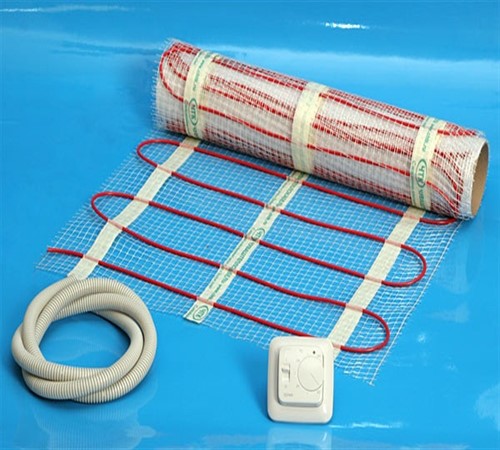
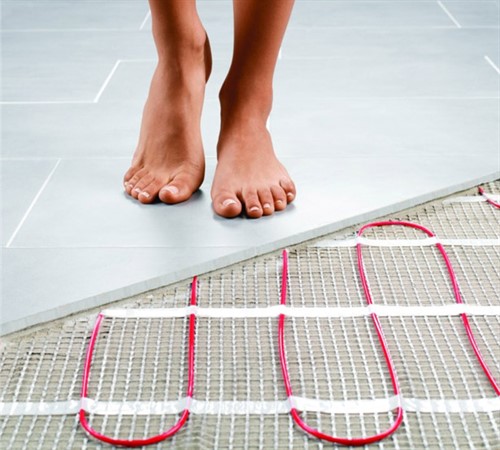
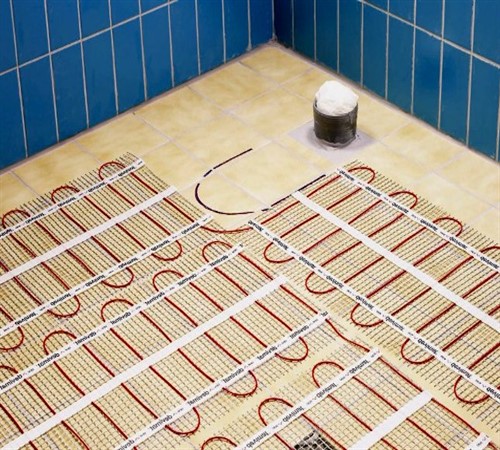
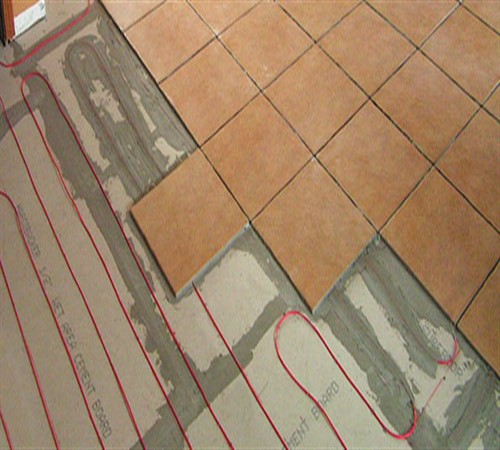
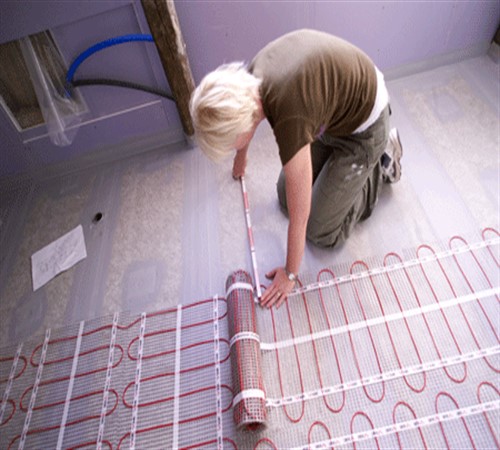
Heating mats are heating cable or carbon shielded rods with a thickness of 2.5-4.5 mm, fixed with a constant step on the fiberglass grid. The implementation of the mat is carried out by rolls of different lengths. A ceramic tile, which has good heat-conducting properties, is an ideal option as a finishing floor covering.
Pluses of heating mats:
- a small thickness of electric heating gear causes minimal placing height reducing;
- the ability to adjust the heating of the floor, in the presence of the thermostat, contributing to the economy of electricity;
- uniform heating of the room;
- resistance to corrosion;
- speed and ease of laying without a cement screed;
- duration of operation.
Minuses:
- laying mat is performed only on free from furniture area;
- mates can not be shortened, so you need to focus on a slightly smaller area of \u200b\u200bheating mats, compared with the heating area of \u200b\u200bthe room;
- suitable only as an additional heating source;
- the impossibility of use in cold rooms.
The cost of heating mats is higher than the price of the cable system, but less than the cost of infrared heating systems.
Heating cable
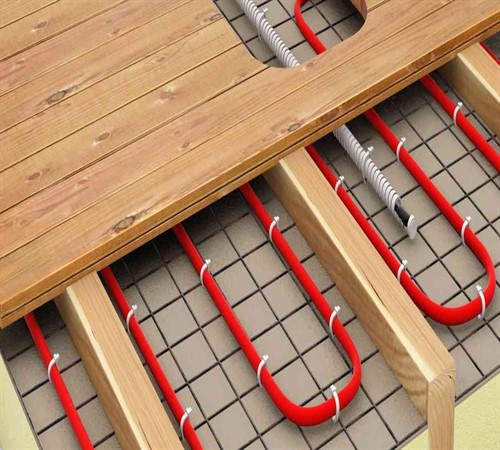
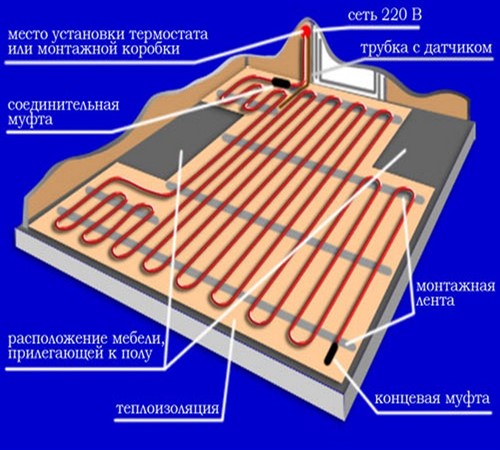
The cable system of electric heating floor, as a rule, consists of a cable of heating, as well as a thermal sensor and thermostat.
At the same time, as a heating element can be used:
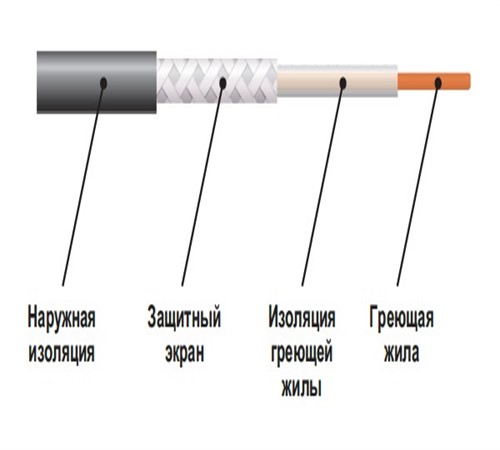
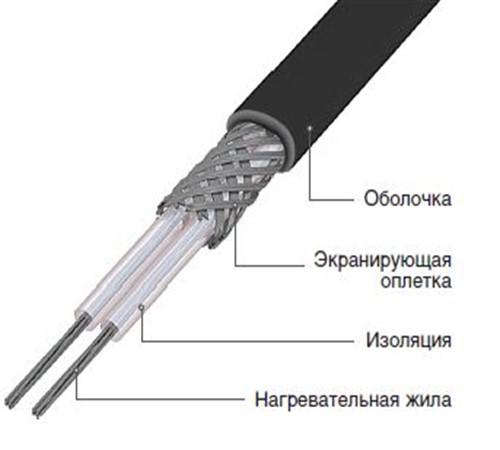
1. Resistive cable - heating core, concluded in a layer of insulation, on top of which a metal braid is located, which plays the role of grounding and shielding element. A resistive cable is used in the warm floor system:
- single-core, characterized by the presence of only one heating vein. It differs from the two-housing electromagnetic radiation and complexity of installation, as a result of which is used to lay the floor in the kitchen, in the corridor, in the bathroom;
- two-housing, along with heating residential, has a conductive residential, contributing to a decrease in electromagnetic radiation and facilitating the installation process, due to which it is widely used when laying the floor in the bedroom, in the living room.
A distinctive feature of the resistive cable consists in uniform heat release on any section of the cable, so it is strictly forbidden to prevent anyone under the furniture in order to avoid overheating of any site that entails the output of the entire system.
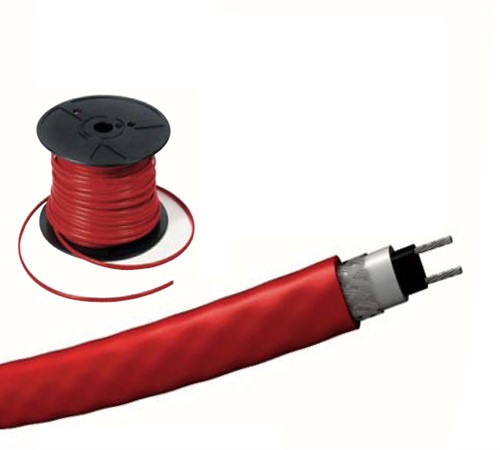
2. A self-regulating cable is distinguished by the presence of two conductive livers and located in the center of the heating element, the role of which performs the polymer. The cable overheating on any site contributes to the occurrence of resistance, making a decrease in heat dissipation in the area of \u200b\u200bthis area, the prevention system from failure.
However, the advantages of self-regulating cable are quite expensive, in relation to the resistive cable.
The thermostat included in the cable system prevents the cable overheating and happens:
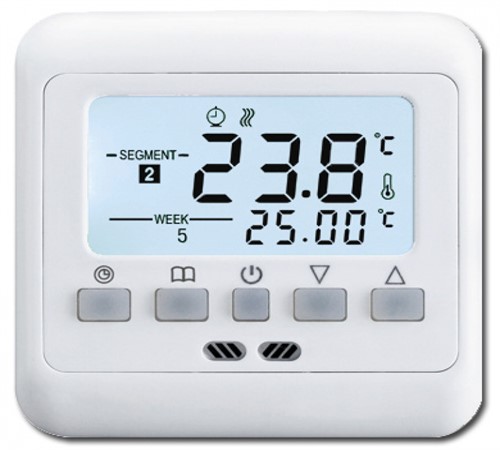
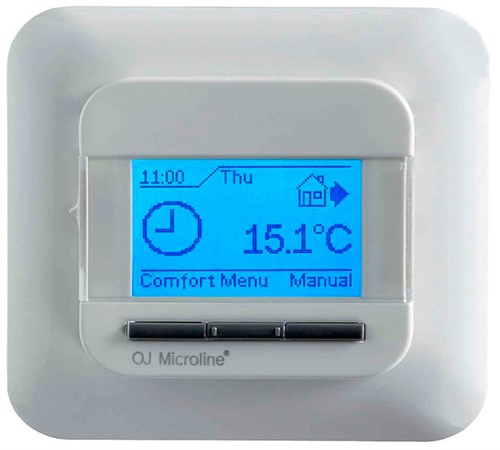
- programmable - contributes to maintaining a user-defined temperature, as well as the possibility of changing the heating temperature by a predetermined scheme;
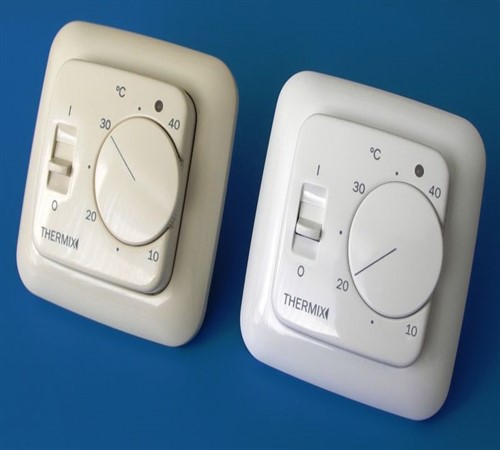
- unprogramable - Installing and adjusting the temperature parameters is carried out manually by means of a switch or using an alternating resistor.
In this case, controlling the operation of the cable flooring device is carried out by the following temperature sensors:
- internal - apply when using the system as an additional heating of the room and placed in the screed between the cable turns, allowing you to control the heating of the floor;
- external sensors are important if the cable warm floor is the only source of heating, so flow into the thermostat to monitor air temperature control.
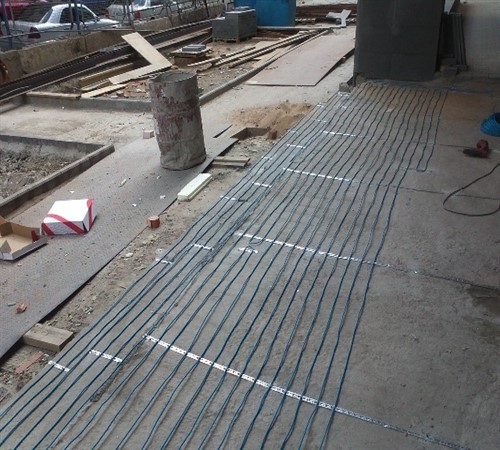
Unlike heating mats, the cable is sold in the coil, which allows you to arrange a heap system in the room of any configuration. At the same time, along with mats, the heating cable is the perfect version of the electric warm floor under the tile.
Advantages of the cable system:
- high speed of heating room;
- resistance to mechanical damage;
- the presence of a thermostat that allows you to adjust the heating mode;
- the possibility of using as the main heating;
- acceptable value compared to other types of electric heating floor.
Disadvantages:
- the air indoors warms unevenly;
- the need for a concrete screed;
- considerable energy costs, due to the use of the system as the main source of heating;
- the possibility of deformation of the floor covering with rapid heating;
- damage to a small segment of the cable leads to the failure of the entire system.
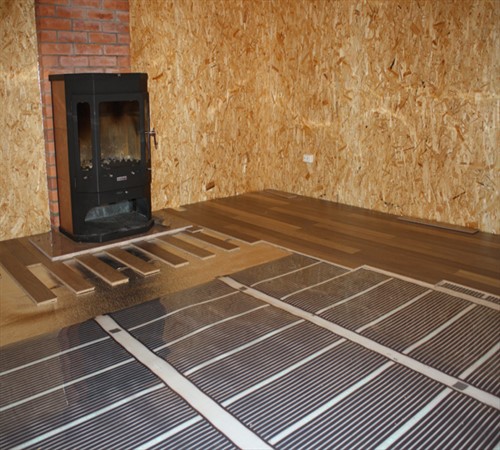
Film floor
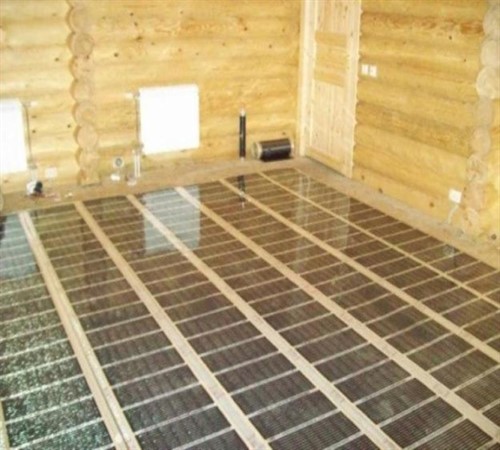
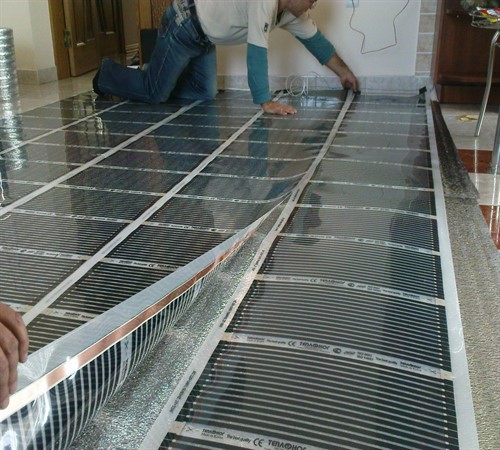
Infrared warm floor can be film or rod. The film floor is a film containing a carbon polymer strip playing the role of a heating element. In the rod floor, the role of the heating element is performed by carbon or graphite rods.
Advantages:
- electricity savings, since not only air is heated, but also in the room items that gradually give heat surrounding air;
- uniform heat distribution in the height of the room;
- air ionization contributing to a good microclimate;
- the possibility of laying the floor without a screed;
- mobility;
- simplicity and efficiency of laying;
- durability.
Disadvantages:
- not suitable for tiles, since the laying of the finishing flooring is performed only in a dry way;
- high price.
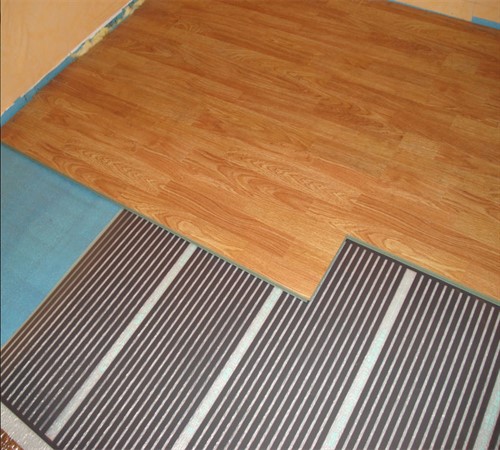
When choosing warm floors under the laminate, electrical infrared should pay special attention, since the laminate is laminated over a warm floor without applying a screed, significantly reducing the time of installation work.
Thus, each type of warm sex is inherent in certain advantages and disadvantages that have a direct impact on the technology of their laying.
The calculation of the magnitude of the warm floor
Since the warm floor is placed on free from furniture area, then to calculate the materials, it is necessary to compile a scheme where the location of furniture and heating devices is indicated. At the same time, from the wall and from the furniture, it is necessary to make an indent to 5 cm, and from batteries and heating risers - by 10 cm. Now we now calculate the area remaining under the laying.
On the basis of the obtained value, experts will help to choose an electric warm floor, the dimensions of which will close the area as much as possible for heating.
Installation of film floor
Electric floor installation technology reduces to the following work:
- We clean the base of the floor from various garbage.
- Align the surface if there are significant irregularities. To perform operation, we use self-leveling mixtures or cement-sand tie.
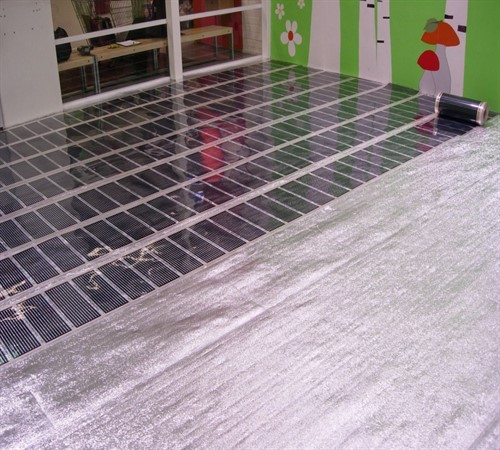
- On top of the hard screed, we put the heat-reflecting material with foil, whose joints are squeaking with a metallized tape.
- Film cut on the necessary segments in places free from the graphite layer.
- We put the film at a distance of 10 cm from the wall with copper contacts down so that they look towards the location of the thermostat.
- Insulating the section of the cut of copper strips with the help of bitumen stickers that are connected in such a way that the insulation overlap silver contacts throughout the cut.
- At the copper strip, fastening, in the places of the planned connection of the wires, contact clamps. In this case, one side of the clamp must be over the copper strip, and the other is inside the thermal blind. Fix installed clamp pliers.
- Scotch fully fasten the strip of the film between themselves and with the heat-reflecting material to avoid unwanted shifts.
- We insert the wires in the clip and fasten the pliers.
- Insulating the location of wires to the film by 2 bitumen stickers, one on each side.
- Fix the thermal sensor using bitumen stickers under the film, placing it on the black strip.
- On the heat transfer material, we make cutouts under the thermal sensor, as well as under the wires and contact clamps so that the surface of the finishing coating is as smooth as possible.
- We remove the wires into the prepared deepening and fix the scotch.
- Install the thermostat panel on the wall.
- Connect the connecting wires to the thermostat, based on the applied instruction.
- We turn on the thermostat and check the performance of the system for the heating of each module and the absence of any spark.
- On top of the thermal film, we laid a thick polyethylene film that protects the design of the warm floor from fluid ingress.
- We put the finish coating of laminate, observing caution so as not to damage the thermal film.
If the flooring is used as a floor covering or carpet, then on top of the polyethylene film, first put the sheets of plywood, carefully fixing them to the primary floor through the thermofilm, and then the linoleum is already stailed.
Heating Mat Styling Technology
The procedure for carrying out work looks like this:
- On the wall we define the location of the thermostat.
- We make a hole under the thermostat at a distance exceeding 30 cm from the floor.
- Down from the thermostat, we make a stroke, continuing it by 50-60 cm from the wall on the prepared base of the floor. The obtained groove is designed to lay the power supply cable, as well as the ends of the heating element and the temperature sensor, so the optimal size of the shine is 20x20 mm.
- Clean the draft floor even from a minor garbage.
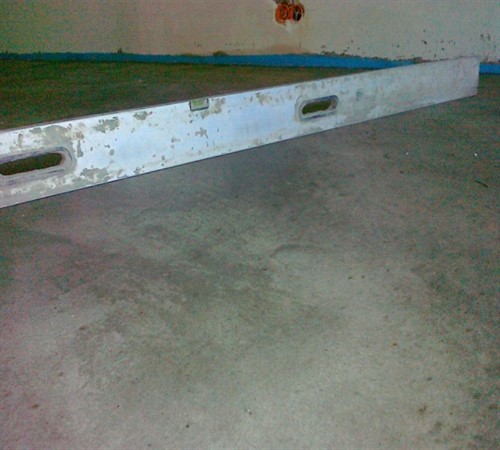
- If necessary, align the cement-sand tie, since the floor should be smooth and without cracks.
- Cover the floor by primer to improve adhesion with tiled glue.
- Location on the floor location of mats.
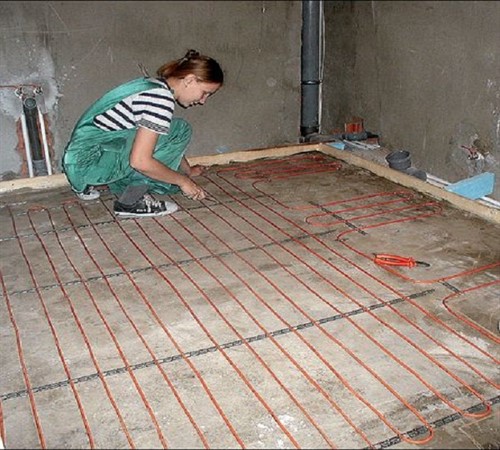
- Unlock mats on a pre-prepared heating area.
- We cut the canvas of mats to fragments, achieving the complete coverage of the heated area in the form without affecting the heating cable. When laying a cable, fragments should not be superimposed on each other or intersect.
- When laying the mat, it is necessary to pay attention to the location of the thermal sensor to be at an equal distance between the coils of the heating cable.
- Display the ends of the heating mat through the previously prepared groove to the location of the thermoregulator box.
- We check the functionality of the floor, measuring the resistance of the heating mat and the temperature sensor. The correspondence of the values \u200b\u200bof the data declared in the manufacturer's passport indicates the correct installation of the system.
- We place the temperature sensor in the corrugated tube, supplied with a warm floor. The end of the tube with a thermal sensor is closed by a stub in order to avoid the tile glue into it.
- We lay the tube into the groove, output the other end to the thermostat box. At the same time, the bending radius of the tube at the wall should not be less than 5 cm.
- Fill the groove with tile mortar.
- The ends of the mounting wires of the heating mats and the temperature sensor with a barrel and connect to the terminals of the thermostat.
- Check electrical connections.
- For 1-2 minutes we turn on the warm floor and check the device's performance. At the same time, the LED on the facial surface of the thermostat should be lightweight and heating the heating mats began.
- Turn off the power and go to laying tiles.
- The tile solution is applied over the heating mat with a thickness of 8-10 mm in small areas.
- We process the applied solution with a toothed spatula, after which we apply the tile and take a neat pressing of it in glue. In this case, the glue must completely cover the heating mat and come into contact with the entire surface of the tile, avoiding air cavities.
20-30 days after the end of the work, the warm floor can be used without peasant damage.
Installation of the warm floor of the electric, video confirmation, is carried out in 1-2 days depending on the heating area.
Features of the installation of a cable system of a warm floor
Laying the heating cable is performed on a pre-prepared screed. However, before proceeding with the screed device, you must:
- dismantle outdoor coating;
- get rid of construction garbage;
- sharpen deep cracks.
Installation of tie.
After drying, the putty is moving to the creation of a screed under the warm floor, observing the following order of work:
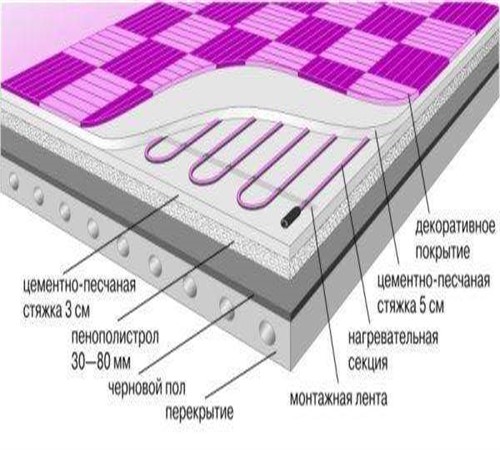
- Align the surface of the rough base by means of cement-sand, self-leveling mixture, etc.
- We put the polyethylene film so that the edges of the film enter the wall. In the presence of a docking seam, the film is stacked by 6-8 cm, after which the joint is sickling with scotch.
- We lay the heat-reflecting material with a metal side up. Docking the seams seal by tape.
- Under the bottom of the room with a damper tape so that the apron of tapes overlap the seam between thermal insulation and ribbon. At the same time, the top of the tape must exceed the height of the intended finish coating by 2-3 cm.
- Pour the resulting layers with a concrete screed 3 cm thick, forming the base for laying the heating cable.
Cabling
Before direct laying it is necessary:
- make a drawing with an indication of the location of all composite elements of the cable system;
- calculate the step of laying electric heating floor \u003d heating area x 100 / cable length.
Installation work is made in the following sequence:
- We pierce the stroke from the location of the thermostat to the floor and continue it on the concrete tie, deepening to the room center 0.5 m.
- Fix on a concrete tie mounting tape by means of a dowel at a distance of 50-100 cm from each other.
- With a previously calculated step, we make laying cable on the floor, ranging from the placement of the temperature sensor. In this case, the use of a single-core cable requires a dropsy, i.e. The beginning and end of the cable must be nearby. If a two-housing cable is used, the loop is not required, which facilitates the laying process.
- Fix the cable through fasteners located on the tape.
- We measure the resistance of the cable using the tester and compare with the data specified by the manufacturer in the instructions.
- We place the thermal sensor in the corrugated tube, one side of which is closed by a cap that prevents the penetration of the screed to the thermal sensor.
- We put the phone to the previously prepared stroke, grabbing it at the base of the wall.
- Connect the floor system to the thermostat by connecting couplings.
- Pour the laid out half a tie to a height of 5 cm so that the cable and clutch are completely recessed in the solution.
Connecting the electric heating floor to the network is made after complete drying of the screed, occupying 28-35 days, since not a hardened solution can crack, which will lead to the system breakdown.
Thus, the duration of work on laying the heated floor, as the cost of assembly costs depends on the selected type of electric heating floor. At the same time, compliance with the technology of installation work will be the key to long-term operation of the warm floor.


