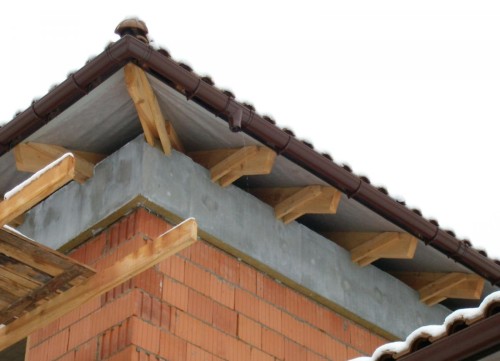
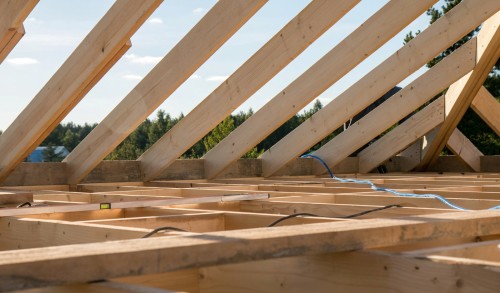
The roof construction assumes several stages of construction work. At the final stage of the process on the construction of the roof, a turn of the cover of the roof cornice is occur. This process is quite painstaking and deserves special attention, because the final appearance of the building depends on its quality and selected materials.
Content
Roof cornice: what is it for what
- When the work on the construction of the house and laying the roof is almost complete and remains quite a bit until the new house acquires a finished type, the turn of the cornice comes.
- Below among professionals box, roof cornice, in contrast to the foundation and masonry quality, can be seen with the naked eye on each photo of the landlined object. Therefore, special requirements are presented to this stage of work.
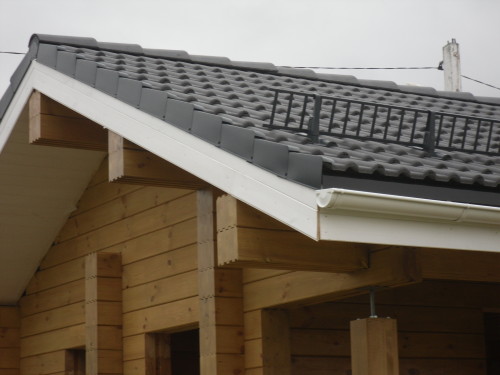
- It is at the final stage that drainage and snow plows are installed, and the protrusions are stitching. In addition to the purely aesthetic side of the question, the problems of reliable protection of the facade of the building and the durability of the whole structure as a whole are solved by mounting eaves.
- This design at the roof edge allows you to adjust the temperature regime indoors, and also reliably protects the external elements of the building.
- The design of the box must include ventilation elements necessary for space under the roof. Also on these elements of the roof decoration are subsequently attached drainage.
- Depending on the type and shape of the roof, the eaves are also different, but whatever the angle of inclination of the roof and the size of the protrusion, the scenes must be linked.
Welshover Roof: Step-by-step instruction
By itself, the process of covering the roof is not too complicated, the alternateness of actions is understandable at an intuitive level, and it is not so difficult to fulfill it. Just need to take into account the nuance that these works are important to spend very high quality. This means that without preparatory work can not do.
- The question of the cover of the roof cornice of the roof is necessary after installing the rafter and during the flooring of the crate under the surface of the roof. All the rafters must be poured on the same length, screaming everything too much. Do not forget that in the end the line of the rafter should be clearly parallel to the outer wall of the building. If suddenly the outer box is width in some part it turns out more, and in some less - outside it will be very noticeable and the external impression of the house is very injured.
- In the practice of high-quality construction, it has long been a long time to cut off strictly vertically and sew this site as well as the box. After the alignment of the rafter will be finished, you can proceed to flooring flooring or material selected to create a lattice.
- Another, no less important point is associated with additional insulation of the house. Works with the walls of the building should be completed before the process of covering the roof of the roof begins. This moment is especially important if the covering is performed horizontally, and not by rafters directly. If this nuance is missing, then you will simply fail to insulate part of the walls under the canopy, and this promises bad insulation in the fall and essential heat loss in winter.
- Observing the right order of work, as a result, the cover of the roof cornice will be closely in contact with the warmed wall.
Roof Save Construction: Material Choice
An important point in preparatory activities is the definition of a suitable material. It is important to choose than to sew the roof cornice. Often, the material is selected as the basis for the construction of the roof, the material from which the flooring has already been performed. The cost for such work is determined not only by the size of the structure, but also the selected consumables. Before buying, it is important to take into account the strength characteristics and the degree of durability of future boxes, then the cover of the roof cornice will be successful in all respects.
Consider the most common options for covering the roof eaves with the features of the materials used.
Wood lining
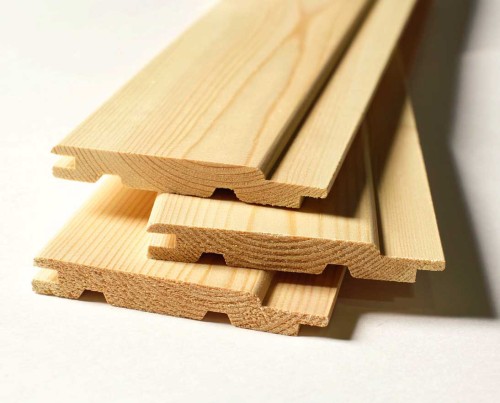
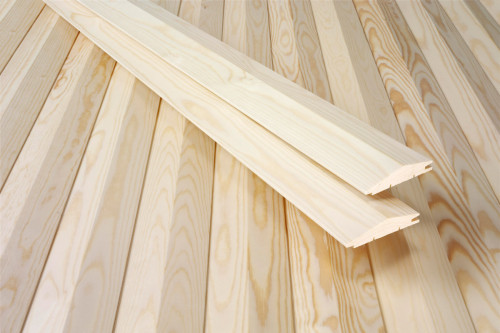
- This material will allow you to perform the installation of roof cornices at a sufficiently high level. The choice of its species is varied, because today this type of bed is offered by many leading manufacturers of building materials.
- However, choosing the lining, it is important to understand that the eaves of it is done to operate in the open air, and, it means, it will be susceptible to aggressive external influences. Therefore, the savings on quality in this case is unacceptable.
- It is also not necessary to use too thin material of this type. Wood must have optimal humidity and in no way be too dry. The most practical option will be the lining, produced at least a month ago, stored in the open air. In this case, the natural humidity will fully comply with the environmental conditions.
- When buying a material, check the boards to be made efficiently, without explicit defects. In the case of clapboard, any inconsistency of the stated qualities will be strongly noticeable in the form of cracks and bitch on its surface.
- A new generation of wagon wood is an extra material type material. Such a building consumption is carried out with strict observance of technologies with rejection of poor-quality material and is ideally drying before delivery for sale. Be sure to pay attention to the difference between these materials when buying, if building a house for yourself.
- The optimal moisture of the lining should be about 30 - 40%, this will provide high-quality installation of roof eaves. This parameter is easily checked by a moisture meter, which should be in any self-respecting merchant lumber.
- An equally important factor is the wood breed from which the material for mounting the soles from the roof is made. It is better to choose the lining of a durable type and with high resistance to rotting. Perfectly proven itself, for example, materials from ate or larch. However, they do not belong to the category of cheap lumber, but the lining of pine is more economical for the price and its wear resistance are quite acceptable in practice.
- Plate size also matters. In any case, it is better to use a thickness material with a thickness of at least 15 mm, with a length of the corresponding size of the releasing of the sink. Such an approach will result in a result, to save on excessive consumption of material when spilling extra parts.
- Also do not forget that for mounting the bugs of wood walling you will need special planks. They will need to be stocking together with all materials.
Planed board
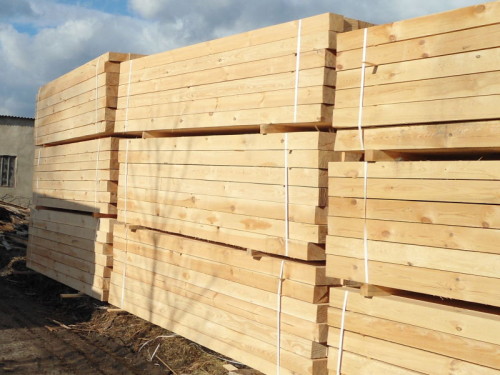
Another variant of the material for the work on the binder of the cornice is the edged planed board. It should be a thickness of at least 2 cm. This board is stuffed with a small gap of 1 to 2 cm in order to further provide sufficient ventilation throughout the perimeter of the roof. Only this location will fully ensure air flow into the underpants space. The difference between the binder of the eaves with the planed board from the lining is that in the second case, it is necessary to additionally cut the lattices for ventilation with an interval of 1.5 meters, which, of course, complicates the work.
Professor
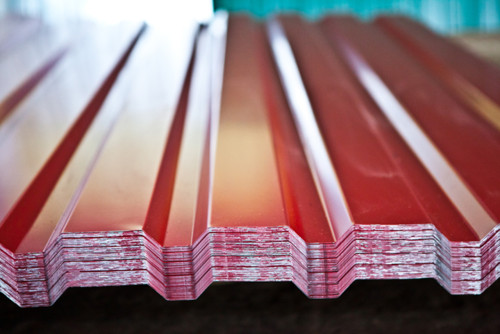
- A profist is a good material for work. However, it is recommended to be used if in the roof design of the house you need to accurately perform skes. Often, in such a situation, a corrugated steel sheet with galvanized and polymer coating is used.
- Special attention should be paid to the quality of the material used. The surface of the profiled sheet should not have scratches and chips.
- Also essential for the aesthetics of the eaves of the shades of the sheets used. They should not be different in color what can happen if you use different lots of material even one and the same manufacturer.
- A good material wave height will provide the necessary ventilation, but it is not always on hand. Often quite a very small level drop. Too large waves can create conditions for penetrating inside the construction of precipitation roof, which will naturally lead to gradual destruction of the frame.
- For the overwhelming majority of roof structures choose a light professional flooring. Ideal will be sheets thick from 0.55 to 0.8 mm. Materials are greater than the thickness, respectively, have an impressive weight, besides, it is harder to mount, and the subsequent load on the design will be unjustified.
- Profiled sheets need to be selected equal to the length of the spans to mount the box for the binder not from small panels, but from one-piece elements. However, it is necessary to consider that the independent cutting of the professional flooring is not the task of the lungs. It will take time and special equipment to solve it, so we all think over before making a purchase.
The profiled sheets for the roof cover are the most affordable materials. In addition, they have excellent characteristics, which makes professor in demand in construction.
Sofita
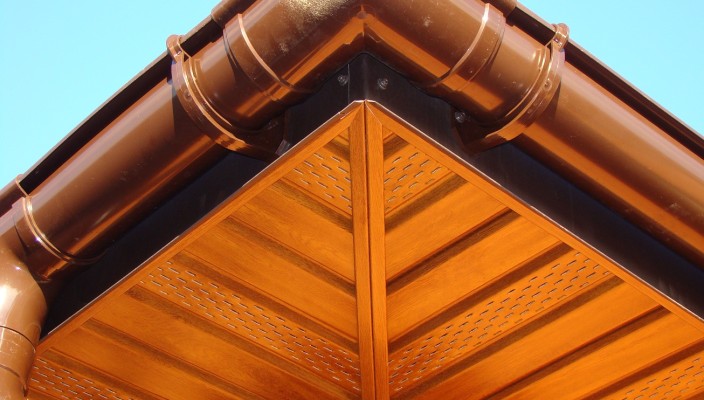
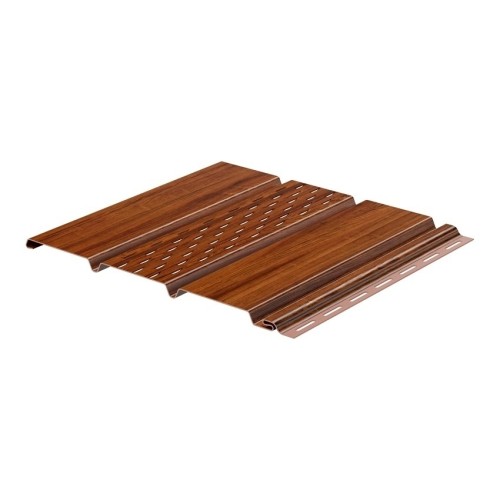
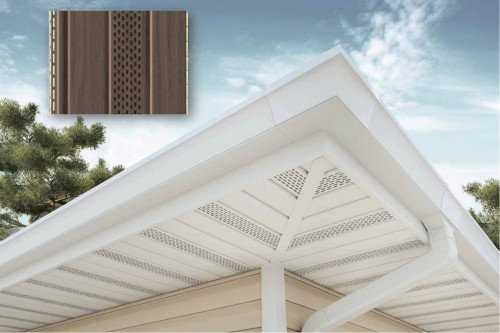
A separate category of material for covering the roof cornice is considered to be such a material as Sofit. It is an already ready-made kit that allows you to quickly and easily draw up protrusions. Made sophytes can be both metal and plastic, copper and even wood. Use the finished kit is very convenient, because its installation does not represent any complexity.
Locking cornice firing
Features of the binder
Each particular roof has its own characteristics and requires an individual approach to the installation. However, there are also general moments characteristic of all the roofs that need to be considered separately. Such nuances allow you to understand the basic rules of the device of the eaves and how to make them the binder in certain cases.
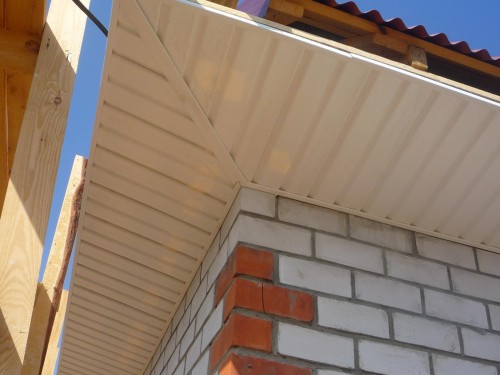
If the work is performed on the basis of the installed rafters, the liner will have the same angle as the roof slide. This option is appropriate for roof structures with a small slope. In this case, any selected material is covered with rafters strictly parallel to the wall. However, to perform such a binder correctly, you need to take care that the bottom of the rafter formed the perfectly flat plane. Sometimes this has to be achieved by additional alignment.
Installation: Step-by-step instruction
Align the surface of the rafter
- The selected material is cut into pieces strictly in size protrusions and is processed by an antiseptic to protect against external influences. If in the future it is planned to paint the parts, the processing of the antiseptic must be performed in advance before proceeding to the cover of the roof cornice.
- Next, you need to check how much the surface is smooth, and if it is not so, it is not necessary to achieve a clarity with the help of the flashes of the brackets that are already there. Fix the extra level can be nails or screws. IMPORTANT EXCELLENT SPECIALS Mount strictly along the plumb.
Fresh boards with cord
- In the cord, the installation takes place all other structural elements. Be sure to withstand permissible gaps between the panels, about 7 - 10 mm. This must be envisaged to take into account the natural stretching of the material under the influence of external conditions.
- In order for the work to be easier, the segments of the boards with a length of at least 10 cm are fastened to rafters with screws. First, the first and last boards are exposed to the length, and the remaining elements of the future eaves are fully tensioned and the remaining elements of the future cornice are attached.
Fresh boards using an extra board
This mounting option is used more often than the first. The installation procedure is easier, and the framework as a result is stronger.
- First, the horizontal box is made from the edge of the rafted to the wall.
- For the binder uses a frame made of a large thickness material. One edge is attached directly to the rafters, and where they fit the wall to the bearing board, to which everything else is mounted.
- This method of installation allows you to get a sufficiently rigid design, which does not depend on the level from the wall.
We carry out the trim
- When the frame is already fully prepared, you can proceed to the objects of the board or clapboard.
- Since the rain and snow falls on this part, frost actively affects, the fastening of the binder must be particularly reliable. An ideal option is to fix it with screws, and it is better to use 2 or 3 consolidation if the boards width allows such frequency. Otherwise, the board will eventually behave or twist.
- Sequentially the boards are joined in a checker order, which means that there will be no two junctions nearby.
- It is important that the material is lining or cutting board, before starting work, the protective antiseptic agent on both sides were processed. After installation, the material is also additionally processed from the ends, and then the place of attachment and cuts are painted.
Sofita Roof Eaves
Installation of sofites does not cause special difficulties, the cover of the roof cornice with her own hands is very simple. Nevertheless, it is necessary to prepare everything very carefully and pre-examine the instructions to build a reliable roof protection.
Installation: Step-by-step instructions and video
- First we prepare the material, cut it into the width of the roof of the roof. If its width is more than 4 cm, then you need to install an additional horizontal bar in the middle.
- It is important to provide a flat surface when attaching and the strength of the structure. To do this, the board is attached to the wall along the length of the protrusion, and the bars are mounted strictly in terms of the level. And already on top of the sofit panel.
- When preparing, all boards must be fitted horizontally.
- The profile is installed on the board attached to the wall. The connection occurs with the help of screws. The panels in turn are inserted into the profile, and the opposite sides are attached to the bars under the rafters. All this is fixed by another panel for the profile.
- Finally, it remains only to close the edges of the sink panels of the corresponding profile.

