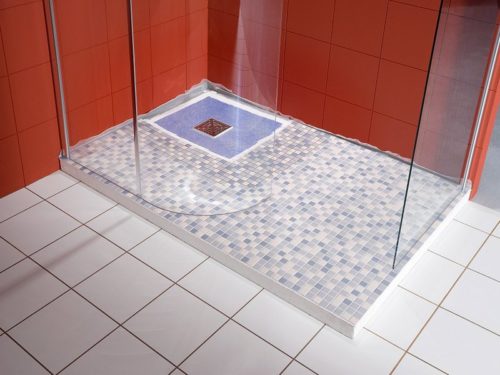
Many apartment owners are solved on the installation of shower cabins in the bathrooms. Their assortment is quite high today. There are models equipped with a hydromassage device, as well as other useful features. However, the higher the functionality of the booth, the greater its size, which is not very practical in the conditions of a limited area of \u200b\u200bbathrooms. To reduce the dimensions of the designs often began to install shower cabins without pallet. However, their installation requires certain skills and conditions (for example, high-quality floorproofing of the floor must be performed, a new plums for water and others are equipped). Next, we will tell you more about how to install a shower cabin without a pallet in the bathroom.
Content
Advantages and disadvantages of the shower without pallet
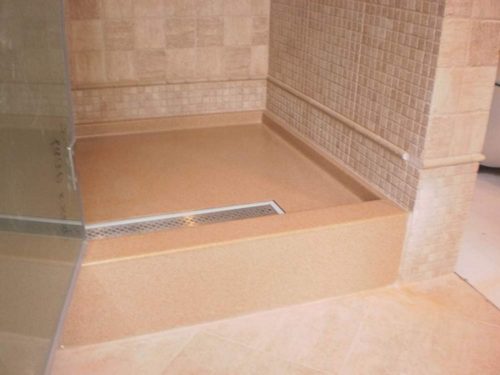
The distinctive characteristics of this design is:
- Lack of bowl (pallet) with sidelights.
- The presence of a ladder (drain of water from the shower watering can be in the floor).
Before installing a shower cabin without a pallet, you should evaluate all the advantages and disadvantages of this design. As for the "strengths", the following applies to them:
- A shower cabin without pallet is considered a fairly compact design, so it can be installed in the bathrooms of a small area.
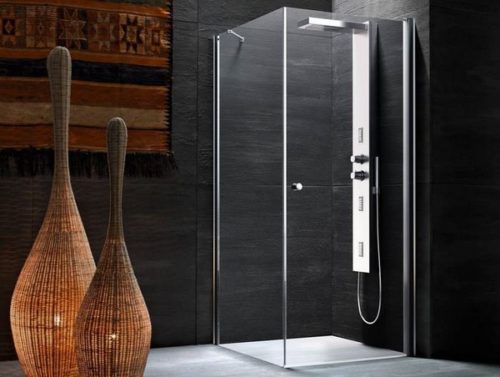
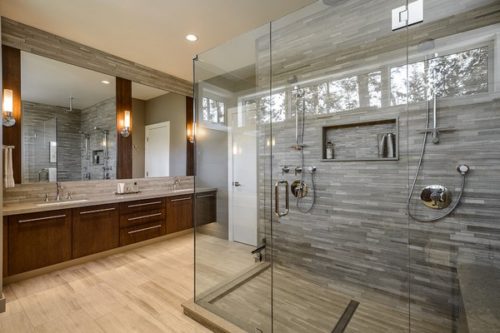
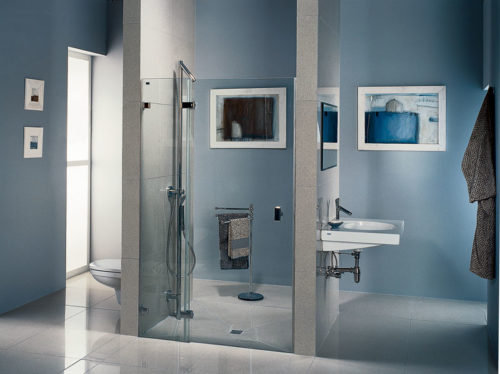
- A similar design can significantly improve and decorate the interior of the bathroom. Moreover, there are quite original solutions for modern bathrooms, such as a shower cabin of glass.
- Shower cabin without pallet is pretty easy to use. It is suitable even for people with disabilities, as well as for children and the elderly.
- Thanks to the lightweight design of the shower, without pallet, the bathroom cleaning becomes a simple occupation.
- You can install a shower cabin without pallet with your own hands, without attracting qualified specialists. However, it should be very strictly adhered to all the installation rules, otherwise due to the wrong installation, you can reduce all the advantages of this design.
- Such a solution allows you to save a family budget, because such structures have a lower price than the design with the pallet.
Disadvantages of the shower cabin without pallet are also available. These include the following:
- As mentioned above, the incorrect installation of the design can cause many inconveniences in its further use. Therefore, before installing the shower, it is necessary to carefully design work. It is possible for this it will be necessary to attract qualified designers.
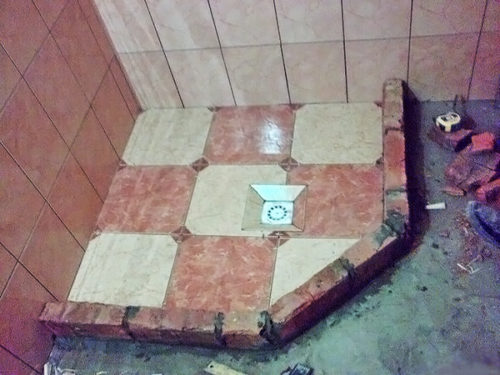
- When arranging a ladder for the shower booth without pallet, the floor raising is required by 13-20 cm, this should be considered if the design is mounted in small bathrooms.
- If a drain mounting technology is broken, water from the watering can accumulate on the floor, as a result of which the enhanced humidity and unpleasant smell will always be present in the bathroom.
- If the scheme of installing a shower cabin without a pallet is broken, then there is a high probability of flooding of neighbors living on the lower floors.
- There is a high probability of injury (the floors become wet and slippery) with a violation of the water drain system.
Ways to organize a drain in a shower under shower without pallet
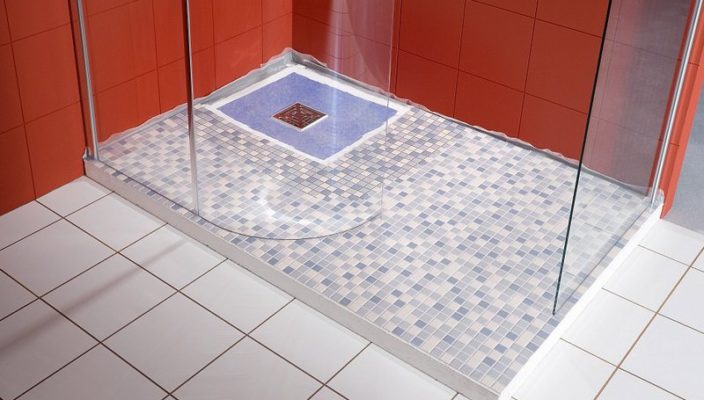
One of the most important details of the shower without pallet is a ladder. This device is responsible for the diversion of water into the sewer system, and the comfort of the use of shower depends on its proper operation.
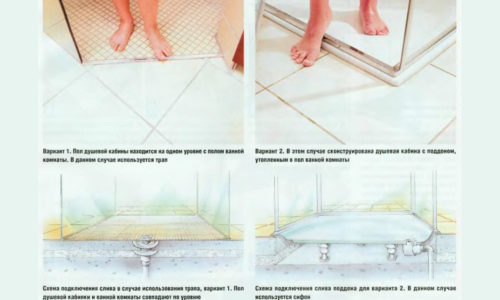
At present, the construction of the shower tray without using multiple types of traps:
- Vertical ladder. It is best suited for the device without a shower tray in a private home, where problems with the additional volume for its installation there.
- Horizontal ramp removal is 90 °, therefore, do not require a large space for installation. This makes them indispensable in the construction of a shower in the apartments.
- Pristennye. Unlike the previous two, which are installed at the bottom of the pan, wall ladders mounted to the side wall. Due to this, they provide a greater outflow of water. However, it is worth noting that such devices are quite expensive.
The design of a standard drain consists of several main components:
- Housing construction.
- A flange that connects to the floor surface.
- Ring plenum. It is intended to drain water when damaged external waterproofing layer.
- Siphon. The purpose of this device - garbage collection using dry shutter and a mechanical barrier to not clog the drain, as well as removing unpleasant odors due to the water seal.
- Decorative grille. It has both decorative and application function. It delays the first large debris.
ladders to distinguish on the form:
- Conventional ladders. They have a round or square shape.
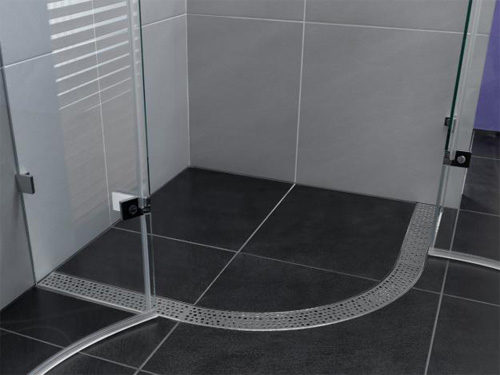
- Trough ramps. They have an elongated strip-shape.
When choosing a ladder for bezpoddonnoy shower should pay attention to its capacity. Standard square or circular drainage structures have a size from 8 to 15 liters per minute and the capacity trough of wall constructions may reach 40 liters / min.
During use of the ladder in the floor must be remembered that when discharging water in it a temperature of 85 ° C reduces its reliability. Therefore it is better not to do so.
Installing drain under the shower without shower tray
These designs are perfect for elderly people, so as to get into a shower without any additional effort. Mounting such devices must begin with a definition of its location is the most optimal one for a bathroom corner.
Installing drain under the shower without shower tray is held in the following order:
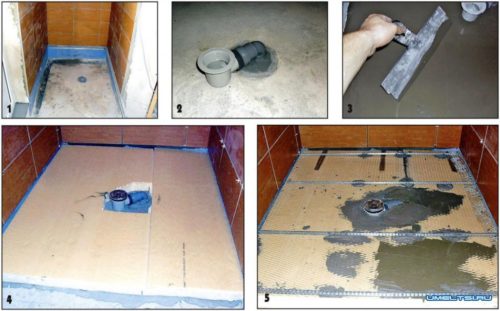
- The chosen place to mark the size of the future shower. The next step is carried out the installation of formwork for pouring the concrete base. Constructing formwork boards of not more than 30 mm thick.
- Then the waterproofing material is then placed on the bottom of the future shower. As the latter can be used hydroize, rubberoid or special rubber membrane. The last option is the most optimal. Locked it with an overlap height of at least 20 cm in the field of adjacent walls. Before the fill of the concrete, the waterproofing canvas must be replaced and secured with special nails.
- After the waterproofing layer is fixed, the plum system can be started. To do this, the hole is cut, the diameter of which should accurately coincide with the diameter of the drain opening. Otherwise, water, overcoming hydraulic protection, will leak onto the surface of the overlap. A drain plastic is installed on the workplace, which is tightened by bolts.
- The next step can be installed the design of the ladder. It is necessary to do this in a clear accordance with the manufacturer's instructions, which must be attached to the product. Only so you can guarantee a long and trouble-free operation of the ladder.
- After the drain design is mounted, you can start the concrete. Before the fill, it is necessary to take the ladder with a special protective tape so that the concrete does not hit its surface or inward the neck.
Installation of the shower without pallet
The order of assembly work on the arrangement of the non-modular shower cabin is as follows:
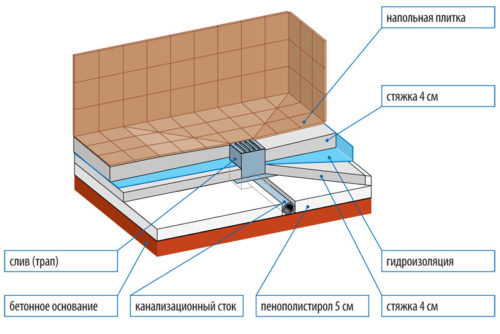
- After equipped with a plum of a shower cabin without a pallet, then the pipe layout should be made. It is worthwhile to know that the sewer pipes are similar as the ladder, should be located under some slope.
- Concrete screed is treated with waterproofing material. For this, a mastic is suitable, which is cooked the base and the lower part of the walls in the bathroom to a level of 20-25 cm.
- Next, the tools for mounting the shower cabin without pallet are prepared, because at this stage we will need to connect all the elements of the design - the ladder, its support parts, sewer pipes, siphon. Then the test stream of water is supplied, which allows you to check the installation of the water removal system. If everything works correctly, you can move to the further step of installation of the structure.
- Then it is necessary to close the draining ribbon lattice, it will help to avoid hitting the construction trash in the sewer system.
- Do not forget to equip the reinforcing layer. For this purpose, polystyrene foam sheets are placed on the floor. If their thickness is about 5 cm and more, then the plates will also be able to perform the functions of the heat insulator. When installing, you should not forget that the plates should be laid under a slight bias to the plum.
- The joints between the reservoirs of polystyrene foam and communications fall asleep sand. We are tamped by this layer, and leave it to harden for several days.
- Next process the base of mastic. In addition, as a waterproofing from above, it is still worth putting the reservoiroil. It should be stacked in such a way that the edges of the material also closed the lower parts of the walls in the bathroom. At the same time, the material cannot be cut, since in places of the render there are leaks capable of disrupting the tightness of the entire structure.
- Then poured the draft floor with a concrete tie. The thickness of this layer must be approximately 50 mm. It should be remembered that the screed is laid under a slight bias.
- From above, the concrete base is covered with tiles, which is similar to the slope to the plum. The junctions between the tiles are closed by waterproofing film.
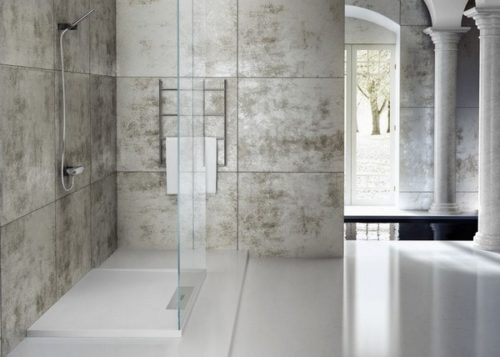
- Next, consider how to install a shower cabin in the bathroom. Since we are mounted with a design without a pallet, we should only install fencing. For this can be used - slag cloth fences, brick partitions, glass flaps. What kind of walls for the shower will be used, solve only you. Most often preferences are given to glass sash, in the manufacture of which thick matte glass is used.
- At the last stage there is a watering can for shower.

