The ceiling trim in the bathroom differs from repair in other rooms with special requirements for the material. This is due to the features of the medium - high humidity. How can the options for finishing the ceiling to the bathroom can be implemented, goes on.
Requirements for the ceiling bathroom
Given the fact that there are water evaporation, splashes and condensate moisture on pipes and ceramic tiles, the following requirements are presented to the bathroom ceiling.
- Moisture resistance of the finishing material.
- Duration of operation. It is necessary to choose this type of finish so that it serves at least 8 years.
- Practicality: The ceiling should be such that it can be cleaned and washing any household chemicals using a damp cloth.
- Aesthetic attractiveness: Color range and material texture should fit into the overall concept of interior design.
- Resistance to the temperature difference.
- People's health safety: Material should not allocate harmful chemical compounds, and in addition, it should not support burning.
- Easy installation: it is important that finishing works do not require the participation of highly qualified specialists and the use of complex, expensive equipment.
- The ability to install ceiling lighting elements.
Bathroom ceiling finishes
Among the various finishes, you should select several that meet the above requirements.
Painting the ceiling in the bathroom
Painting the ceiling in the bathroom is the easiest and cheapest way to finish. Its advantage is also in the fact that the height of the ceiling indoors does not decrease. The disadvantage is as necessary for the installation of electrical wiring.
Painting the ceiling involves the following sequence of actions:
- Preparation of the base surface. Stucco, which holds badly, you need to remove the spatula. You need to clean the ceiling from whitewash and paint.
- Splashing: The base is treated with primer deep penetration, after which they are aligned with a putty mass. It helps to hide all irregularities and cracks.
- Grinding: finely abrasive sandpaper The surface is communicated to an ideally level state. You can grind after a complete drying of the ceiling.
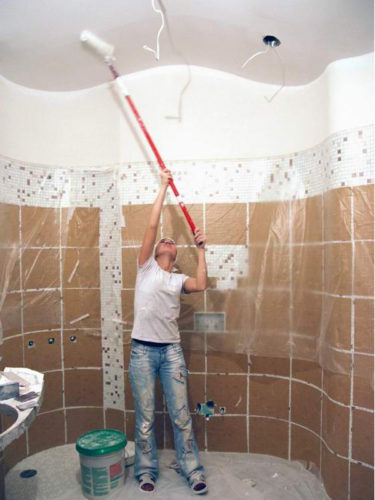
- The roller is applied the first coating layer. The paint for the ceiling in the bathroom uses acrylic or water-emulsion.
- Applying the finishing layer of paint: This is performed after completely drying the first layer. Rolling roller is carried out in a perpendicular direction relative to the first layer.
Important: If the installation of ceiling lights is planned, the wiring should be hidden in the shoes. This work is preceded by the process of shtlock.
Installation of ceiling plasterboard in the bathroom
The decoration of the ceiling in the bathroom plasterboard allows you to get multi-level structures. Only moisture-resistant plasterboard is used (differs in label, as well as green or blue cardboard).
The technology of mounting the ceiling drywall consists of several stages.
- The ceiling level is determined. A marking line is applied to the walls around which the metal profile will be attached.
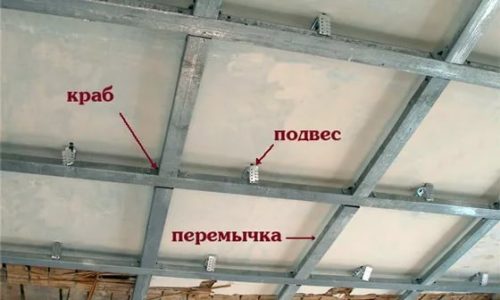
- The design consisting of metal profiles of type UD-27 is attached to the walls with a dowel-nail and suspension. Longitudinal and transverse parts are connected by screw-made metal, as well as "crabs" - special elements.
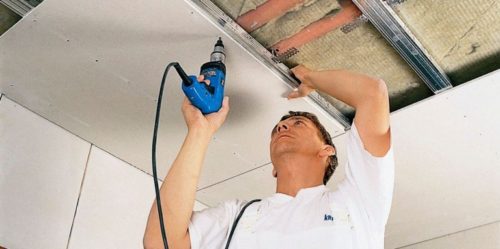
- Plasterboard is attached to metal profiles. Self-tapping screws are screwed at a distance of 100 mm from each other.
- The junction between the sheets is pasted a fiberglass tape, soil and putty are applied.
- The putty is applied by a thin layer on the entire surface of the ceiling.
- Small surface defects are eliminated by sandpaper.
- A paint is applied with roller-treated with a ground ceiling.
- The ceiling plinth is pasted around the perimeter.
NOTE: Under the plasterboard ceiling, engineering communications can be hidden (electrical wiring, ventilation elements, heating pipes and water pipes).
Facing the ceiling in a bathroom with foam tiles
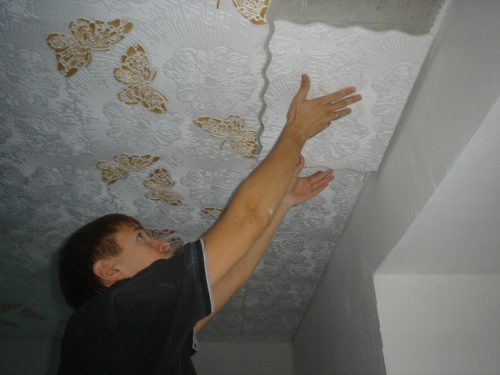
The advantage of such a finish method is to hide the small defects of the base surface of the ceiling. Installation does not require special skills. There are plates from foam of three types:
- injection (heat-resistant) - thick up to 15 mm;
- pressed - up to 7 mm;
- extruded (with the front surface prepared for painting).
Plates are fixed to a smooth base using moisture-resistant rapid grasp. You should pre-perform the markup of the pattern, according to which the plates will be oriented. Subsequently, they can be painted.
Important: In the process of mounting, plates from the foam should immediately remove the excess glue.
The advantage of this method of finishing is good heat and sound insulation.
Bathroom Ceiling Device
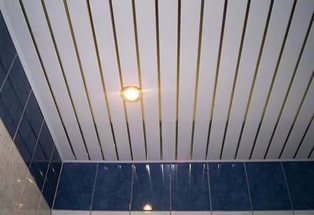
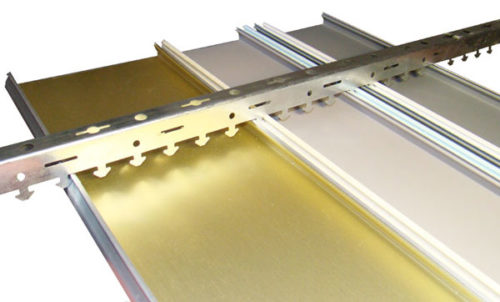
If the ceiling height allows it to reduce it by 50-100 mm, it is recommended to use a rush system for a bathroom. Wood-resistant ripe ceilings have a long service life. Under them you can hide the wiring for lighting. With the help of rail, you can visually change the space, placing the rail along the narrow wall.
Ceiling consists of three main elements that are:
- comb (carrier tire) - a plank with retainers to which panels are attached;
- corner profile;
- suspension - fixes the comb at a certain height, connecting it with the rod installed in the ceiling;
- panels (railings).
To install the rush ceiling, you will need a tool:
- level;
- electric drill;
- metal scissors;
- perforator;
- marker;
- roulette.
Installation consists of the following main stages.
- Marking: The line is drawn on the walls, along which the bearing tires will be attached. The distance from the basic ceiling is selected in the range of 50-100 mm.
- Along the lines (around the perimeter of the room) attached an angular profile. The mounting holes are drilled at least 60 cm from each other.
- Make places for suspensions. They must be on the same line and coincide with the place of installation of the ridge. The distance from the edges of the comb - no more than 30 cm, between the suspensions - up to 1 m.
- Drill holes, insert dowels for mounting rods and suspensions.
- The combs cut down the length and fasten on the suspension. The nearest tires are installed at a distance of at least 1 cm from the corner profile.
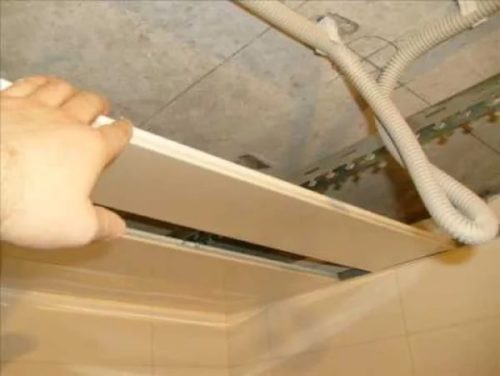
- The rails are cut down in length and set in the ridge, snaping into the clamps.
Wooden Camping Ceiling for Bathroom
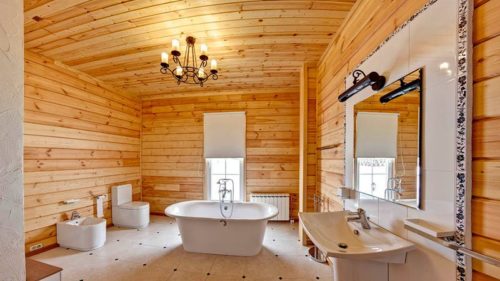
The ceiling of wooden rails is a non-standard solution, but when choosing should take into account the advantages of lining in the bathroom: environmental friendliness, practicality and aesthetic appeal. Such a ceiling can be successfully combined with the rest of the interior design elements.
Important: All wooden parts should be treated with a water-repellent and antiseptic.
The device of the wooden river ceiling is performed in several stages.
- Fastening a dowel-nail to the base of the ceiling of wooden bars of crates with a cross section of 50 × 50 or 40 × 50 mm. The bars must be located strictly horizontally and on the same level. When aligning under the bars, put inserts from plywood of different thickness or metal washers.
- Wooden rails are cut down in length so that the gap remains at the walls - about 5 mm. This is necessary to compensate for the expansion of the material. Subsequently, the gap closes the ceiling plinth.
- Rakes are attached to the bars of crates with the help of curmmers or self-drawing - wise. With each other, they must connect side faces on the principle of "Ship-Paz".
Stretch ceiling for the bathroom
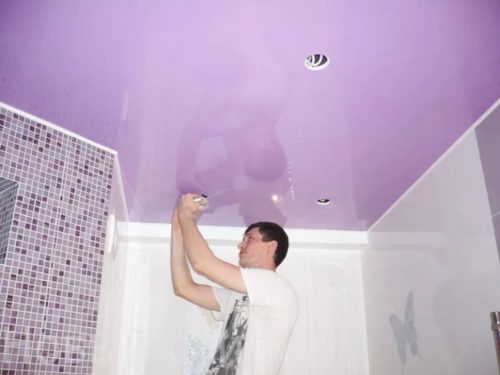
Such a ceiling has an ideally smooth surface and moisture is not afraid. The wide palette of the PVC film colors makes it easy to pick it up to the ceramic tile. The stretch ceiling can protect the apartment from the consequences of water damage from the neighbors of the upper floors.
Installation technology can master the unprofessional. To work will need a tool:
- perforator;
- roulette;
- putty knife;
- construction knife;
- construction hairdryer.
PVC film installation steps:
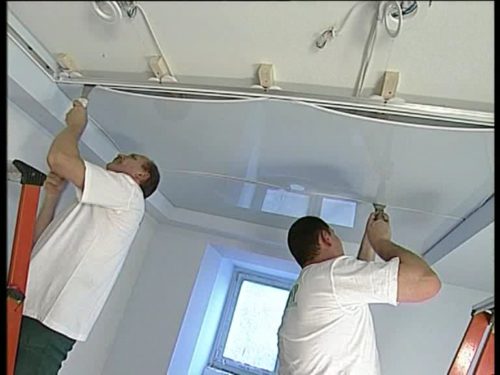
- On the walls are marked for fastening profile - baguette.
- Baguet is attached to a dowel-nail. The minimum distance from the base ceiling is 50 mm.
- PVC canvas, pre-manufactured in size, refilled into the profile with a spatula. Excess material is cut into a building knife.
- The canvas is stretched with a construction dryer: when heated, the PVC film narrows. It is necessary to keep the hair dryer at a safe distance from the material.
- In places of installation of embedded luminaires, openings are neatly cut and fasten special plastic rings that hold the edges of the film.
- Mount the lamps, connecting them to the predetermined electrical wiring.
- Fasten the ceiling plinth.
Important: PVC stretch ceiling film is easy to damage the sharp object, so during installation and operation should be treated with caution.
Plastic Camping Ceiling for Bathroom
Advantages of plastic bathroom panels:
- large selection of colors, shapes and surface textures: The lining can be seamless and with seams, glossy and matte, it can imitate natural stone, wood and other materials;
- practicality: plastic panels can be washed by any means of household chemicals that are not containing abrasive additives;
- under the panels, you can hide wiring and engineering communications pipelines;
- installation of plastic panels can be performed without a professional.
Installation of plastic panels in the bathroom: phased description.
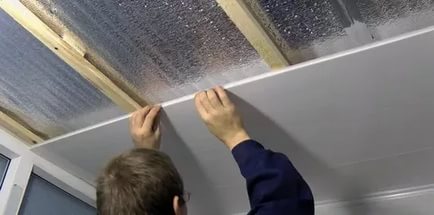
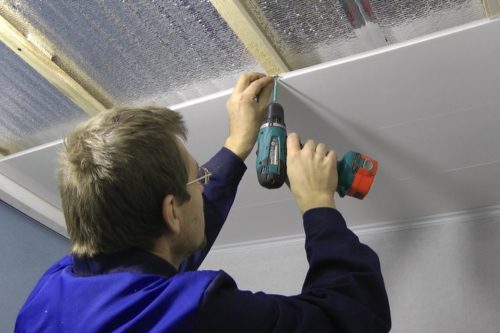
- Installation of crates: For this, you can use wooden bars or metal profile treated with antiseptic. The crate is fixed to the ceiling perpendicular to the crate at a distance of about 40 cm. Near the walls around the perimeter should be a bar or profile - to attach edges of panels and ceiling plinth.
- The panels are cut down in length and fasten with self-drawing to the crate. With each other, the panel engaged in the "spike-groove" type.
- The ceiling plinth is attached.
Under the plastic panels in the bathroom laid foam foil polyethylene to conserve thermal energy.
In conclusion - how the plastic panels are mounted: video with explanations of a specialist.

