The design of the ceiling with the help of decorative tile will not only allow to save free time when conducting finishing works, but also helps to give the surface a beautiful and original look. In this article we will tell you how to stick the ceiling tiles, as well as consider the features and varieties of such a building material.
Content
Types of ceiling tile
The decorative ceiling tile can be classified according to the material and method of manufacture, as well as the type of surface. Consider each of the classifications.
Tile types of manufacturing material
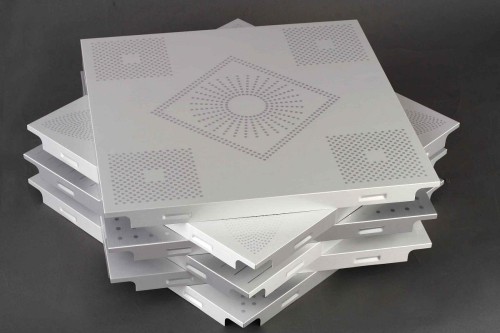
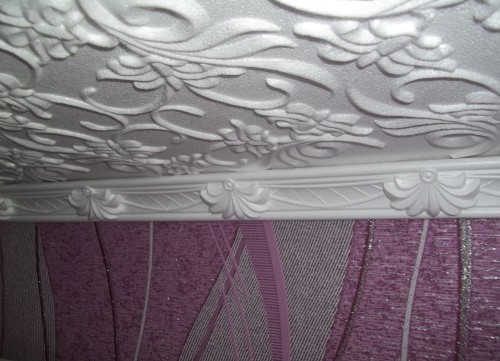
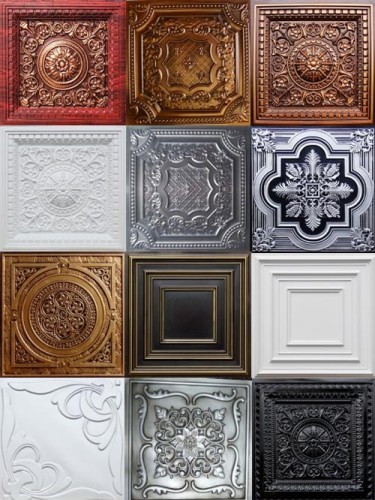
The surface of the decorative ceiling decorative is the most different. For example, some plates are produced from wood or cork, metal or fiberglass, various lightweight materials, as well as polystyrene foam. It is the last option that is considered the most common. The thing is that the ceiling tiles of polystyrene are low cost, as well as low weight, due to which the process of their installation is much easier. In addition, this type of material is available on sale a large variety of textures and patterns, which allows you to choose the decor for almost any interior. Unlike the ceiling tiles of foam, metal and wood finish are used much less frequently.
Tile types by production method
Depending on the principle of manufacture distinguish 3 types of ceiling tiles:
- The extruded tile is the material that is made by the method of stamping. Polystyrene foam blocks are used as the feedstock. After processing such blocks, the press thickness of the finished product is 6-8 mm. This type of facing is considered the cheapest, but, unfortunately, it does not have high quality. Such a tile has a porous structure, which is why it quickly absorbs dust and other contaminants, losing a decorative look. It is sometimes not possible to wash the coating, so it is most often stained with water-emulsion paint, so that at least somehow protect against dirt. It is worth saying that the inaccurate handling of plates in the installation process leads to their spoilement, since the material has increased fragility. Also in the process of cutting pressed ceiling tiles, it is difficult to get beautiful smooth edges.
- Injection tiles are performed by sintering expanded polystyrene under the action of high temperature. The thickness of such products ranges from 9 to 14 mm, the form of them is geometrically correct, and the applied pattern looks very clear. If in the process of cladding the ceiling of the edges of the fragments to poke enough tightly, then as a result you will receive a seamless coating. Among the advantages of the injection tile, excellent sound insulation, hydrophobicity, environmental friendliness, fireproof and high strength characteristics can be distinguished. The color of such products is white, but the coating can be painted in any hue. For the high quality of such material will have to pay a significant amount, because the injection tile is several times more expensive.
- The extruded ceiling tile is made of extruded polystyrene strip by pressing. Such material is painted either with a special film with a special film. The surface of this type of cladding is obtained by smooth, does not even have the slightest grain. The advantages of the material include high strength, waterproof, ease of care, the ability to restore the initial form after a minor deformation. Slowing such a tile on fragments, you will get a perfectly smooth and smooth edge. This type of product is produced in various colors, some pattern can be applied to the tile surface, so the ceiling does not need an additional painting. The only minus material can be considered its high price, however, good quality justifies the cost.
Classification of ceiling tiles by type of surface
Depending on the surface structure, the tile can be divided into such options:
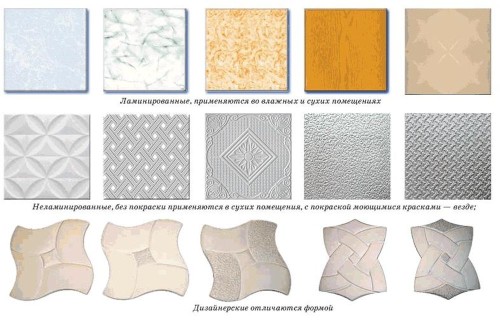
- The laminated tile is a facing material, on the surface of which a special water repellent coating is applied. Thanks to him, finished products have a beautiful shade or any pattern, and in addition, the laminated tile is easily cleaned from dirt and has durability and durability.
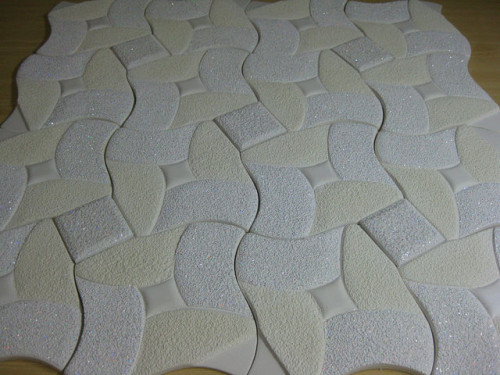
- Seamless ceiling tile allows you to create a perfectly smooth surface on which the joints of individual elements are not visible. Each such tile has a smooth geometric shape and has straight edges without edging.
- The mirror ceiling tile is covered with reflective film, which is why it is possible to obtain the effect of the mirror when the ceiling is sticker. This type of material is used to implement various designer ideas.
Pros and cons ceiling tiles
Such finishing material has many positive qualities, consider them in detail:
- Low cost is one of the main advantages of the ceiling tiles in front of other facing materials, of course, if the tile is made of polystyrene foam. If the coating is made of metal or wood, then its price will be significantly higher.
- Ceiling tiles makes it possible to hide small irregularities on the ceiling surface. Of course, the noticeable drops of the level will have to be aligned manually, but the small errors of the tile perfectly disguises.
- Easy and ease of installation is another of the advantages of this material. The process of pasting pasting tiles is made in a short time, it is possible to perform this work independently and in just 1 day.
- Because of the small thickness, the ceiling tile will not "steal" the extra centimeters of the height of the room, which cannot be said about suspended and stretch ceilings.
- The tile is perfectly dismantled if such a need arises. If you, for example, want to change the coating, you can quickly remove the tile and do not leave tracks on the ceiling.
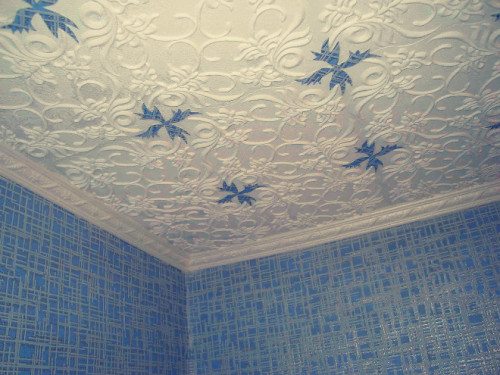
- A variety of shades, drawings and textures provides consumers of goods with a wide choice. With the help of ceiling tiles, you can realize any designer ideas.
With many advantages, the ceiling tile also has some drawbacks:
- Most species of such finishing material are combustible - it makes the tile with a source of fire in the event of a fire.
- When using polystyrene tiles, the owners of the room will have to replace ordinary incandescent lamps by other alternative options for lighting devices that will not heat the surface of the ceiling.
- The polystyrene foam has a porous structure that accumulates dirt. In connection with this feature, it is not recommended to use such a tile in the kitchen, as the ceiling in a short time absorbed fat microparticles and will lose a beautiful well-groomed look.
Selection of materials for work
How to choose the ceiling tile
Consider in detail what you need to consider when buying a finishing material:
- Square elements should be geometrically correct, that is, the size of each angle should be 90 °, and the sizes of the sides should be the same. Otherwise, when installing tiles on the ceiling between individual fragments, gaps and slots are formed, and the surface will be ugly.
- When buying polystyrene tiles, it is important to pay attention to the material structure and the quality of the embossed pattern, if it is. The relief must be smooth, distinct and uniform.
- Polystyrene grains should be homogeneous and do not contain emptiness - this indicates high quality products.
- To assess the strength of polystyrene foam, take the tile for any of the corners and hold down in a horizontal position for some time. High-quality material as a result of such manipulations should not break.
- Low standard tile can be distinguished visually. As a rule, there are various defects and irregularities on its surface, the angles of individual elements are jammed or rounded, and the edges of such tiles are crumbling and crumbled. On poor quality tile, the embossed pattern will be uneven or fuzzy. When finishing the ceiling with such material, it is almost impossible to get a good result.
When buying ceiling tiles, it is important to determine in advance with the desired amount, and for this you have to pre-calculate. What you need to consider in this case:
- The required amount of material is determined by the ceiling area. This indicator needs to be divided into the number of square meters of tiles, designated on the package with the goods.
- Most manufacturers make a 50x50 cm tile. The product is sold in packages of 4 and 8 pieces, that is, such a package is enough for cladding 1 m² or 2 m² surface.
- Since defective elements may be present among the purchased products, as well as considering that during the installation process, part of the material can be corrupted, the tile must be purchased with a margin. This stock is about 5-10% of the total amount of material.
- So that the surface is beautiful and uniform, try to buy goods from one party. All product information is contained in the instructions attached to it.
- During the purchase of the tile, it is also desirable to buy a ceiling plinth made from the same material and possessing similar views and design.
How to choose glue for ceiling tiles
Ceiling tiles can be mounted on a variety of surfaces, for example, on a brick, wood, metal, concrete, phaneer, plasterboard, etc. As the adhesive composition uses facade or tiled glue, liquid nails, silicone, various mastic. The most important requirement for glue for polystyrene plates: it should not have in the composition of organic solvents, as they damage the material. These substances include gasoline, acetone, various ethers.
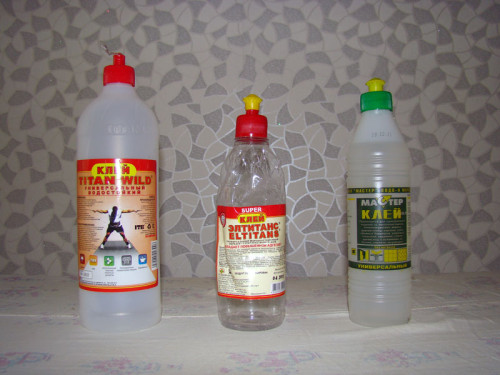
Popular compositions for mounting polystyrene foam plates are considered by the glue compositions "Titan" and "moment" created on a polymer basis. Such remedies have quite acceptable cost, they can be used to glue off the plates on any surface. It should also be remembered that the installation of the tile is carried out on a clean, dry and rebound ceiling.
How to glue the ceiling tile do it yourself
Preparation of the surface
- If the ceiling was previously present tile, wallpaper or whitewash, before starting work, the surface must be carefully cleaned with a metal spatula. The prepared ceiling should not have fuses, sprinkling areas, cracks and chosel.
- After removing the entire superfluous, the surface must be allowed or accelerated by a broom, so that there is no dust left.
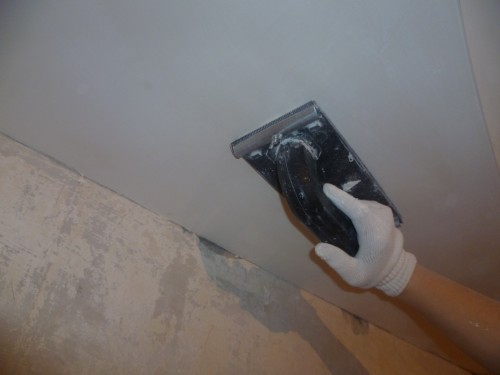
- Then the ceiling should be covered with a layer of primer and give it to dry. After that, the surface is inspected for the presence of wide cracks, cracks, chosen and other major irregularities. All similar defects are aligned with gypsum putty. Small ceiling errors can not touch - they will hide the ceiling tiles. In case you are planning to get a seamless coating, then the surface leveling is worth paying more attention.
- When the plaster putty will freeze, the ceiling must be coated again to the primer layer.
Surface markup
Before you bleach the ceiling tile, you need to correctly define its future location, for this, the ceiling markup is carried out.
- Marking cord can be used as a working tool. For this, a rope is taken from a natural material, as well as a powder dye - all this can be purchased in the construction market or in a specialized store.
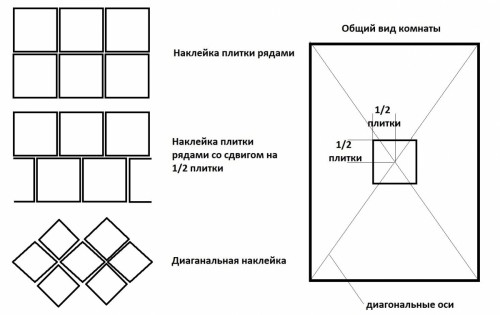
- Performing surface marking, you need to take into account the future location of the plates on the ceiling, which can be longitudinal or diagonal. With a diagonal location, the installation process will be more laborious, but the final result will allow visually to increase the surface area.
- It is quite difficult to make the markup, so two people will need for work. The marking cord is stretched diagonally from one corner to another. Then the rope is a bit delayed from the surface and released, as a result of which a trail remains on the ceiling. Similarly spend the second diagonal. Line intersection location will be the center of the ceiling.
- The next step is required to take the roulette and measure the same distance from the center along the lines obtained. In these places you need to put tags.
- Then, with the help of the cord between the marks, the lines are carried out so as in the end in the center of the ceiling, a square or a rectangle was formed. When checking the result, the permissible error should not exceed 1-4 mm. If this indicator is larger than the specified value, then you need to re-measure the same segments from the center of the ceiling along the diagonal lines.
- With the help of a roulette at a central square or rectangle, they find the middle of the sides and spend the axial lines through them. Focusing on these lines, you should stick the tile on the surface of the ceiling.
The process of cladding the ceiling
Note that the polystyrene foam tile does not tolerate sharp differences of temperature and humidity, so the material must lie in the room for several hours before facing the ceiling. This is especially true if the repair is carried out in winter. If the tile does not "get used to" to the temperature and humidity of the room, then the condensate is formed after the ceiling finishes, which will lead to the deformation of the material.
The surface cladding process can be described as follows:
- Before glue the ceiling tile, you need to read the instructions on the adhesive composition you purchased. The substance should be used as the manufacturer specified. Some types of adhesives should be left on the surface of the tile prior to partial absorption, others can be applied immediately before mounting the polystyrene element on the ceiling.
- The glue is applied to the tile in different ways: point, dotted stripes or full surface coating. This information must also be marked in instructions for use.
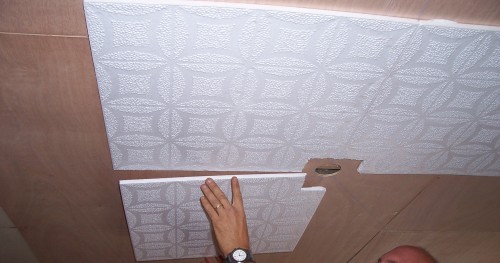
- After the tile is treated with adhesive composition, it needs to be leaning to the ceiling and grip tightly. In the process of work, use a soft cloth or a foam sponge, so as not to leave the dentity from the fingers on expanded polystyrene.
- If somewhere shears glue, it needs to be immediately removed with a napkin.
- The plates are glued to the ceiling according to the markup in advance. It is also important to monitor the correct combination of items and observe the drawing if it is.
- So that individual fragments were in their place until the glue is grabbed, they can be copper with a painted scotch with each other.
- The extreme rows of plates may have to cut. To do this, it is first measured by the desired size, the indicators are transferred to the tile with a pencil, then the fragment is cut off and trying on the ceiling. If everything is done correctly, the tile is fixed with glue.
- Such manipulations are carried out until the entire surface of the ceiling is processed.
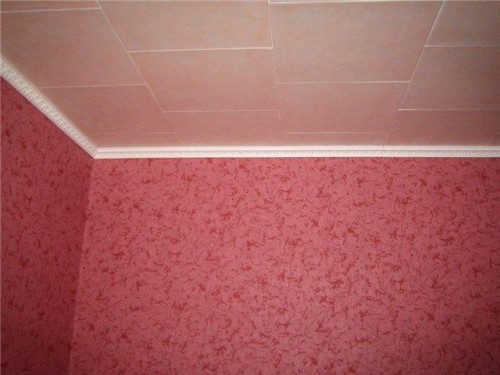
- After cladding the ceiling around the perimeter of the surface, you can stick the ceiling plinth. To do this, use glue putty or the same glue to which the tile mounted.
- Seams of ceiling tiles are better to close the acrylic sealant of white.
- Subsequently, the surface can be painted in the desired shade.
Behind the tile made of expanded polystyrene with a vacuum cleaner. If there are fat stains on the surface, they can be wiped with a napkin impregnated with alcohol. Some pollution can be cleaned by stationery.
Ceiling tiles, photo:


