Wall putty along with primedness refers to the number of finishing works that allow you to achieve a flat and smooth surface. The most important thing in this business is to comply with the procedure and learn how to enjoy the right construction tools. About how to put the walls with their own hands, let's tell further.
Content
Tools for work
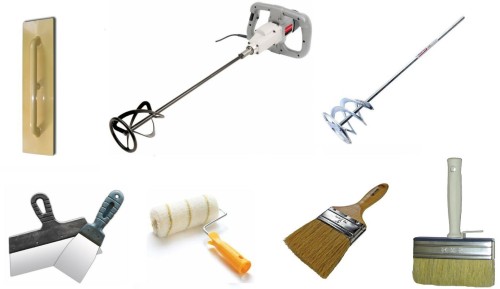
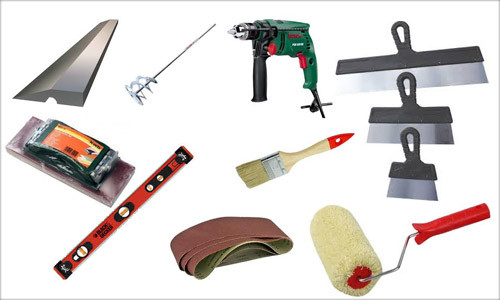
Before placing the walls, you need to prepare tools for work:
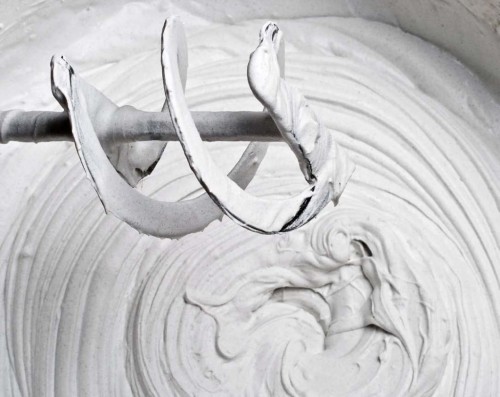
- Drill with a special nozzle mixer. The spacure itself is usually sold in the form of a dry mix, which, before starting work in a certain proportion, is divorced with water. The drill nozzle allows a mixture of homogeneous, eliminate all the commercials.
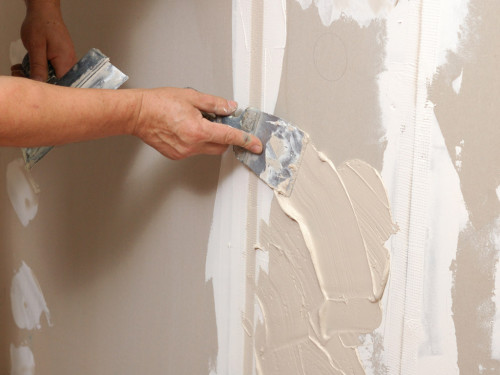
- Set of different sizes. Small tools will be useful only when it is necessary to process hard-to-reach places (angles, slopes). More often you will use a large spatula.
- For putty walls, brushes and rollers will also be needed. These tools will mainly be used at the primer stage, after which the wall is covered with a very thin film. Due to this processing, the strength of the walls increases, and the clutch of the surface with facing material is improved.
- If there is an uneven walls, you need a rule. In this case, the putty is usually applied with a thick layer, which is convenient to use a long metallic rule for recalling.
- For accurate leveling of surfaces, the construction level is indispensable. It is necessary to determine the existing irregularities. Measures are carried out even before the start of the starting putty. If necessary, check beacons are established.
- You will also need sandpaper. To obtain a beautiful and smooth surface for rubbing, a small skin is used, for example, No. 240. The coarse major stacker is used at the very beginning of putty work. Very small skirt is best used only after applying the finish putty.
- Emery paper will be more convenient to use if it is for this purpose to take a manual skotter. It is a tool on the knob of which special clamps are placed to fix the skins.
- In addition, with putty works, do not do without a container where the material will be sized.
What put the walls to put the walls
The composition differences gypsum, acrylic and cement putty. Each of them has its advantages and disadvantages.
Gypsum putty.
From her advantages worth noting the following:
- Low price.
- Well levels.
- Not deformed (does not give a shrinkage).
The scope of using such putty limits one significant disadvantage, namely bad resistance to moisture.
Acrylic putty.
Her advantages is:
- Good resistance to moisture.
- Does not shrink.
- High quality and smoothness of the treated surface.
The main disadvantage of such mixtures is their high price.
Cement putty.
They have very good resistance to moisture, but at the same time they have a big degree of shrinkage.
For the purpose distinguish such types of materials:
- start putty,
- finish
- universal.
Product specifications:
- Starting mixtures are distinguished by high strength, large graininess and good adhesion with the surface (adhesion). They are used mainly to align the walls after plastering has been applied. The material is applied with a layer of 4 to 18 mm.
- With the help of the finish putty, you can get a practically perfectly smooth surface. Most of the flaws will be hidden. These mixes are less durable than starting. But their processing should not cause any difficulty. The finishing layer usually has a thickness of up to 3-4 mm.
- As for the universal putty, it combines the properties of starting and finish mixtures. It is usually worth more expensive, but often inferior by properties to two other types of material. These mixtures are most often used to treat plasterboard walls without significant defects.
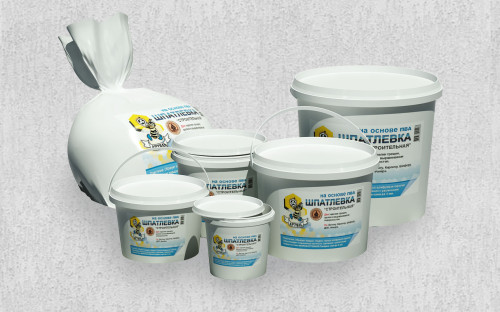
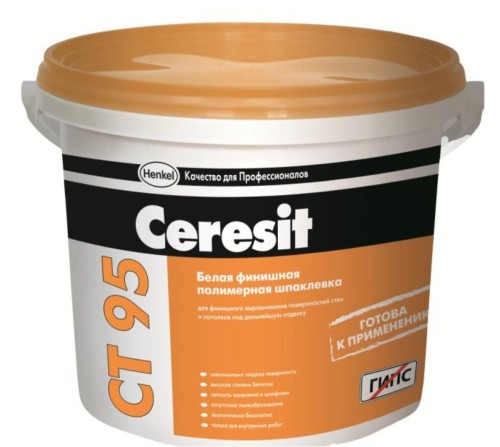
Today on sale there are both dry and ready-to-use putty mixtures. Each of them has its advantages and disadvantages.
The advantages of dry mixes:
- They usually cost cheaper.
- They can be stored much longer.
Advantages of finished mixtures:
- No need to use a mixer to prepare a homogeneous mass.
- Saving time for work.
- No dust when applying and kneading material.
The disadvantages include their higher cost. In addition, they often give a big shrinkage. Compared to dry mixtures, ready to be kept much less. If you need to apply a layer of material with a thickness of less than 2-3 mm, then the ready-made compositions are not necessary.
How to prepare the wall to apply putty
Recommendations for preparatory work:
- The most important thing is that the surface of the wall-processed wall was clean. Therefore, any stains from paint, fat or soot must be removed.
- It is not recommended to start the spacure of the ceiling and walls that managed to freeze.
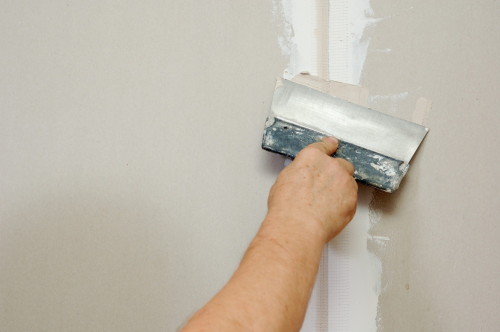
- It is necessary to inspect the design of the drywall so that it does not have not completely screwed screws. For this purpose, it is convenient to use a spatula. It is enough just to spend them in the places where they were placed. If the screws are screwed normally, the spatula will not be cling to anything. If poorly twisted self-tapping screws have been discovered, they should be spilled thoroughly. It is important to drown them in a sheet of plasterboard. However, you need to know the measure. And if any screws were twisted too deeply, they should be carefully unscrewed, after which the remaining place to sharpen carefully. If this is not done, then plasterboard sheets can fall off before the blending of wallpaper is finished.
- To ensure the necessary level of adhesion, before using putty, the working surface must be coat coated with a primer mixture using a special roller. It is usually enough to apply 1 layer of material.
Features of applying different types of putty
Starting Money
- Starting spacure is a rather rough material. It is used to remove pronounced wall defects, hide unwanted holes and shoes. The thickness of the starting layer can reach 18 mm.
- Before applying each layer of material, it is necessary to give time to dry the previous one.
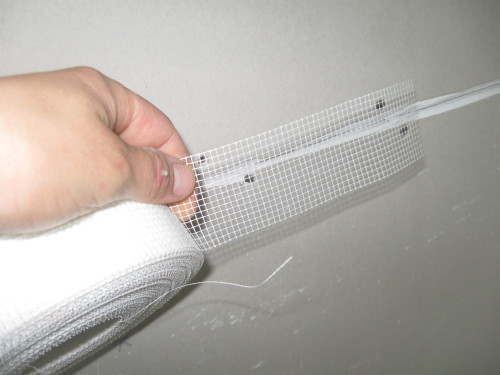
- To achieve the best result, it is recommended to pre-install a special painting grid to the working surface. After that, along its entire surface, the putty is distributed evenly. In this case, the walls are perfectly skipped. This approach has its advantages:
- when using such a mesh, the putty lies very well on the wall;
- the surface itself turns out to be smoother and more durable;
- the greater painting mesh, the smaller will be treated with the wall.
Little Mix
The procedure for applying this putty is almost the same as the starting mixture. Only in this case are beacons, which are wood racks, gypsum or metal. They are needed so that the material is applied evenly. If the surface should be aligned vertically, then initially beacons are attached to the walls with a plaster mixture. After that, they begin to apply a layer of putty. Almost the surface of horizontal lines is aligned. Only in this case, the rule is used to align. Taking advantage of these recommendations, you can get almost completely flat surface. It should be said that a fairly rarely enjoyed. This is due to the fact that the price of this material is quite high.
Finish mix
Thanks to the finish material, you can give the wall surface perfect smoothness. This putty layer is already applied by the latest after all work with starting putty. This mixture must completely coincide on the plane with a predetermined surface. To achieve this, it should be applied with a small layer. If the starting putty was applied poorly, you can try to correct the situation with the help of the finish mixture.
Gypsum mix
If there are cracks on the wall surface, then in order to close them, can be used gypsum mixtures. The paper also often uses such material as SANTEGIPS. It is much more elastic than simple plaster, but hardens longer.
Decorative shplanke
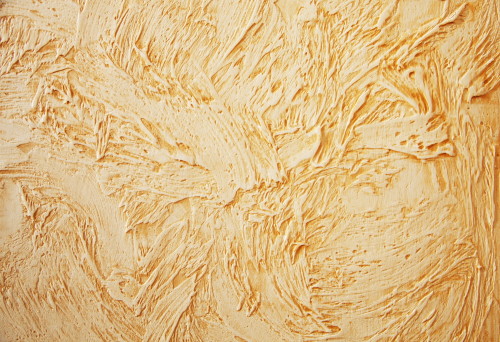
Decorative putty began to be widely used relatively recently. Nevertheless, several dozen species of ready-made mixtures appeared for a relatively short time.
The decorative design of the surface can also be achieved using a conventional putty on a plaster basis. The most important thing is to know how to cook and apply material. To achieve good results, you can mix the mixture prepared in the usual way, should be distributed over the surface with a layer of about 50-90 mm. While the putty does not hardened, fine polyethylene should be imposed on the wall. Next, it all depends on your imagination. Surfaces can be given the form of ordinary folds or make beautiful prints. When the material is captured and hardens a little, then polyethylene should be accurately removed. After that, you need to give the wall to dry normally. Then the surface can be painted in the main color, and then with the roller, apply an additional shade. As a result, the deepening in the wall will remain one color, and the second layer will fall on the convex parts.
How to put the walls of plasterboard
How to put the corners of the walls
So that the putty does not crack on the seams and joints, you need to know the right technology of shtlocking of plasterboard angles:
- Before starting working with this material, it should be remembered that it is rather fragile. Because of this, it is very easy to damage.
- To treat the outer corners of the design use special perforated corners made of plastic or metal. They are needed to protect drywall from damage, as well as to create correct and smooth corners.
- A thick layer of putty is applied to the outer angle on each side of the joint of the sheets of plasterboard. After that, a suitable corner is pressed into it, which is usually prepared in advance.
- Now you need to remove the "superfluous", then apply another 2 layer of material, first start, then finishing. After that, the surface should be aligned, and wait until it dry.
- If you wish, you can apply another corrective layer. When putting inner angles to prevent the appearance of cracks, serphenka is used. A spatula is used to create direct corners.
How to put the walls under the wallpaper
There are some features of the surface of the surface of the plasterboard sheet. If you want to use rolled wallpaper as finishing material, you should remember several important intricacies:
- For heavy and dense wallpaper, it is desirable to use coarse-grained putty. With the help of it, the surface will be a bit rough, which will allow it easier to glue. In this case, it is not necessary to rub the base with a special label or use the finish putty. The most important thing here is to align all the available defects on the sheets.
- Do not forget that paper wallpaper is a relatively thin material. Therefore, even the smallest irregularities will be visible under them. In this case, it is advisable to use the finishing or universal putty. Due to the fact that such mixes are fine-grained, the treated surface will be perfectly smooth.
How to put the walls under painting
The technology of plastering sheets of plasterboard under painting is almost the same as in the preparation of the working surface for other decorative work. The main task in this case is the maximum leveling of the existing surface. To achieve this, it will have to especially high-quality seams, joints, screwing off the screws and some defects that may be present on a sheet of plasterboard.
After staining is completed, there are sometimes small errors and irregularities on the surface of the ceiling or walls. For this reason, putty work should be performed with special care. The mixture must be applied a very thin and smooth layer. After that, the material with a spatula is evenly distributed over the surface. In order to avoid cracking when the putty is drying, it is desirable to use the reinforcing tape.





Excellent article, now it became clear what a putty is needed, ATO in stores it is so many species that covers panic what to take. Details of some putty methods here http://yserogo.ru/remont/shpaklevka.html.