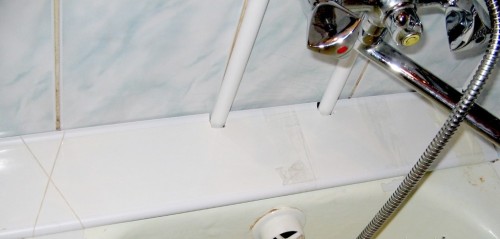
The bath is an integral attribute of the bathroom. Despite the fact that a very popular plumber has become a shower cabin, nothing can compare with a full relaxation in the bath. Our article we will talk about how to attach the bath to the wall.
Content
Varieties of structures
For the manufacture of baths, various materials are used. Nowadays, acrylic, steel and cast iron products are the most popular.
Cast iron baths are characterized by:
• long service life;
• The ability to maintain heat for a long time.
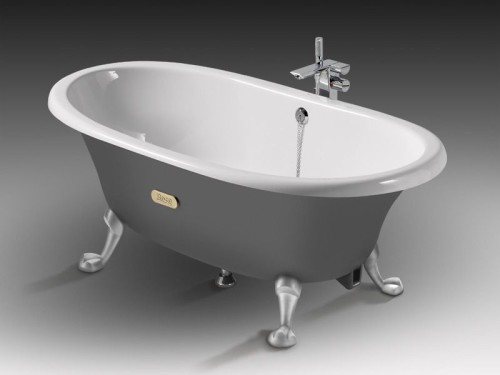
The main disadvantage of the design is too large. For this reason, the installation of the cast iron bath must be carried out on the maximum strong base.
Installation of the bath, made of steel, can be made on a pre-built podium. To raise the podium, in most cases bricks are applied. They are quite a sustainable basis. According to the cost steel baths are much cheaper than cast iron structures. Among the "minuses" of steel products it should be noted the presence of noise when filling with water.
In some cases, the metal bath is fixed with the help of iron legs. But this method of attachment does not differ reliability. After some time the design starts to swing.
Acrylic baths differ:
- excellent heat safety;
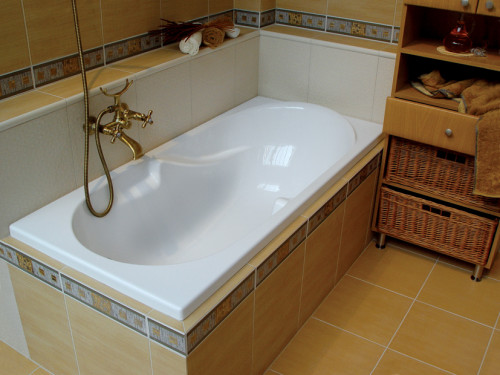
- aesthetics.
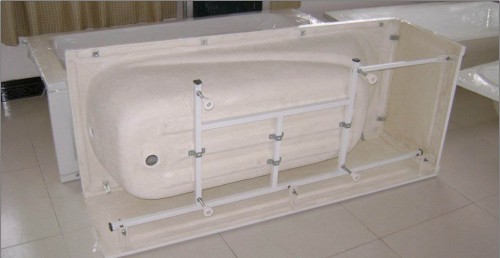
The only nuance is low bath strength. For this reason, they should be strengthened with a solid metal structure.
Regardless of the variety of baths, there are a number of general requirements for their mount. The main ones are:
- At the initial stage, it is possible to connect drain pipes, after which you can engage in the construction of the structure on a solid foundation (legs or podium).
- Immediately produce fixation of drain pipes to the design, which should be put on the side.
- The bath mount is carried out to the wall.
- Close up all the slots available in the location of the design to the wall.
- The installation of the plinth is carried out (you can also use a plastic sideboard).
Mounting metal bath
Installation of the bath in the wall is performed before finishing the surface with the finish coating. Installation of pig-iron design is simpler work. This is explained by the fact that a heavy cast-iron bath keeps its weight at one point.
The ideal option when the design is adjacent to three walls. Moreover, initially the wall does not act as the reference element. In order for it to perform supporting functions, additional screwing in the wall of special hooks should be carried out or to improve the supporting frame.
In the case when the design in size is shorter walls by 3-4 cm, it is best to use a metal corner. There is a small slot between the vertical surface and the extreme part of the side, which is sufficient for mounting a bath made of metal.
It should be noted that the corners should be shorter than the side of 6-8 cm. Otherwise, they will make it difficult to implement subsequent work.
Now directly to how to mount the bath to the wall. This process consists of such stages:
- it is measured from the distance from the bottom of the side to the top of the bath;
- taking into account the location of the side (they can rely on corners) and legs (located on the floor) on the wall there is a mark, where the construction of the structure occurs;
- the bath is moved to the surface of the wall and the correctness of the implementation of the marking works is carried out;
- due to the styling of rubber gasket, the fastening of the support elements occurs 4 mm below the points marked on the wall;
- the bath is placed on corners;
- mounting a siphon with connecting it to sewage;
- adjustment of the height of the legs;
- using the level, the correct horizontal arrangement of the design is checked;
- the extreme part of the design and walls are glued with scotch;
- mounting foam close the gaps;
- waterproofing works are manufactured.
Depending on the type of plumbing, the following fasteners are used:
- pushed metal wedges;
- screw bolts.
After the final attachment of the bath made of metal, its sides are decorated with a ceramic border. If the installation of the cast-iron bath is produced on the floor, which has an indicator of medium or low hardness, then under each support, a metallic seal with a thickness of 4-7 mm and a diameter of 50 mm is put.
Acrylic bath installation nuances
Before proceeding with such a process, how to install a bath from acrylic to the wall, it is necessary to mention its basic qualities. Acrylic is plastic material that is quite sensitive to mechanical damage.
All fasteners are recommended to be made as imperceptible as possible. For mounting an acrylic bath to the wall, you need to use special brackets that are sold along with plumbing. The process of installation of the structure from acrylic assumes the construction of the "box", which is made of metal profiles.
There is such an acrylic bath mounting algorithm to the wall:
- conducting design measurements (length, width, height to sides) and distances to the edge of the wall surface;
- cutting profiles;
- construction of hard crates;
- preliminary fixation of plumbing to the place of fastening;
- installation of overflow, siphon and drain sewer pipes;
- installation of the design in its place with adjustable legs and level setting;
- the use of mounting foam and tape for chipping;
- conducting waterproofing work;
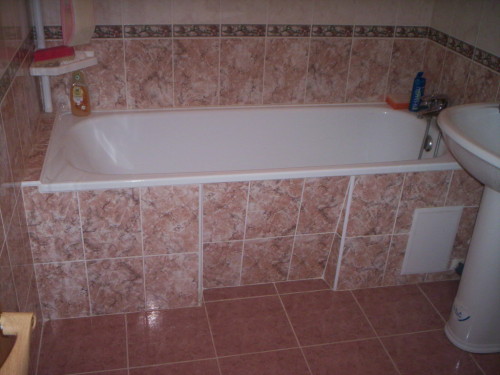
- finishing the front wall of the crate and bath with ceramic tiles.
Compared to plumbing made of metal, the attachment of acrylic structures is carried out with the help of screws that are screwed straight to the bottom. If there are no seats for screws, they will have to do themselves. When creating holes, drills are used equipped with a limiter.
Grinding a large gap between the wall and bathroom
In some cases, after attaching the bath between its end part and the wall, it turns out quite a long distance. As a result, it will be difficult to qualitatively fix the design from three sides. This problem is solved by the framework of the framework, when the shelf is trimmed, the shelf for soap, shampoo and other bathroom facilities.
Close the big gap between the wall and the bathroom can be in many ways. We offer to use one of three options:
- A timber is fastened to the wall surface. As a result, one side of the shelf must be on the frame (or the bath itself), the second - on the bar.
- The lamp is made of galvanized profile and is trimmed with plasterboard.
- A sheet of polystyrene foam (or foaming) is taken, the band is cut out of it and inserted into the gap. After that, small gaps close the gypsum solution. Instead of plaster, you can use the mounting foam.
Regardless of the selected method of eliminating the slit, between the wall and plumbing during the arrangement of the shelf necessarily a slope. Moisture should not accumulate on the shelf.
Video about how the installation of the bath to the wall is carried out:


