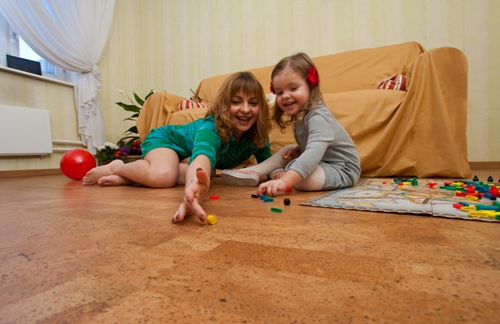
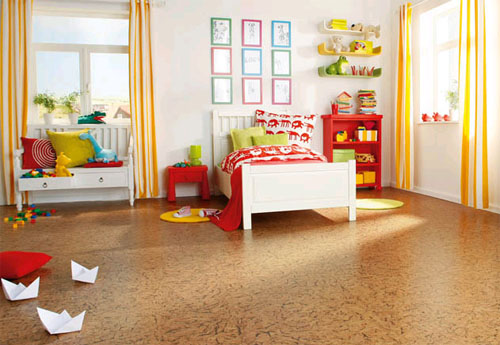
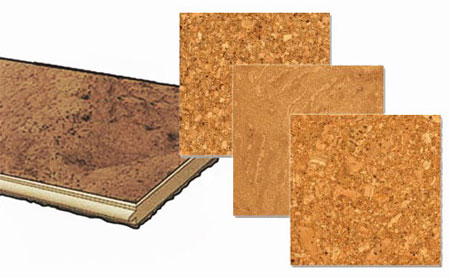
Today, the best building material, which is used in the construction and landscaping of the floor is cork wood. It is created from the cortex of cork oak growing in Portugal. Despite the fact that cork floors have a decent cost, they are actively in demand for consumers, thanks to incomparable advantages.
Content
Cork sex pluses and cons
Advantages of cork wood:
- has a different and non-standard drawing;
- united a kind of seams between the elements;
- eco-friendly;
- possesses elasticity and good strength;
- perfectly reacts to the temperature difference and change in humidity in the room;
- hygienic;
- does not require special care;
- The upper thin layer of varnish remarkably protects the coating from a variety of mechanical damage and scratches;
- The surface is hammering the motherboard;
- easy to maintain;
- It has numerous configuration;
- not afraid of water;
- hypoallergenic;
- beneficial effect on health;
- not electrifies dust;
- does not absorb smells;
- does not rot;
- It has excellent sound and heat insulation;
- heat resistant, etc.
Disadvantages:
- sometimes still pressed under solid furniture or pins;
- fairly high cost.
Recommendations for care:
- to avoid scratches, it is best to use felt pads;
- using a humidifier;
- Periodically, cover the tools intended for care.
The cork coating for the floor is divided by the masonry method and, accordingly, 2 types are:
- cork floors glue;
- Cork floors floating.
How to lay cork sex
Installation of cork floating floors is similar to laminate laying.
Floating cork floor laying technique:
1. Initially, it is necessary to cover the base of the prepared sex with polyethylene and create a 200-300 mm inhibition at the joints. The joke is sickling with scotch. After mounting the plinths, the surplus of polyethylene can be cut off.
2. Then the online insulation special substrate is stacked. The joints of the joints are stuck with scotch. The appointment of the substrate is to reduce the impact noise and hiding small irregularities.
3. Next perpendicular to the direction of laying coating is measured by the width of the room. Then she is divided into the width of one panel from the traffic jam. The last row should have a width of about 50 mm. If it turns out less than 50 mm, then cut the panels of the previous row along.
4. The masonry should be started from the right corner of the room:
- The whole panel is merged with a comb and fixed to the wall with the help of spacer wedges;
- Between the panel and the wall there should be an expansion clearance of 0.5-1 cm (in the form of wedges, coating trimming can be applied).
5. The next floor row start laying from trimming the last sheet of the previous row. If there are no left, cut the piece from the new panel of at least 200 mm. Specialists recommend creating a shifting of short seams of different rows of panels by 200 mm from each other. Then join the second row:
- The 2nd row panel insert into the groove of the 1st row panel at an angle of 30-45 degrees;
- Then they lower it into a horizontal position;
- Next, move the second row left panel to the dock with a short side of another panel.
All other rows make up the same method.
6. If heating pipes are published from the floor, then an expansion clearance is 0.5-1 cm between them and a cork coating.
7. In the doorways for docking the coating, use a special profile "Railings". It does not need to be recorded to the panels, but exclusively in the floor between them.
8. After the coating is laid, you can remove spacer wedges.
9. As for the plinths, they are attached to the walls. Between them and the coating, leave a small gap.
10. Panels must be placed by the coal to get the right perpendicular cut. Cutting the cork covering should be with a hand with small cloths or a jigsaw, placing the cork panel face down.
Method of masonry adhesive cork coatings:
1. The laying of such a coating must be started from the center of the room.
2. Before starting work, you must decompose several tiles and check the borders of the glue, the quality of the joints and the direction of the masonry.
3. Outdoor cork coating need to be glued exclusively on special glue recommended by its manufacturer.
4. The glue is applied to the cork coating and the surface of the floor using a spatula.
5. For the best fixation, you need to catch up with each tile with rubber hammer.
6. The tiles of the floor adhesive coating can be placed both with a displacement and without it.
Recommendations:
- Cork warm floor - a non-slip coating that is wonderful for the children's room, bedrooms and other rooms;
- If the floor cork covering was worn over time and ceased to rejoice, it can always be given the initial appearance by applying a special campaign lacquer.
Thus, it does not matter how many means you are stuck, intending to make repairs, the main thing is to have a huge desire, imagination and a minimum set of tools that will always rescue in unforeseen circumstances. After all, your home is that, it is indispensable to the native space that loves his décor to do exactly the owners.
Cork floors do it yourself:


