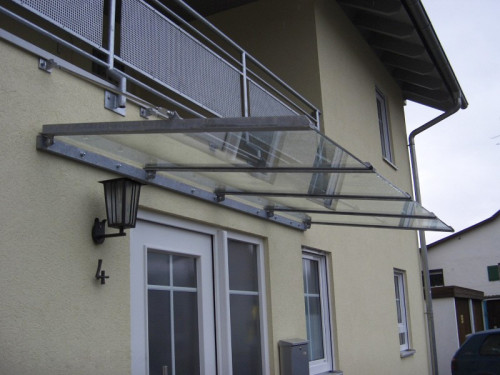
The visor over the entrance of the house or above the balcony will significantly extend the operational period of the structure. To create it, various materials apply. On the peculiarities of the visor installation and will be discussed in our article.
Content
Characteristics of construction
The main purpose of the visors is the protection of the balcony from the negative impact of atmospheric phenomena. This is especially true in the winter time when snow is accumulated. Wet environment destroys any coating.
The visors for the house prevent dust, garbage and cigarettes from the upper floors. Thanks to their installation, the balcony will be protected from wind exposure and hot sunlight. If the apartment is located on the upper floor, then the visor is one of the ways to protect the housing from the penetration of criminals.
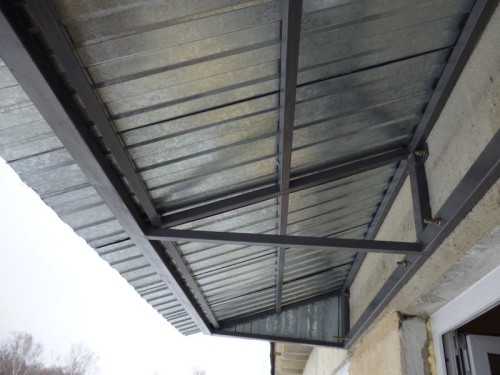
The main difference of the visor from the roof is that it is fixed only to the wall. The roof is usually relied on the glazed balcony. The strength of fixing the canopy is improved using a steel corner, which is attached to the wall with bolts. If a balcony without windows, then in some cases you can make a frame for the visor material.
Material for manufacture
For the construction of a visor over a balcony in an apartment building such materials can be used:
- steel sheets;
- polymer coatings;
- polycarbonate;
- double glazed windows.
The main advantages of steel sheets - practicality, low cost and long service life ( metal tile. - 50 years, professional flooring - 30 years). Steel is able to withstand heavy loads. The disadvantage of the steel coating is bad sound insulation (noise during the rain).
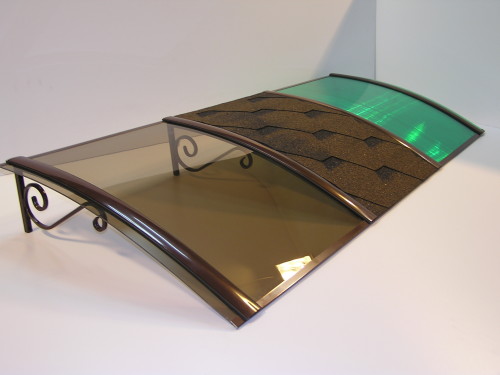
Polymer coatings (bituminous slate ondulin) Do not crack and do not deform. With their help, the whole surface is tightly covered. Polymeric materials have a slight weight, which does not overload the visors and canopies over the balcony. "Cons" polymers are higher cost, fragility and low fire safety indicator (bituminous material is suitable only for the upper floor).
Visors and canopies from the glass package - the most expensive option. This is due to the fact that for such purposes only with special glass (triplex) should be used. But if you look at the other hand, the visor from the glass package differs attractiveness and gives the feeling of space and light. The only drawback is the need for coating care.
The most practical solution will be the use of cellular polycarbonate. Simplicity of installation work, affordable cost, flexibility, diversity of shades, resistance to ultraviolet, moisture and chemical environment Today polycarbonate are today the most popular material for creating canopies.
General requirements
At this stage, the form and dimensions of the visor above the balcony (photo) is designed. The design should be durable and resistant to external factors. In order not to accumulate the garbage, the angle of anxpose visor should exceed 20º.
After measuring:
- the amount of material is calculated;
- frame is done;
- the frame is covered with an anti-corrosion agent;
- the roofing is made;
- all seams are closed with silicone sealant;
- if necessary, the design is soundproofed.
When installing with your own hands, the visor over the balcony primarily its lateral part is subjected. And only then proceed to facing the central part of the canopy.
Installation work is recommended to carry out in a warm dry day. With high humidity, moisture can get into the space between the balcony and the visor, which can adversely affect the properties of the facing material of both structures.
Mounting work
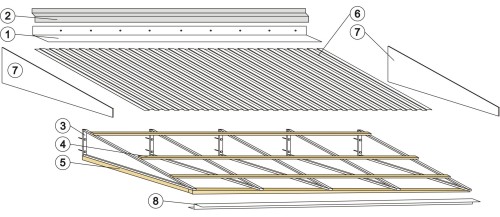
The visor installation consists of two main stages:
- frame device;
- roofing flooring.
Carcass device
To create a frame, you can use both wood and metal. Wooden designs have a slight weight, but are exposed to atmospheric phenomena. The metal visor will serve longer, but increases the load on the entire design.
In most cases, preference is given to the steel frame. Its installation is carried out at a height of 2-2.2 m.
Making a frame consists of such steps:
- creation of billets from corners and strips;
- removal of rust with metal grinding disk (if there is a need);
- mounting corner anchors to the wall;
- connection of all elements with welding;
- cleaning of welding places;
- printing and painting of a metal frame.
Roofing flooring
After drying, the paints are starting to fasten roofing To frame. For this, appropriate material blanks are cut.
Depending on the finishing coating, its fixation is carried out by various fasteners:
- steel sheets are attached rivets;
- professor and metal tile - self-pressing with rubber gaskets;
- singleline - ordinary nails with rubber pads;
- triplex - mortgage details.
In such a process, how to install a visor over the balcony, it should be provided for the presence of a protruding roofing material by 20-25 cm from all sides of the structure.
Features of the installation of a visor from polycarbonate
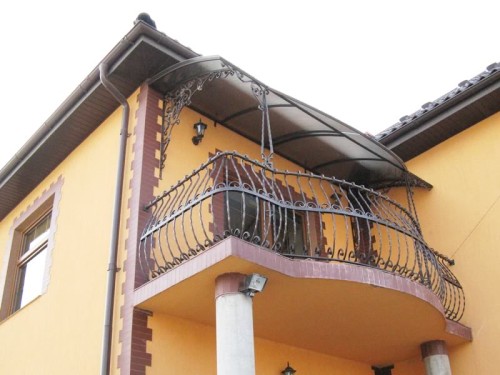
The most attractive design will be a visor over a balcony of polycarbonate, which can be any shape (straight, twin, semicircular, arched).
Polycarbonate installation technology consists of the following steps:
- cutting panels with circular saw;
- drilling holes between rigids of polycarbonate rigidity;
- sealing the end parts of the panels of aluminum scotch (from above) and perforated ribbon (bottom);
- fastening polycarbonate to the frame.
Polycarbonate is acquired to create a visor, which has a special protective film. In the implementation of installation works, the film cannot be removed, as this will damage the ultraviolet layer. Its deletion occurs only when the visor is installed.
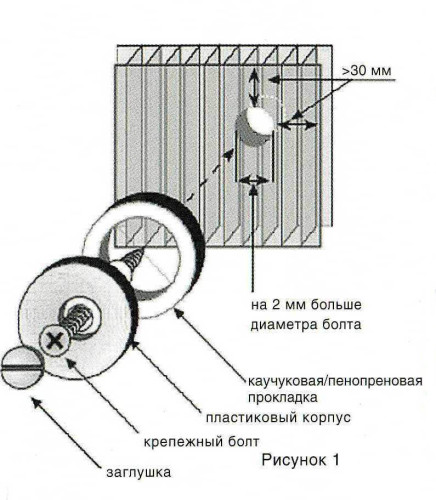
Self-tapping screws with plastic thermoshabami, which have:
- a special leg (its height is equal to the thickness of polycarbonate);
- sealing washer;
- latching cover.
The presence of thermoshab contributes to hermetic and reliable fixation of the panels to the metal frame.
The drilling of holes under the fasteners is made at a distance of 0.3-0.4 m from each other. Their diameter should exceed the size of the thermoshair by 2-3 mm.
There are the following rules for fastening polycarbonate to the frame:
- it is forbidden to use rivets, nails and too large washers;
- it is impossible to tighten the screws strongly (the material is subject to change in sizes at temperature fluctuations);
- the internal ribs of the rigidity of polycarbonate should be located all over the perimeter.
If you want to bend the panel, then this should be done taking into account the recommendations of the manufacturer. The instructions for the product necessarily indicate the thickness, structure and radius of the bend of polycarbonate. The folding procedure is to carry out screws on the material. Moreover, if the coating is not bend, the cuts should be made deeper.
Another undoubted "plus" polycarbonate is the ability to quench the sound waves. As a result, no sound insulation works will be required. The junctions between the polycarbonate and the wall are waterproofing with silicone sealant.
Video about the creation of a visor over the balcony:


