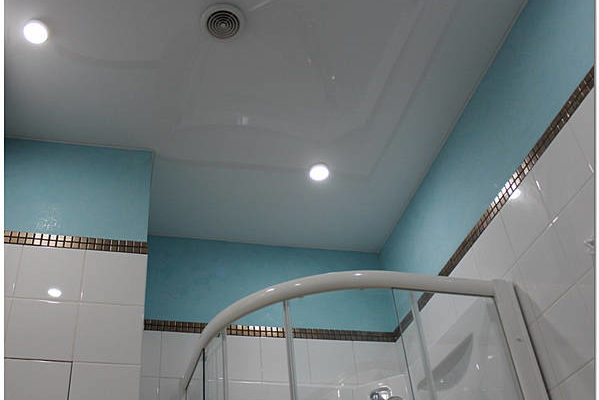
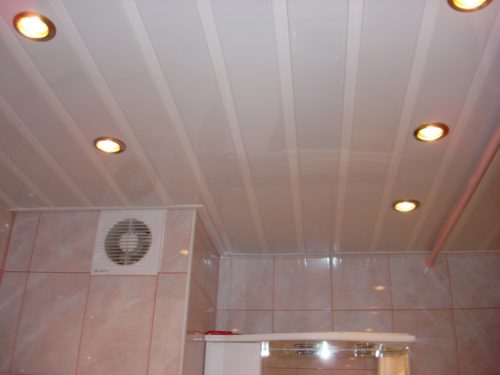
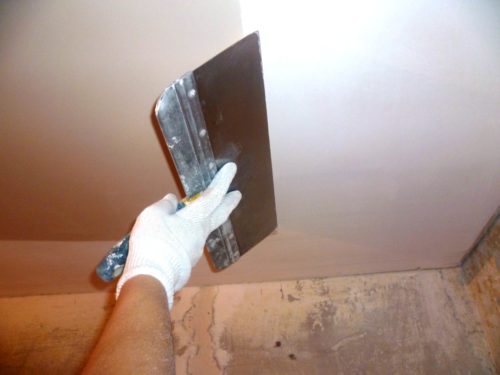
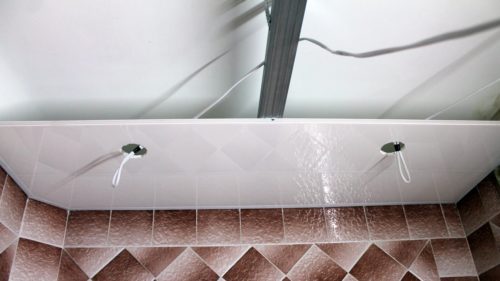
Since the bathroom is a room with an elevated level of humidity, it should be approached with particular responsibility. And here it is not only about the way of cladding the walls, but also about the options for mounting the ceiling. To date, there is a wide variety of ceiling coatings on the construction market. Evaluating all the advantages and disadvantages of materials for the ceiling finish, you can choose the most appropriate option for installation in the bathroom. Next, we will look more detailed the types of ceiling coatings, as well as the sequence of work when installing the ceiling in the bathroom with your own hands.
Content
- How to make a ceiling in the bathroom with your own hands. Ceiling coating features in the bathroom
- Overview Ceiling options in the bathroom
- How to make a plastic ceiling in the bathroom with your own hands
- How to make a cam ceiling in the bathroom with your own hands
- How to make a stretch ceiling in the bathroom with your own hands
- Installation of the ceiling in the bathroom with your own hands: video
How to make a ceiling in the bathroom with your own hands. Ceiling coating features in the bathroom
The bathroom is a very specific room, so the ceiling coating should have some important qualities:
- Resistance to moisture. Based on the fact that in the bathroom there is almost always an increased level of humidity, then not every coating is suitable for the ceiling finish, because moisture can spoil it over time.
- Wearness, long service life. Such qualities must undoubtedly have any ceiling coating. And if you do not want to constantly wonder - how to repair the ceiling in the bathroom, pick up the coverage, which is not lower than 6-8 years.
- Aesthetic appearance. The ceiling coating must organically fit into your bathroom design and decorate its appearance.
Overview Ceiling options in the bathroom
Putclone and painting the ceiling in the bathroom
In this case, the surface of the ceiling is aligned with the maintenance and finishing putty, and in the future it is painted with waterproof paint. It is worth saying that this version of the ceiling cladding is suitable only if there are no large elevation and irregularities on its base surface, otherwise it will not be possible to remove them with a putty. In addition, it is important to choose the right paint for the ceiling in the bathroom. It is not worth buying an oil enamel, since under the influence of moisture she quickly loses its color. It is better to give preference to water dispersion paint.
Let us summarize the advantages of this method of finishing the ceiling in the bathroom:
- Low cost of work, as putty is relatively relatively cheap.
- Simplicity of application.
- Easy to care and operate.
Disadvantages of such a ceiling:
- Short service life. Such a coating on the ceiling in the bathroom will last 5-7 years. In addition, it will need a periodic adjustment (darkened places on the ceiling stands again).
- Easy appearance. The painted ceiling looks pretty "simple". And in order to improve its appearance, it is worth very trying, for example, to apply polyurethane "stucco" or other.
- Since the design of such a ceiling does not imply a niche, it will not be able to hide various communications.
The ceiling of polystyol tile in the bathroom
In this case, the surface of the ceiling in the bathroom is covered with a tile made of polystyolster. This method of finishing the ceiling in the bathroom also has its own positive and negative sides. To the first of them can be attributed:
- Simplicity of laying. Tile of this type can be easily furnished personally, without the help of specialists. Such material is fixed on the surface of the ceiling with a special tile glue.
- Regarding a long service life. The period of operation of such a coating in the bathroom is about 7-8 years.
- Variety of design. Tile produced in different shapes, colors and sizes. It can easily pick up for the design of any bathroom.
- Low value of material.
"Weak" parties in such a ceiling are as follows:
- The presence of seams. To stick the material so that it is not possible between the stacks of seams, it is almost impossible, and this spoils the aesthetic look of the room.
- High flammability material.
Facing with plastic ceiling panels in the bathroom
Plastic panels are installed on a wooden crate or on a frame of galvanized profile.
Advantages of ceiling cladding plastic:
- Plastic itself lays pretty quickly and simply. The complexity of the installation is represented only by the framework of the frame.
- Easy to care.
- Plastic panels are presented in the construction market in a large assortment. There are various plastic design options.
- In the plastic ceiling there is a niche in which you can "hide" communications.
Disadvantages:
- It is impossible to mount in the bathrooms with a low ceiling, since due to the presence of a frame, such a coating will reduce the already small space of the room.
- Panels are very sensitive to mechanical damage.
War Ceiling in the bathroom
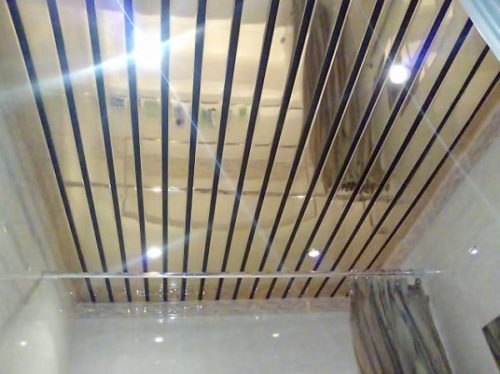
This design consists of a frame and facing rails. The advantages of this method of finishing the ceiling in the bathroom are as follows:
- Easy installation.
- The presence of a niche where you can put communication.
- Easy to care.
- Good sound insulation.
- Diverse design.
Disadvantages:
- Like any ceiling with a frame, the cutting ceiling is deprived of a 30 cm room of a useful area.
- The seams are noticeable between the rails.
- If the rails are made of aluminum, they have a fairly high cost.
Ceiling in a bathroom of plasterboard
For mounting in the bathroom uses moisture-resistant sheets of plasterboard.
Advantages:
- Reliability, long service life.
- Beautiful appearance.
- The presence of a niche for communications.
Disadvantages:
- Requires further finishes.
- High cost frame and cladding.
- Mounting complexity.
How to make a plastic ceiling in the bathroom with your own hands
The main tools and materials when installing the ceiling in the bathroom with your own hands:
- Profile of steel ud. It is necessary to install the waterfront on the perimeter of the bathroom.
- Steel CD profile. It is necessary to install the lag of the suspended ceiling.
- Steel suspensions. Mounted for fastening the entire design to the rough ceiling.
- Plastic edge profile L-profile.
- Plastic panels.
- Plastic ceiling plinth. It is used if the walls of the bathroom are also separated by plastic panels. It is installed in order to hide the joint between the wall and ceiling panels.
From the tool you will need:
- Laser level (or hydraulic).
- Paint lace.
- Fast mounting dowels, screws for fastening profile (seed) self-tapping screws for fastening plastic panels to profiles.
- Scissors for metal.
- Stationery (bulk) knife.
- Electrolovka.
- Electriculover, perforator or shock drill.
The order of work, how to make a ceiling of plastic panels in the bathroom with your own hands:
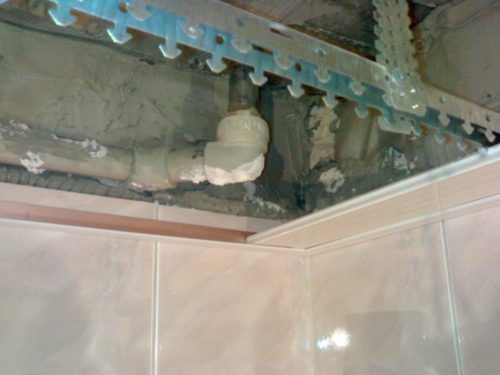
- First of all, it is necessary to determine the level of the suspended ceiling relative to the draft. Do it in the lowest corner. It is necessary to lower the ceiling in such a height so that you can easily put the necessary communications between it and the draft surface - the electrical wiring, the air bodies of the ventilation, as well as set point lights.
- Applying the wall at the level of the level, beat off the same throughout the perimeter. Then the labels along the wall are connected using a painting lace.
- When the installation line is applied, an edge profile is installed on it. For this, the holes in the wall are drilled with the perforator, and the profile is attached to the wall with fast mounting dowels. It cuts if necessary, with the help of metal scissors.
- After installing the water profile, make marking for mounting the ceiling lag. They are installed perpendicular to the location of plastic panels. Step setting profiles for lags - no more than 600 mm. Based on this, on the surface of the draft ceiling make the mounting of the suspensions. They are installed every 800 mm of lags.
- Suspensions to scheduled places are attached with the help of a dowel.
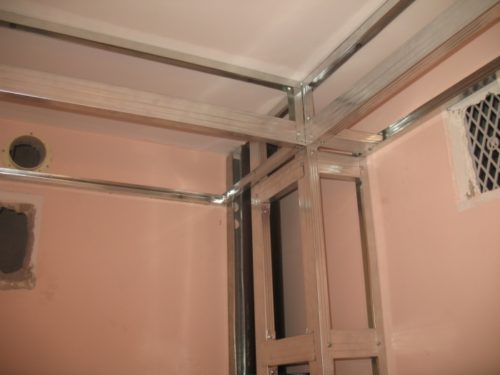
- Now you can install lags. The CD profile will start in the waterproof and is attached using self-build. After that it must be connected to the suspension. When performing this operation, it is necessary to ensure that the profile does not resist. This is done using a level.
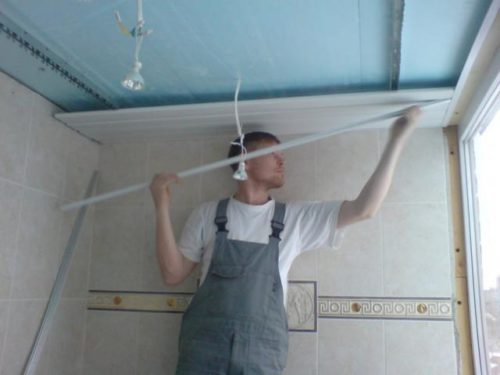
- After the doom is ready, you can start the installation of the plastic ceiling. Cut panels for long-width baths. At the same time, there should be a clearance of at least 5 mm between the panel and the wall.
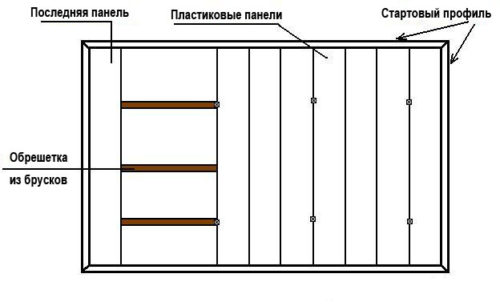
- A plastic L-profile is mounted on the perimeter to the bypass profile. The panel will start it. The first panel is started in the profile, and its inverse side is attached to lags using self-tapping screws. The second panel is inserted into the castle of the first, slightly bursts and is screwed to the profile.
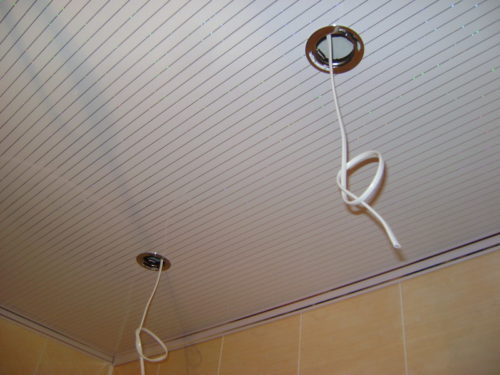
It is important to remember all the technological holes (for the installation of lamps, air intakes) are made before mounting the panel. It is impossible to do this on the ceiling. The last panel is cut in such a way that it freely logged in the finish profile.
How to make a mounted ceiling in a bathtub from drywall do it yourself
Thanks to the use of drywall, you can make multi-level ceilings in the bathroom. Although this bathroom finishing material is extremely rare. To mount the ceiling, you must choose only moisture-resistant plasterboard.
Installation of crates for the installation of plasterboard sheets is no different from the one that is done under the plastic. The difference is to enhance the design (using more suspensions, reduce the step between profiles, etc.), because the weight of the ceiling in this case will be much higher.
Sheets are attached to profiles using self-tapping screws with a step of no more than 50 mm.
In contrast to the use of plastic, the installed ceiling from the GLC requires further processing. To begin with, it is putty, and then - paint.
How to make a cam ceiling in the bathroom with your own hands
The process of installing the cutting ceiling something like the installation of plastic panels or drywall sheets:
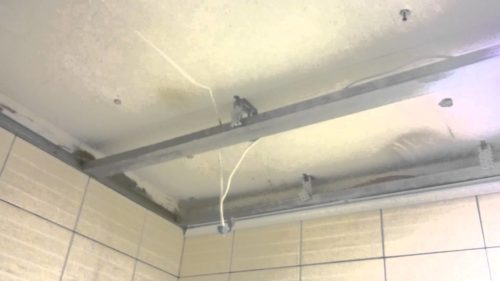
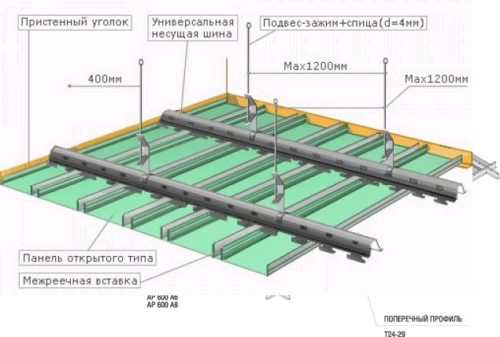
- To begin with, a steel fiber profile is installed.
- Then there is a markup for the installation of stringers, guide profiles and suspensions.
- After the installation of the entire rush ceiling system is completed, all the necessary holes cut through the panels.
- Next, they will remove the protective film, and they are mounted on the stringers with the launch of the edges in the end profiles.
How to make a stretch ceiling in the bathroom with your own hands
Stretch vinyl ceilings are rarely mounted, as special equipment is necessary for this.
The installation of the stretch ceiling is carried out in the following order:
- First, the ceiling profile installation level is littered. This uses a laser level.
- Next, on the drawn line, a special aluminum profile is attached (baguette). To attach it to the walls in it there are mounting holes. Installation is carried out on the dowel.
- After that, in the corners of the bathroom to the profile in the corners, special suspensions are attached (crocodiles). They are needed for hanging the canvas before mounting.
- Next, in places of installation, chandeliers or point lamps are installed special platforms that are attached to the rough ceiling.
- After that, they unfold the canvas, hang it and with the help of a thermal gun heated the bathroom.
- Next, with the help of the blade, the web is barely for the profile, starting with the corners.
- When the web is mounted, set point lamps or chandelier and decorative insert around the perimeter.

