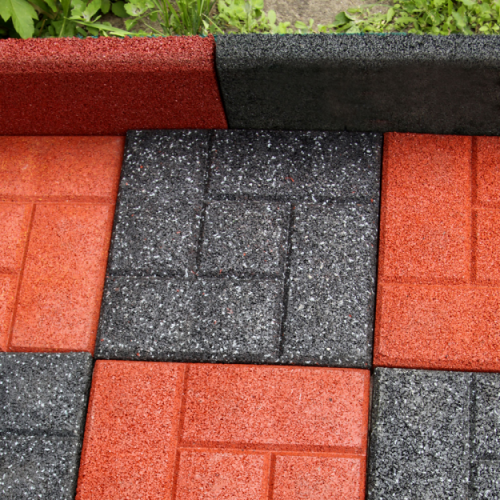
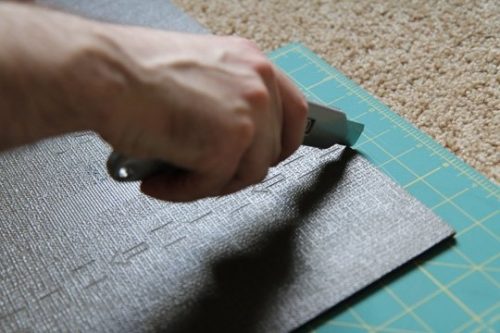
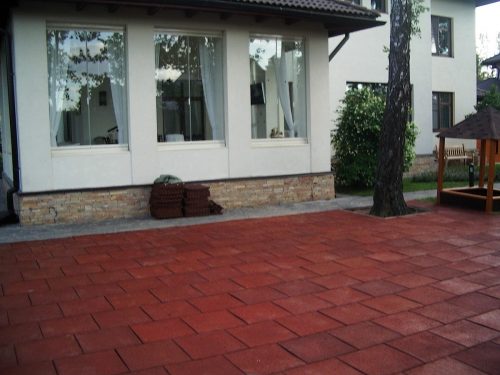
Rubber tiles for laying paving tracks appeared relatively recently, but has already gained popularity among builders and consumers. Rubber paving slab has a large number of advantages that distinguish it from other types of coatings for garden paths, recreation areas, etc. Easy to install process allows you to do this work on their own without the involvement of employees, which significantly reduces the cost of the arrangement of the hard coating. In the operation of rubber paving tiles do not require special care, and its service life is sufficiently high.
Content
Another excellent quality of this material, which is worth noting - in the production of rubber tiles is used by recycling, namely, worn out car tires, which favorably affects the environment. Also, through the use of recycling, the price of rubber paving slabs is favorably different from other types of coating. On how to put this material with your own hands, let's tell later.
Scope of Application Rubber Paving Tile
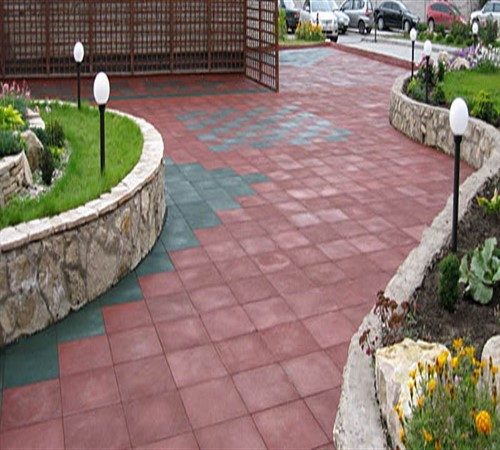
Due to its unique qualities, the sphere of applying rubber paving slabs is quite wide:
- The device of sports grounds. Rubber coating, unlike concrete or asphalt, has a better clutch with sports shoes, which makes it the most optimal for the device of sports facilities. Treadmills at stadiums also produce on this technology. Unlike the lawn, followed by constant care, or parquet not provided for external installation, rubber tile can be mounted anywhere, and at the same time not to require additional attention and care.
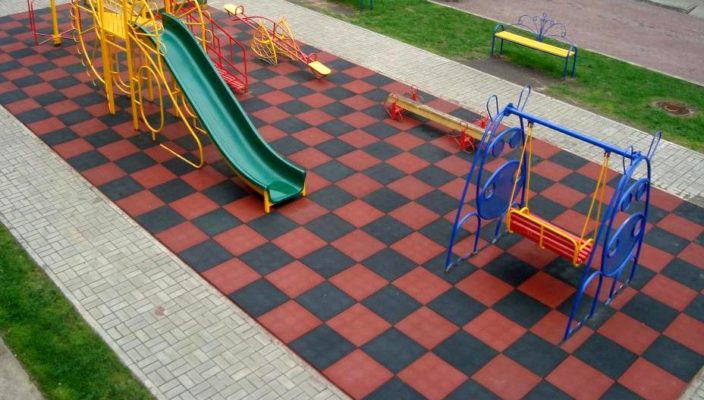
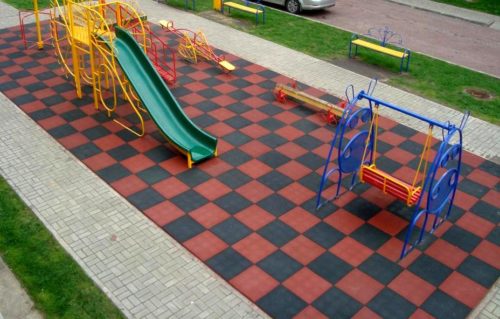
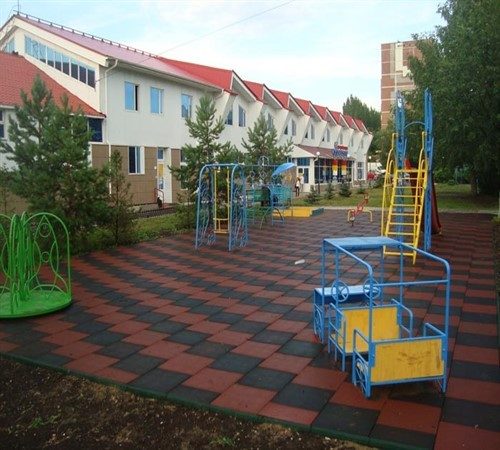
- Device of children's playgrounds. If the playground requires a solid coating, better material than rubber tile, it is difficult to find. It is not such a traumatic as concrete material, or asphalt coating. In addition, a large number of colors makes it possible to make a coating bright and interesting for kids.
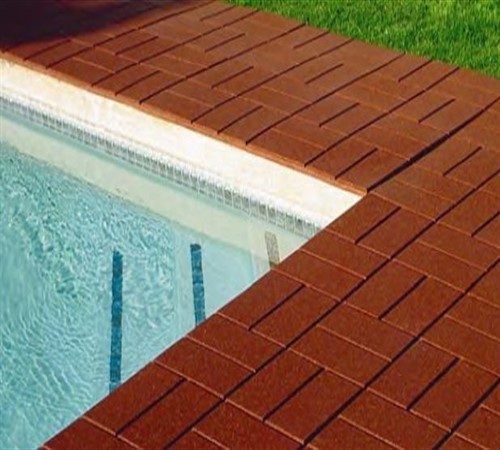
- Pool tracks. Even too wet rubber tile has a sufficient adhesion with the sole and does not slip, so it can prevent the fall in the pool to the pool, which often happens on a slippery ceramic coating.
- Paul in the garage. Rubber tile is not afraid of moisture of frosts, drops of heavy items, for a long time retains its properties. That is why it is often used as an outdoor coating of the garage.
The sizes of the tile and the scope of its use can be found from the table:

The advantages of rubber paving slabs and its flaws
Like any other material for the floor covering device, the rubber tile has its advantages and disadvantages. To the first one can attribute the following:
- High strength. It is almost impossible to smash the rubber tile. Due to the durable outer layer and the depreciation of rubber qualities, it can withstand huge mechanical loads.
- Practicality. This material has a fairly long service life without losing the initial appearance and operational characteristics. Rubber tile does not require much care, so it will be possible to forget about the repair of the coating for a long time. Rubber tile is not affected by atmospheric phenomena and in the same way well tolerates both heat and frost, and high humidity.
- Easy installation. For stacking rubber tiles, a special tool, skills and a large amount of material are required.
- Diversity of appearance. Due to the large number of rubber forms for sidewalk tiles for presses and a large palette of coloring pigments, which are used in the production of tiles, there is a huge variety of models of different sizes, shapes and colors. Thanks to their combination, a mosaic coating can be made, which will look great both in the courtyard and on the terrace.
There are practically no shortcomings of this cover. When cleaning snow, it is necessary to use plastic shovels. In this case, during the work, the upper layer of rubber does not deteriorate. And at least on the operational characteristics of the scratch tiles will not affect, the appearance may suffer.
What is the rubber paving slabs for the cottage and how it is produced
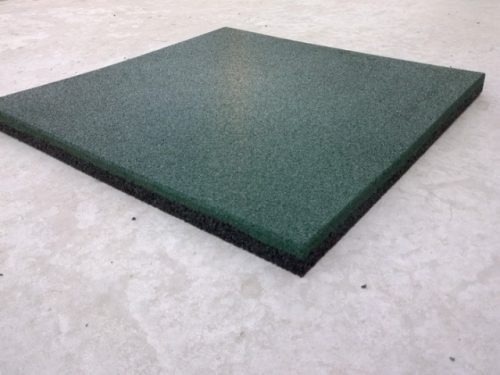
The production of paving slabs is not too complex technological process, which resembles the production of such products from concrete, namely, the method of pressing the finished mixture. As already mentioned above, the main raw material for its production is rubber from worn out automotive tires.
Procedure for production works:
- The first stage of the tires is extracted by metal cord. In the future, he will also leave for processing. Do it on a special device.
- Then the remaining part of the tire, which is clean rubber, is crushed to the shallow fraction to obtain rubber crumbs.
- After that, a polyurethane binder and dyes are added to the crumb, and mixed to obtain a homogeneous mixture. For this, special mixers are used.
- The last step by means of a cold or hot pressing method, a tile of the required size and density is made. The difference between the two methods consists in temperature and time of exposure to raw materials. So, when cold pressed, the temperature is used + 80 ° C and the mixture is "cooked" for 4 or more hours, and with hot, the temperature is over + 140 ° C, but the material manufacturing time is about 15 minutes. Contrary to disputes of many professionals, in both cases the quality and performance characteristics of materials are equal.
Laying rubber paving slabs with their own hands
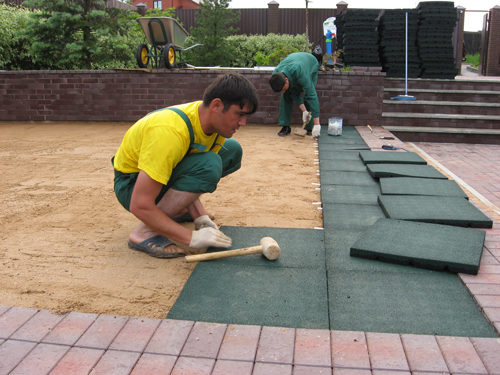
The process of laying rubber tile does not differ in principle from the installation of concrete material. Before starting work, it is necessary to determine the desired amount of material. So, sold tile pieces. As a rule, it has a standard size, so determining the required amount, knowing the laying area, the problems will not be. In order not to not guess with quantities, it is better to buy material by 5% more calculated. Since the battle of the rubber tile can not be in principle, it is not worth doing a big stock. Although it can be put on another site.
There are two methods for laying paving slabs from rubber crumbs:
- Laying on a soft base.
- Laying on a rigid base.
At the first method, the tile is placed directly to the ground. Under the latter, naturally, the sand pillow is understood, which stacked over the base. The sand under the laying of the tile is poured in such a way as to ensure the slope of the coating of at least 2 °. Thanks to this, the moisture will not be assembled on the surface of the tile. The thickness of the material can be more than 80 mm.
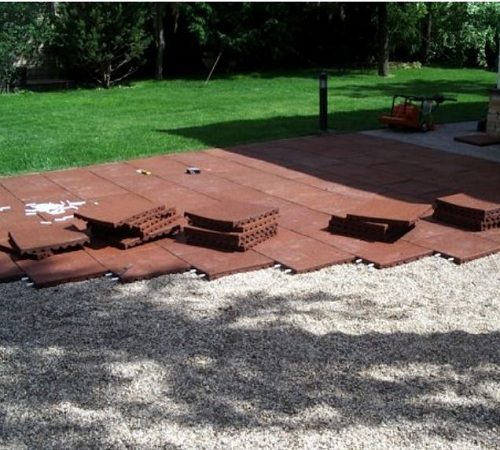
The order of installation work when laying on a soft base is as follows:
- Begin laying on a soft base from the installation of a curb. It will allow the tile not to move over time. The boarding of the border begins with the marking of the trenches in which their installation will be carried out. To do this, you can use pegs and a strong kapron thread. The width of the trench for the installation of the curb should be greater than the width of the border itself by 20-30 mm. This distance will shock sand. The depth of the trench is regulated depending on its expected height above the level of tile laying.
- After the trench is dug, the small layer of sand and rubble is stacked at its bottom. Then the border is stacked. The correct installation is checked with a level.
- After the border is mounted, the distance between it and the wall of the trench falls asleep with sand. Now it is poured by a layer between the curbs. Sand as can be uniformly distributed over the surface, taking into account the desired slope.
- The tile is laid by hand with a rubber image, or an online jack, or in the lock. If the border is not mounted during the construction of a garden path, the tile can be bonded with each other using the sleeves that are supplied by the manufacturer in the kit.
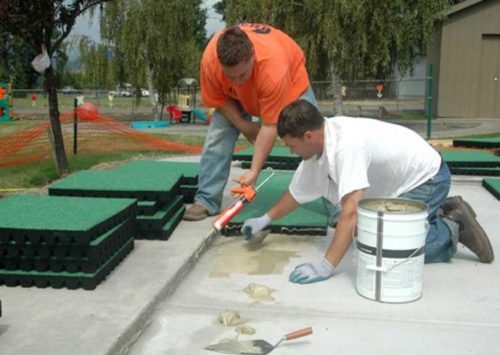
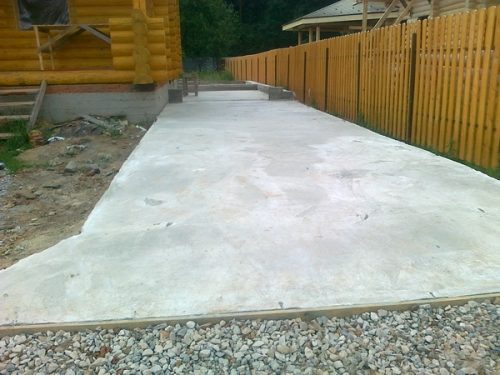
The second method provides for the presence of a finished base for laying rubber tiles. They can be a concrete screed, asphalt coating, or a wooden floor, if it is mounted on the terrace.
In this case, a thin tile is applied. Its thickness does not exceed 20 mm. It is stacked on a special polyurethane glue that does not cover the coating in the process of operation.
Works at this method of laying are performed as follows:
- First of all, the foundation must be carefully prepared. It should be as smooth as possible, not to have cracks, the wooden surface should not contain traces of fungus and rot. If such places are available, damaged boards need to be replaced, and the tree is opened with varnish and anti-corrosion composition.
- The concrete surface is better to handle the primer deep penetration so that it brings up the lagging slices. When forming cracks, they must be sealed using a cement solution. You can only lay the rubber pavement tile on a fully dried base. Therefore, after the primer, the surface must be left until it dry.
- Rubber paving slabs are placed on polyurethane glue. It is applied with a roller on the base. Then the coating is placed in place and tightly pressed, following its correct position. Glue dries pretty quickly, however, it will be possible to walk on the coating in 2-3 days when it finally grabbing.
Rubber paving slabs for tracks: photo
Laying rubber paving slabs: video
More The process of laying rubber paving slabs can be viewed on video:

